I don’t really know why, but one day I just woke up with a burning urge to make sourdough. Now this is not something that one can just make with a little bit piff paff poof and a click of the heels and have ready by lunchtime.
There is some magic involved yes, but also some considerable time and a truck load patience, which is not shall we say, a great virtue of mine.
So I plan to detail my sourdough journey, the ups and the downs and hopefully we will finish up with a delightful loaf, as good as the one we ate on the pier in San Francisco.
To start…
You need a ‘starter’. Sourdough utilises the natural yeasts in your own environment, so you will have different flavours and qualities to the bread depending on where and even when it is made.
Google is fantastic, I honestly don’t know how we would live without it these days, but it can also be a minefield. Talk about a kid in a sweet shop! If you type in how to make sourdough, there are literally thousands of pages on there, all with very slightly different pieces of advice.
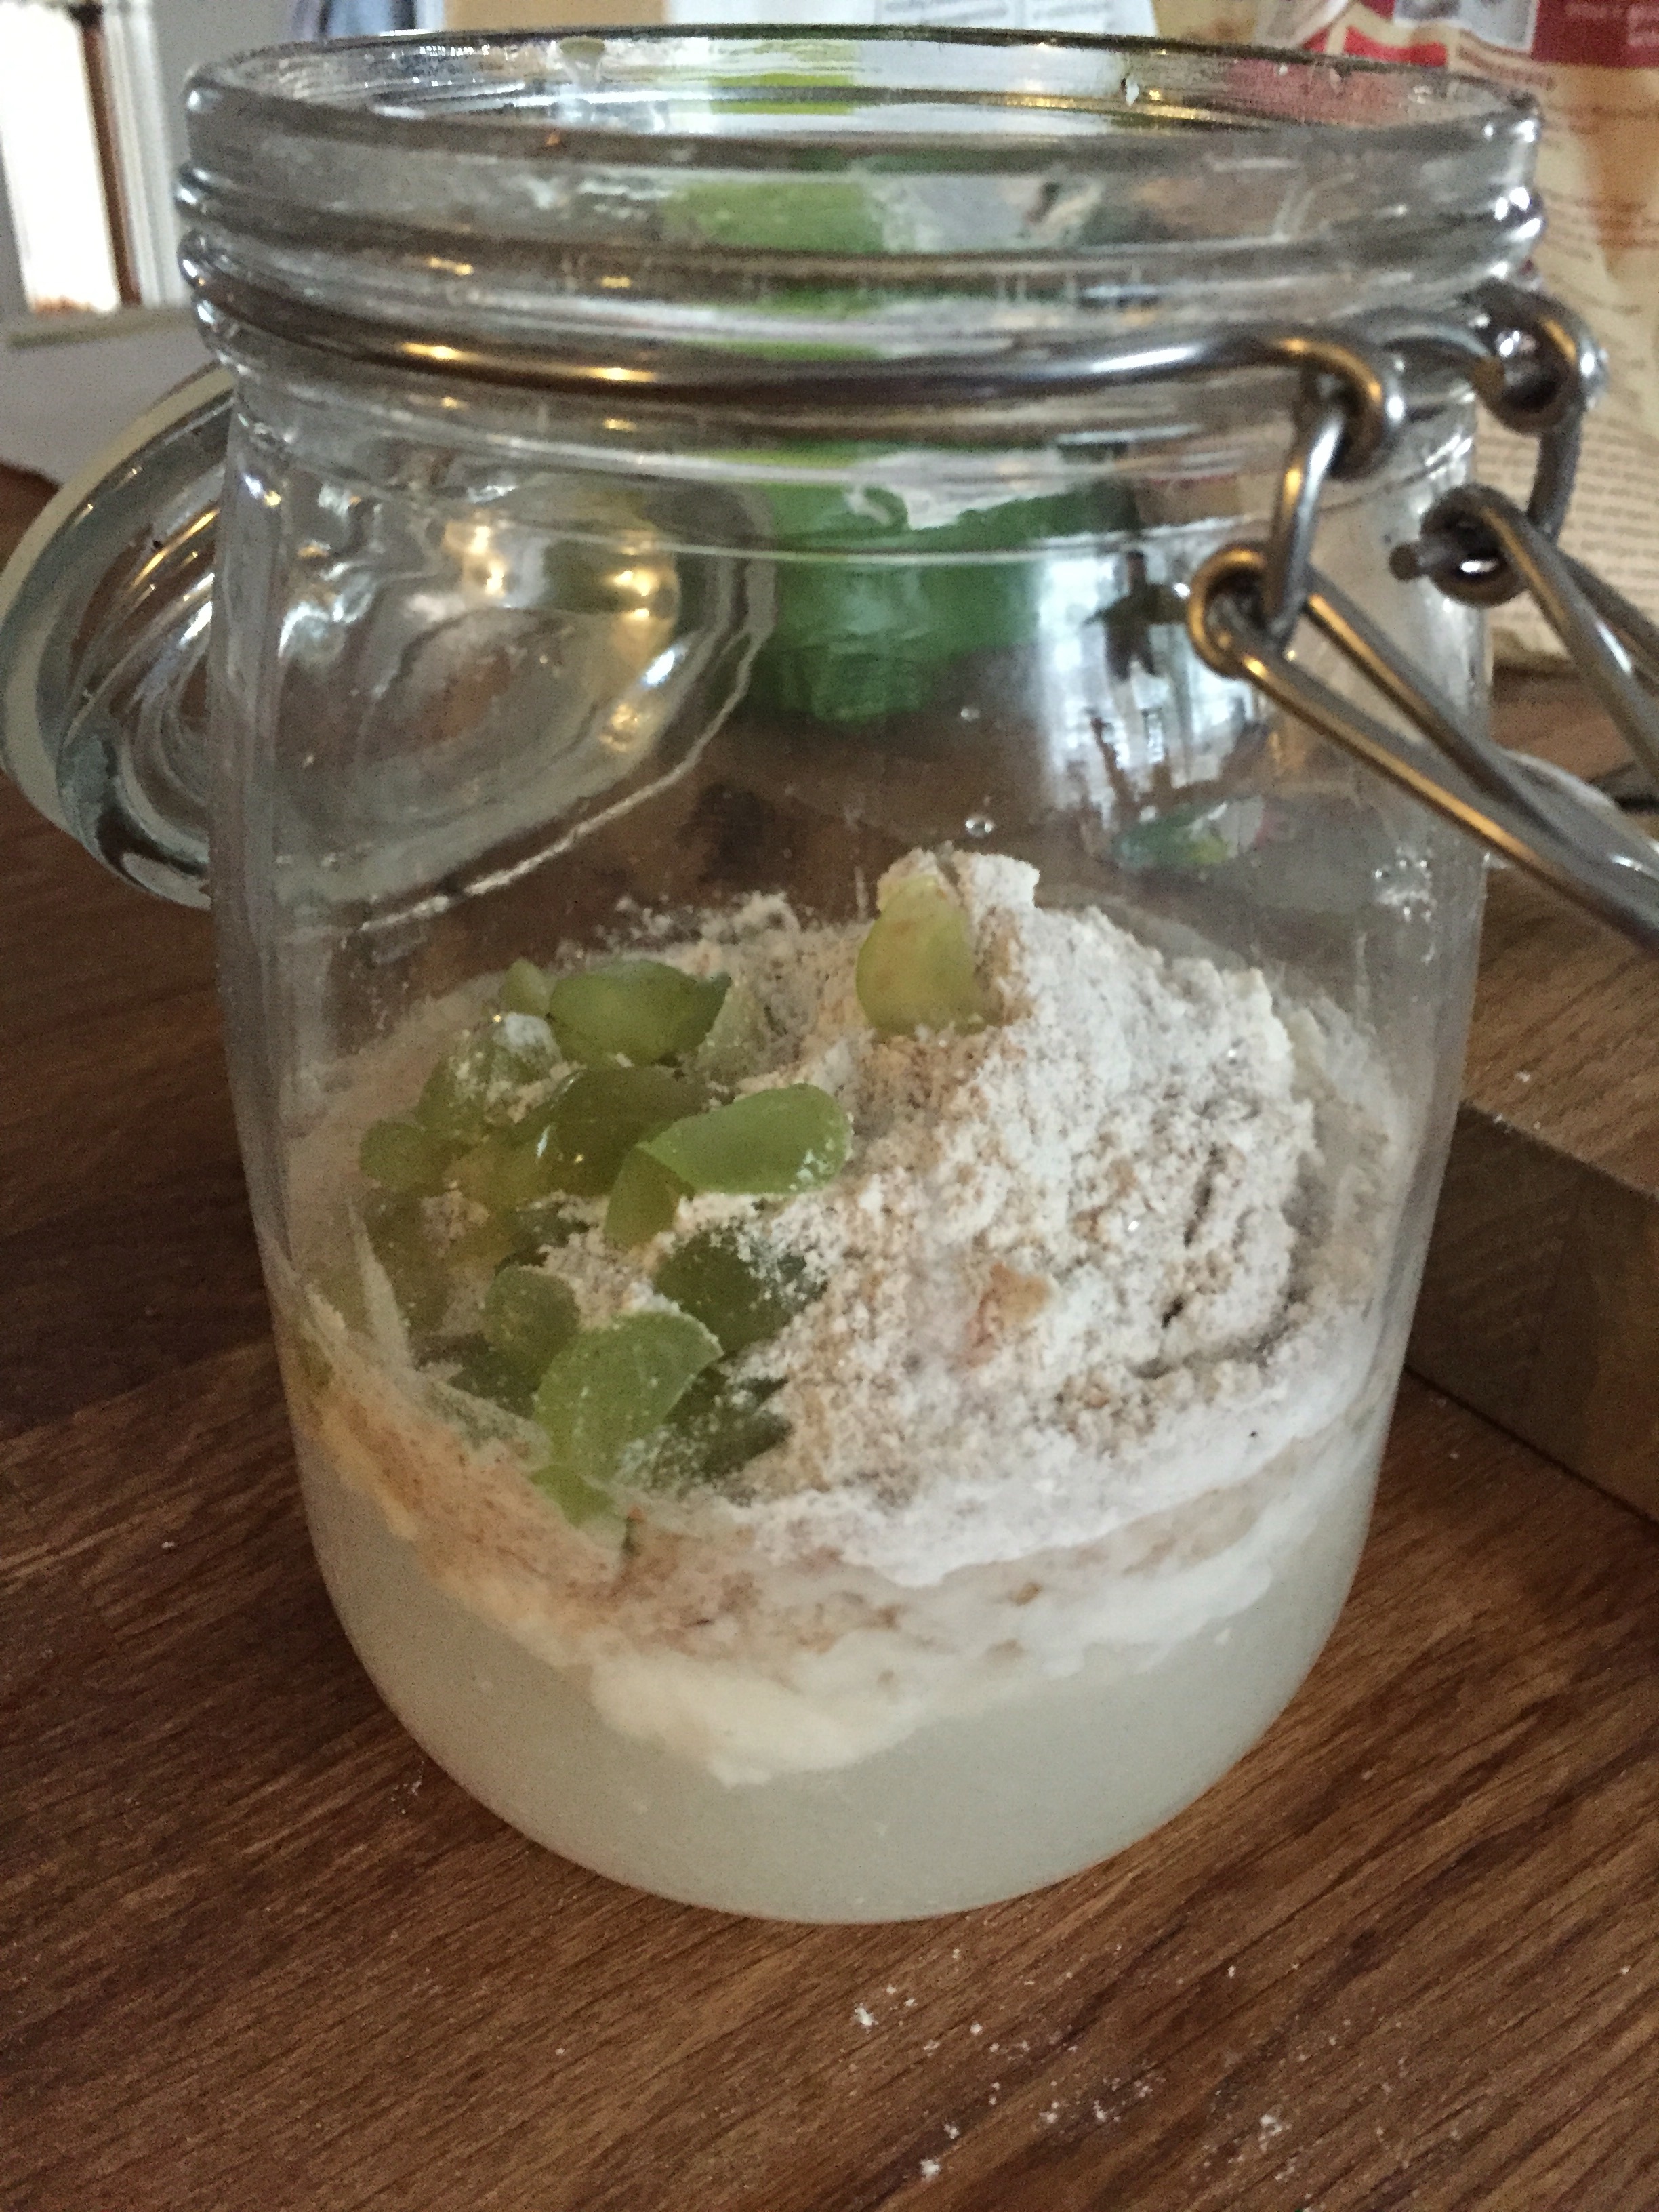
In the end, I decided to go with Mr Paul Hollywood (I bow to you Sir) and his starter recipe which included 250g of strong white flour, 250ml of water and six organic grapes! As weird as it sounded, I actually had just a few grapes left in my fruit bowl from a trip to the farm shop earlier that week.
An American friend bought me cup measures last year, and I must confess they have been very useful when following recipes from outside of the UK.
So on Monday, I used one cup of water and one cup of strong white flour for equal measures and mixed well in a kilner jar with the six grapes cut into pieces.
I will confess, I sat and watched it for a while, very much like watching Yorkshire pudding is when you first put them in the oven and expecting them to do something incredible like somersaults all backflips or the like. Nowt.
Tuesday: The next morning, the starter had grown slightly and was a little bubbly so I was over the moon and triumphantly added again another cup of water and another cup of flour before heading off to work.
When I returned, the picture was different! The whole thing had separated and when opening the lid, smelt absolutely rancid.
Now I know that sometimes things can smell a little ripe when they are going through a natural fermentation process, if you have ever smelt rotting cocoa beans you will know what I mean. But my goodness. Sweaty feet, paint stripper and hangover breath all rolled into one.
Bleurgh.
Anyway, I duly fed the starter again with this time half a cup of flour and half cup of water and mixed it all together in the hope that it would sort itself out overnight.
Wrong.
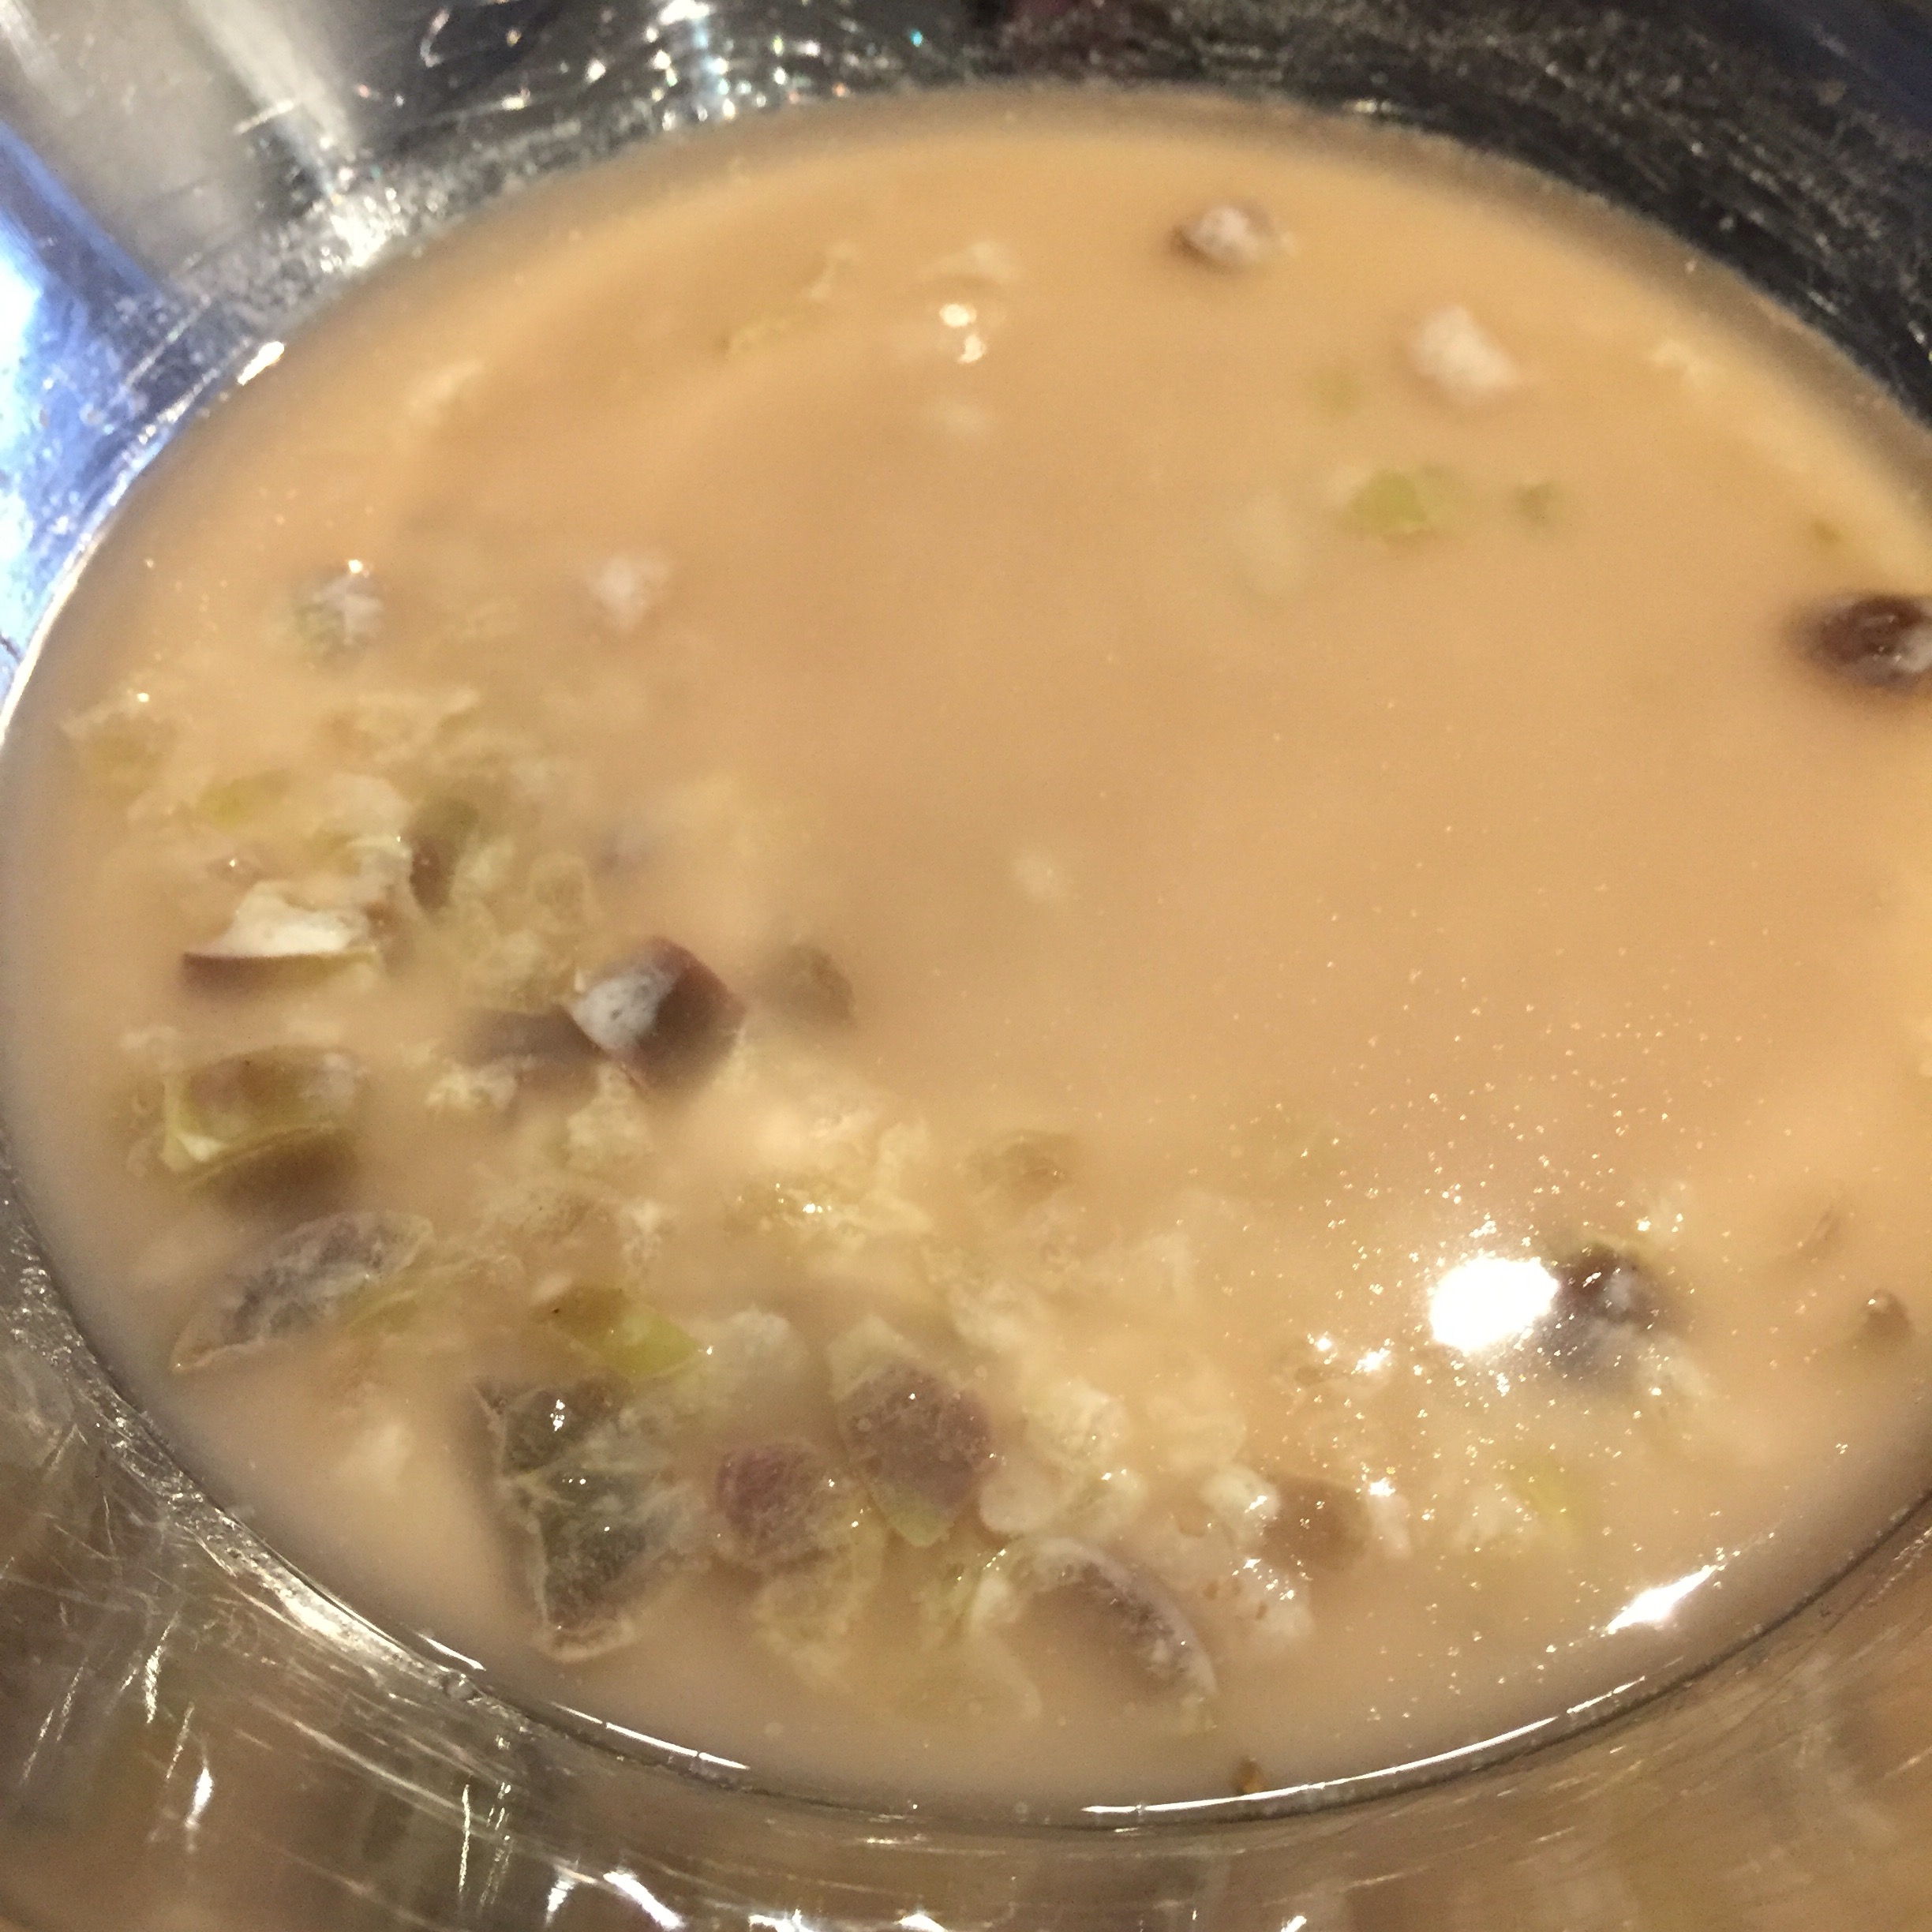
Wednesday: The next morning, it had separated again and the grapes looked decidedly disgusting. I poured the separated grapes yuk off and added more flour and water and decided to check out some sourdough forums and hopefully find some advice from an expert.
My prayers were answered and I found a lovely American gentleman who had clearly been making sourdough for years and took one look at my photos and told me the mix was far too runny and would never be able to hold up the bubbles in the day. He said to remove three quarters of it and feed with an equal weight measure, NOT volume measure of water and flour which I duly did. It immediately looked 1 million times better!
12 hours later, and I am pleased to report that I had something that resembles the pictures that I know I am aiming for!
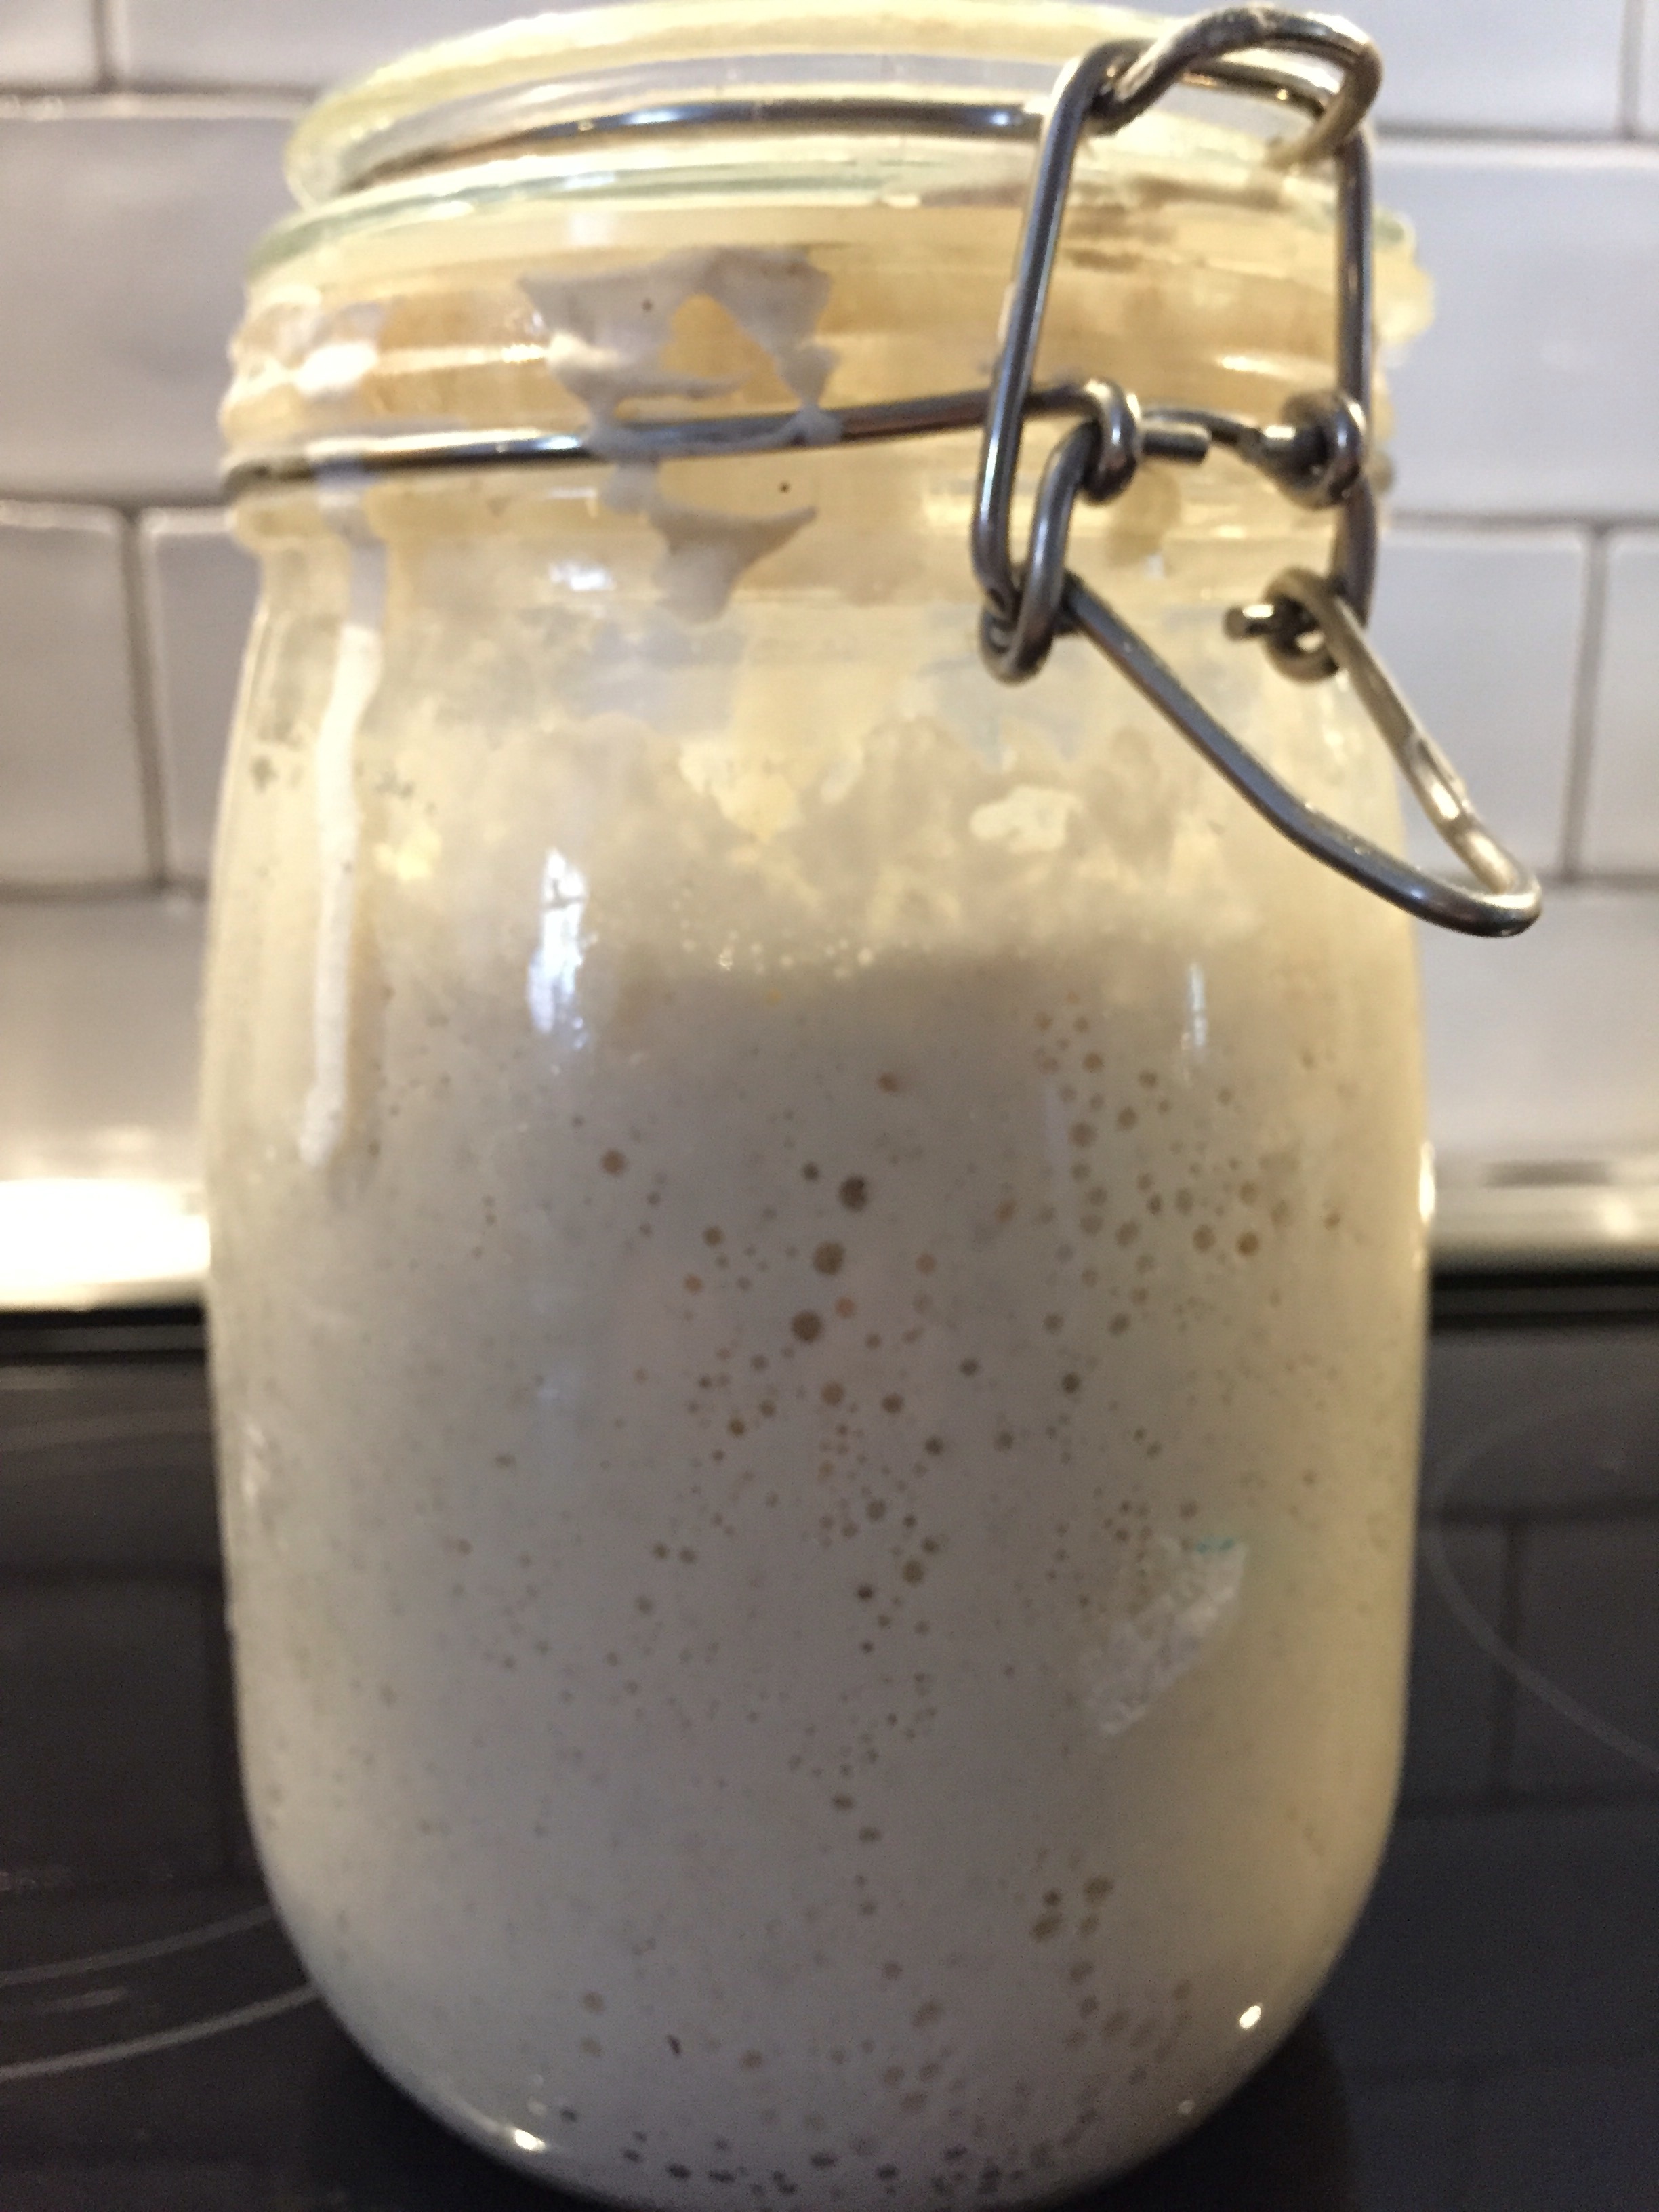
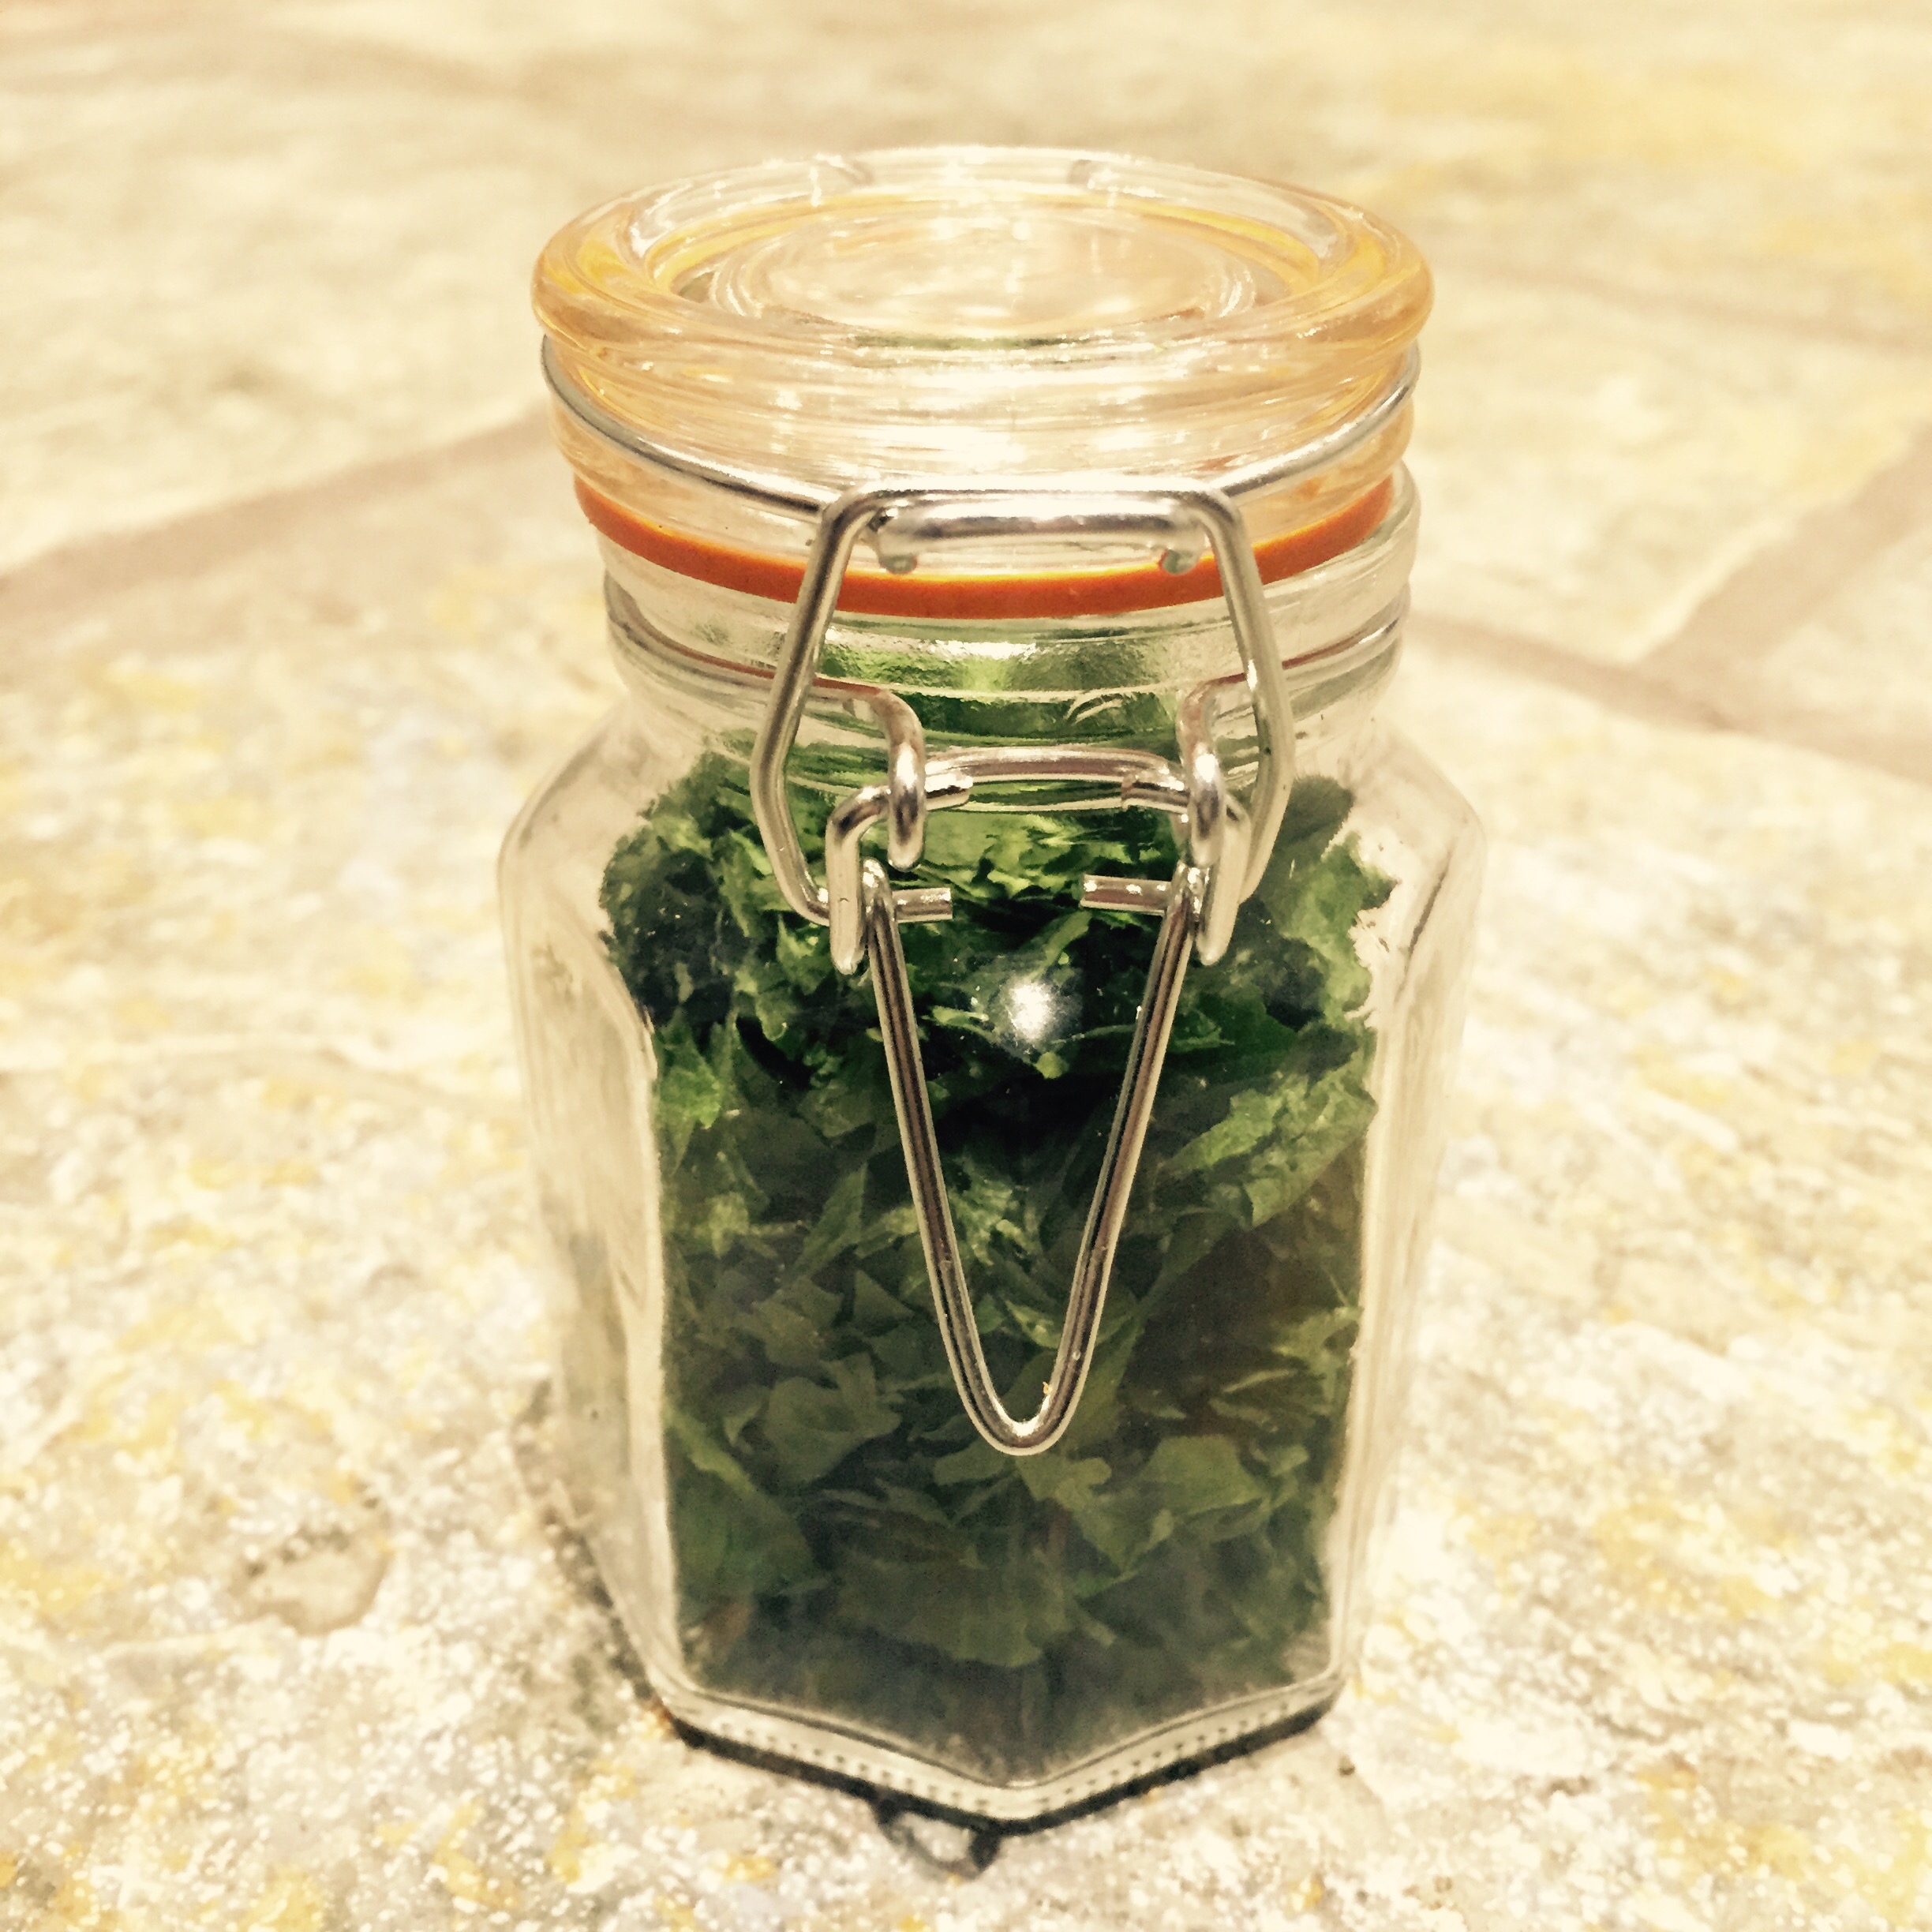
‘Artem’ as he has become known, grew again and again over the next 24 hours. I separated half out into another Kilner jar and fed one with white strong flower and the other with brown. I don’t know why really but I am a devil for not wanting to waste things and I thought it would be fun to try a slightly different slant.
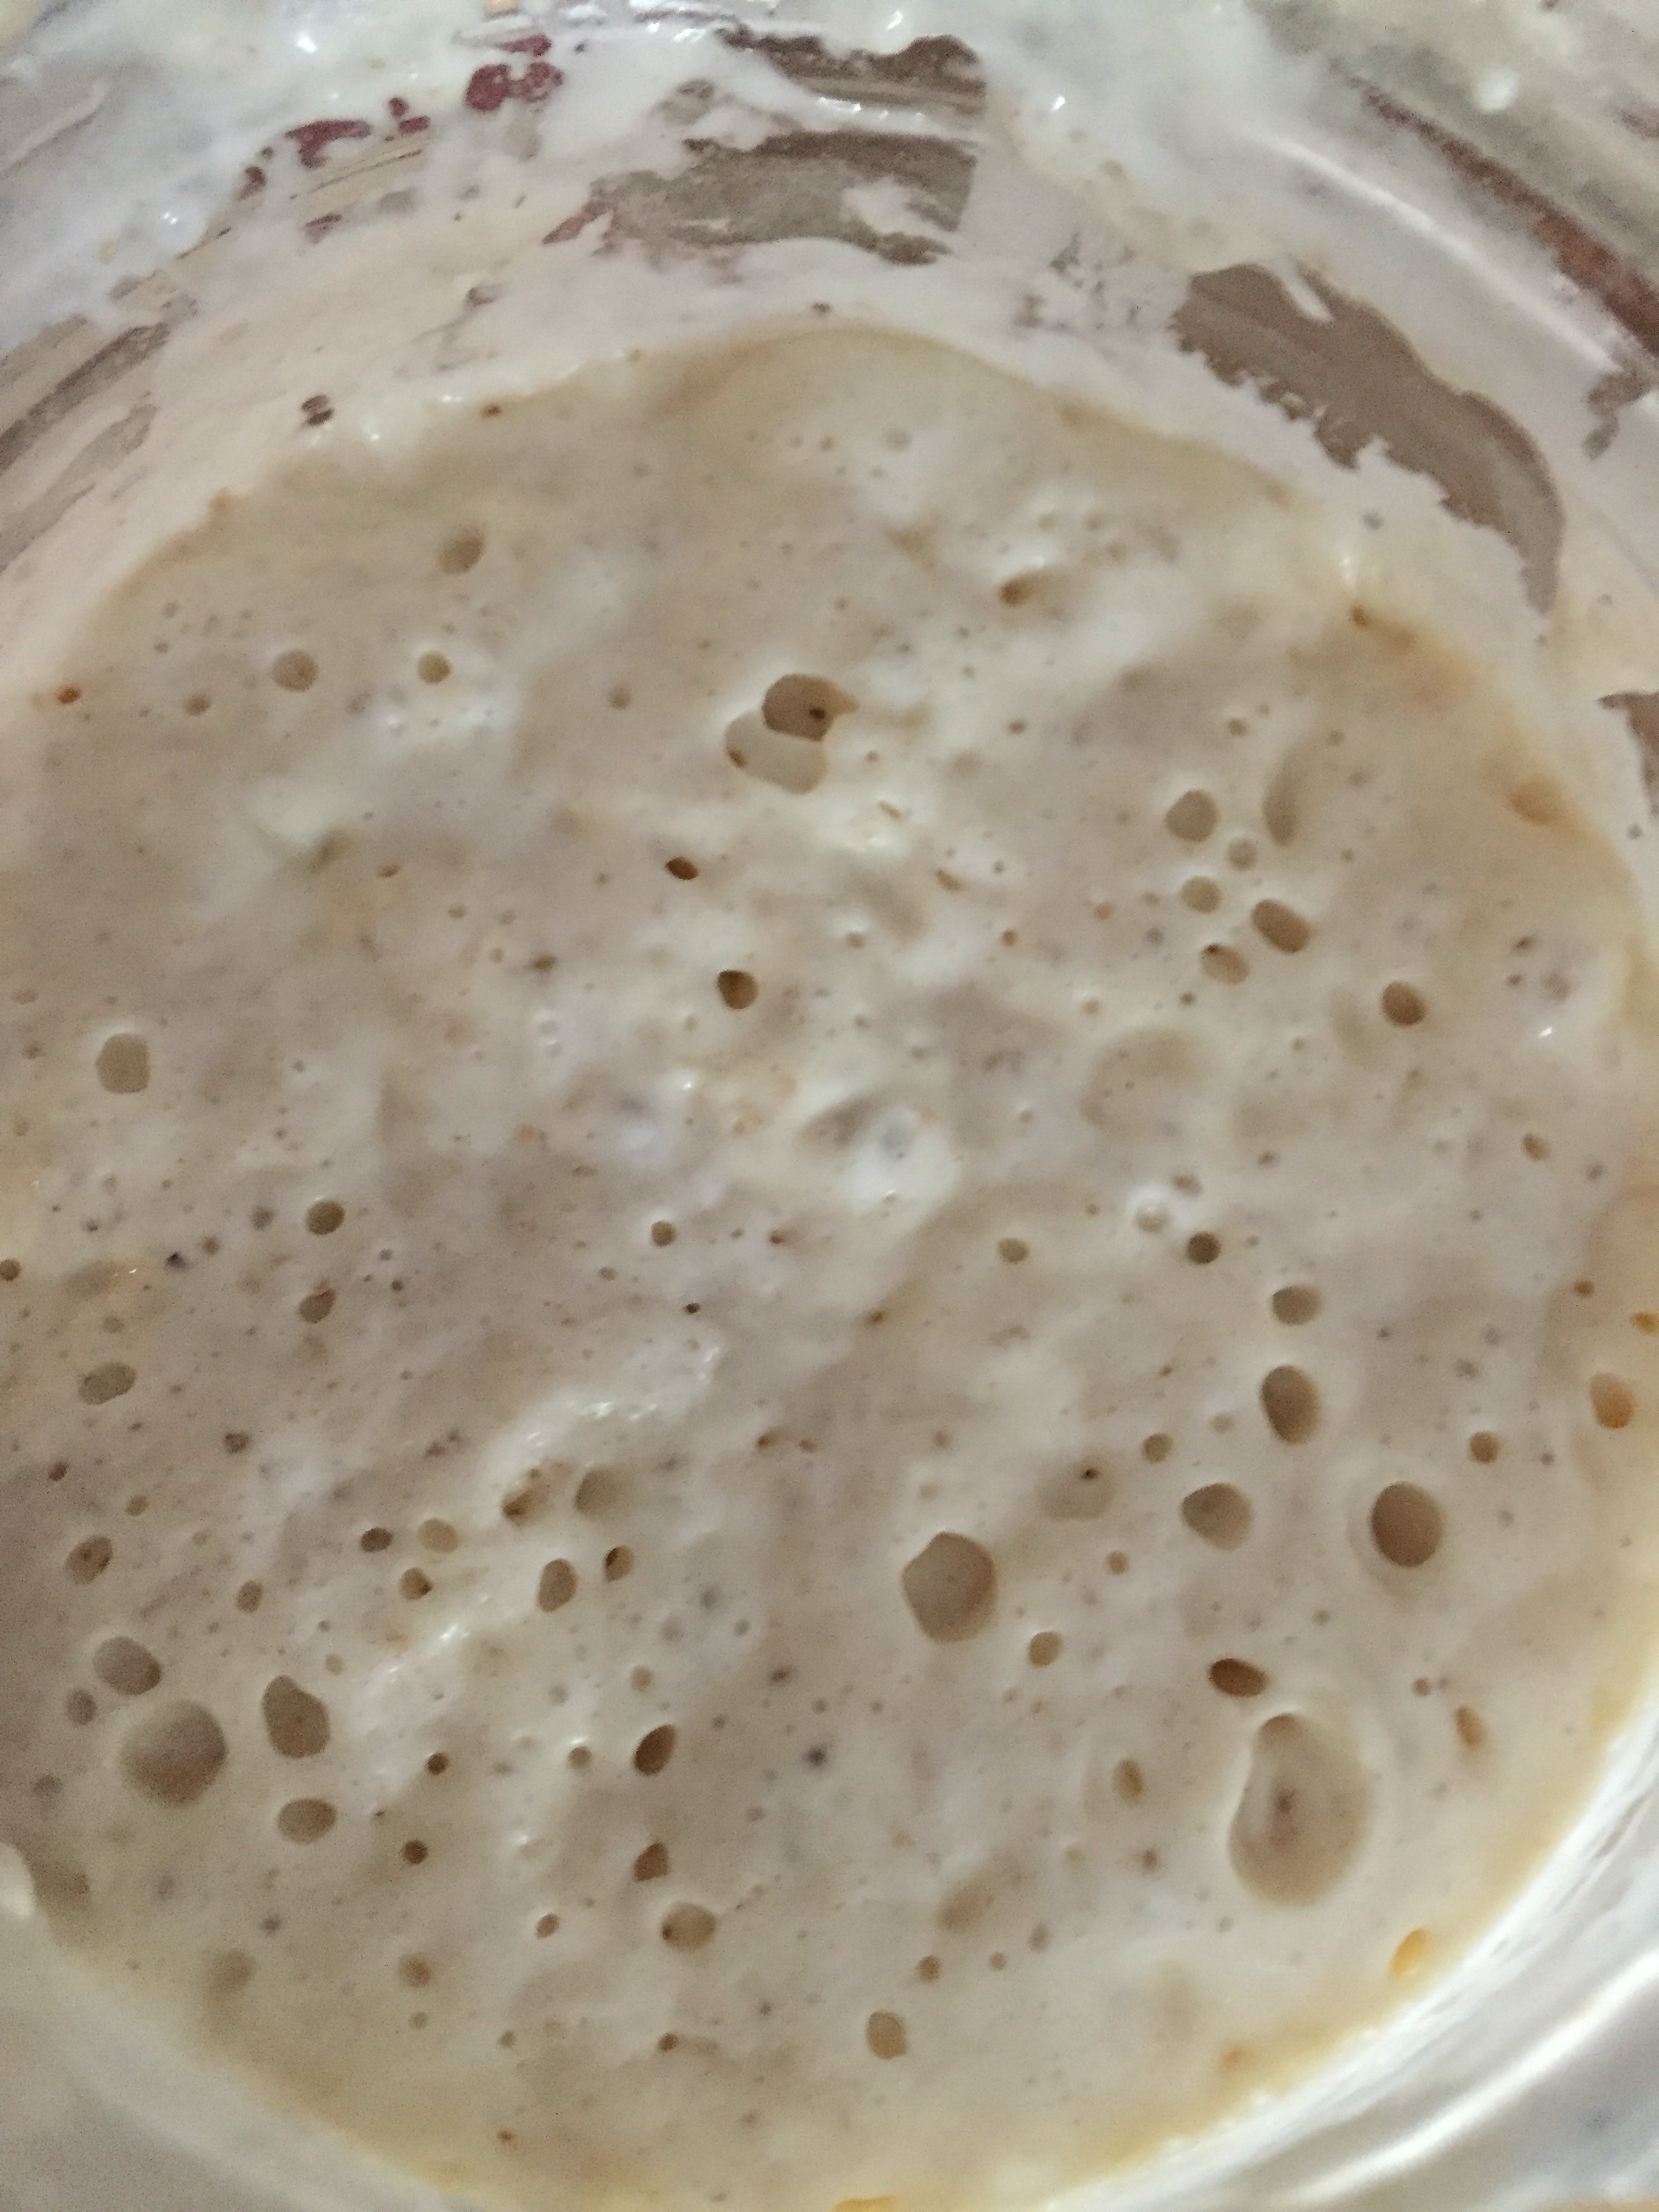
Last night I fed him just before bed and came down this morning to a fantastic looking jar of bubbly stretchy holey perfection, all ready to create my very first sourdough loaf.
The starter now smelt almost like a very rich young beer. The funny thing is, when I think back to when I fed the starter last, darling husband was making beer in the kitchen so I do wonder if it has sucked up some of the yeast from the air? That would be a very happy accident indeed.
Here is the recipe and method I used for my first loaf, which is an amalgamation of perhaps a dozen that I have read on tinterweb. Apparently there is no wrong or right and one must use their intuition to create great sourdough.
Ingredients:
ALL BY WEIGHT NOT VOLUME
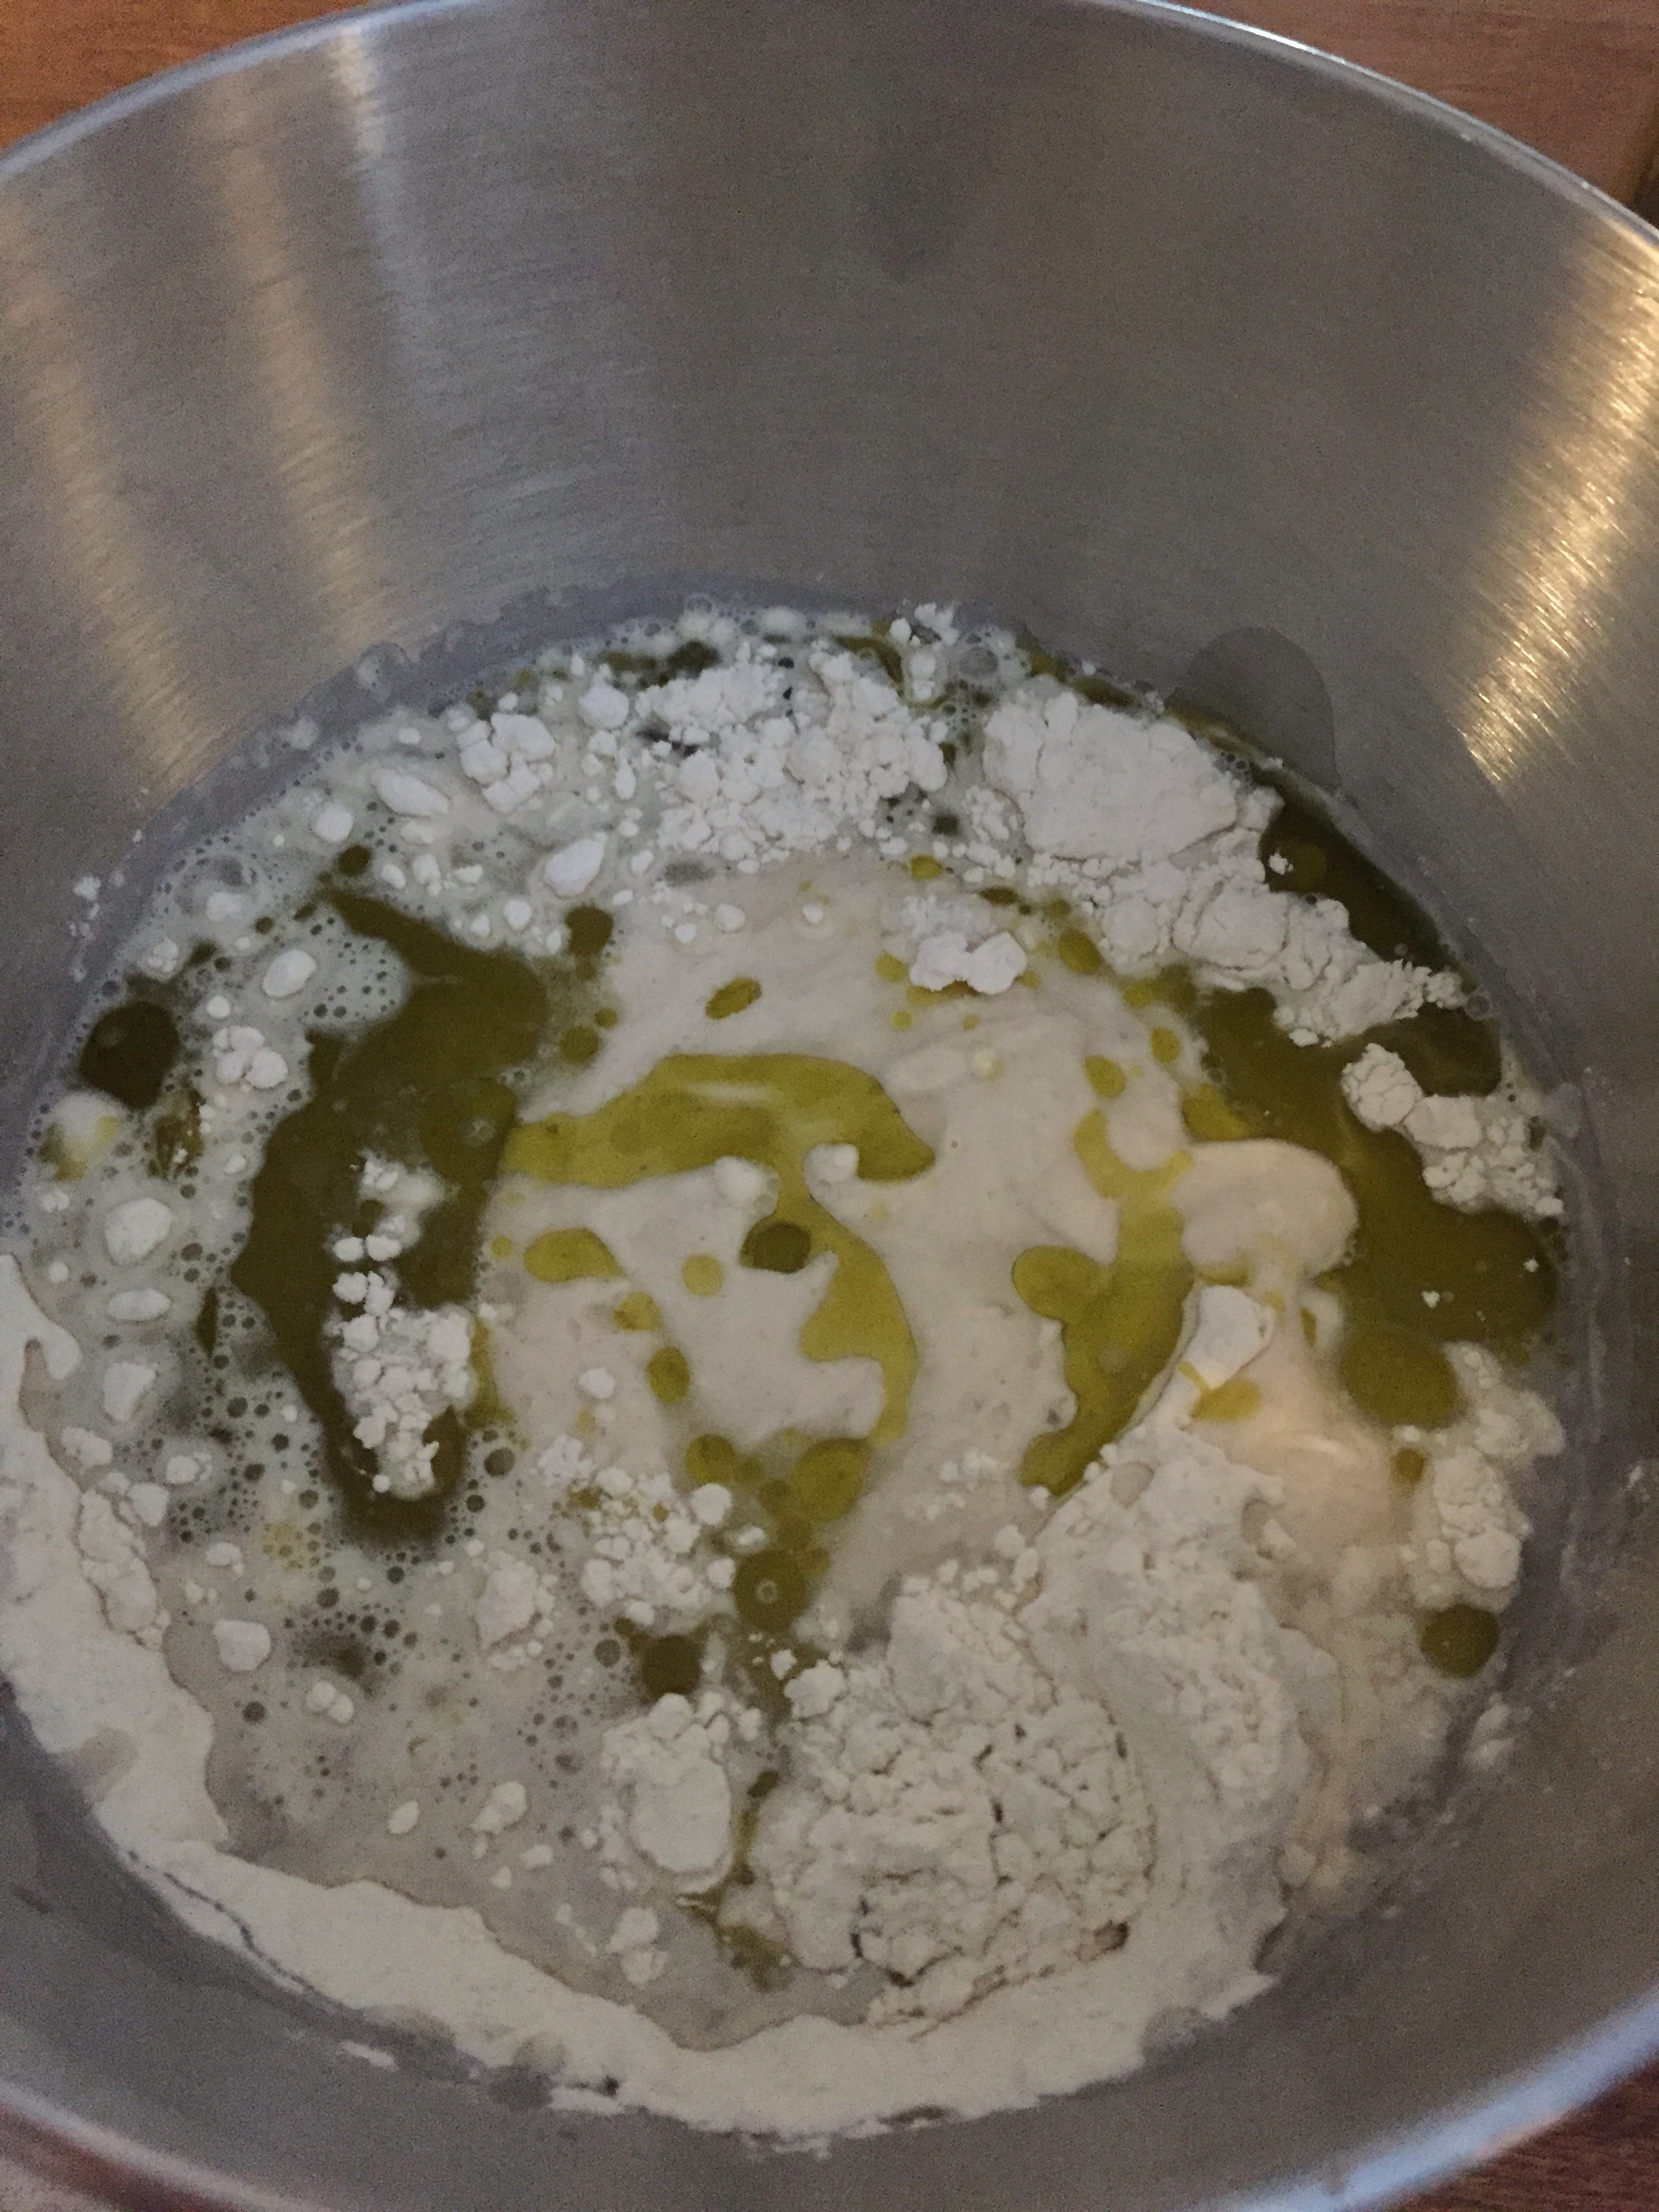
150g starter
500g strong white flour
250g water
25g olive oil
10g good quality fine sea salt
Method:
Combine all of the above except for the salt using a kitchen aid with dough hook. It should only take a minute or two.
Allow this to rest for half an hour.
Remove the dough and knead in the salt on a non floured surface using the slap and fold method for five minutes.
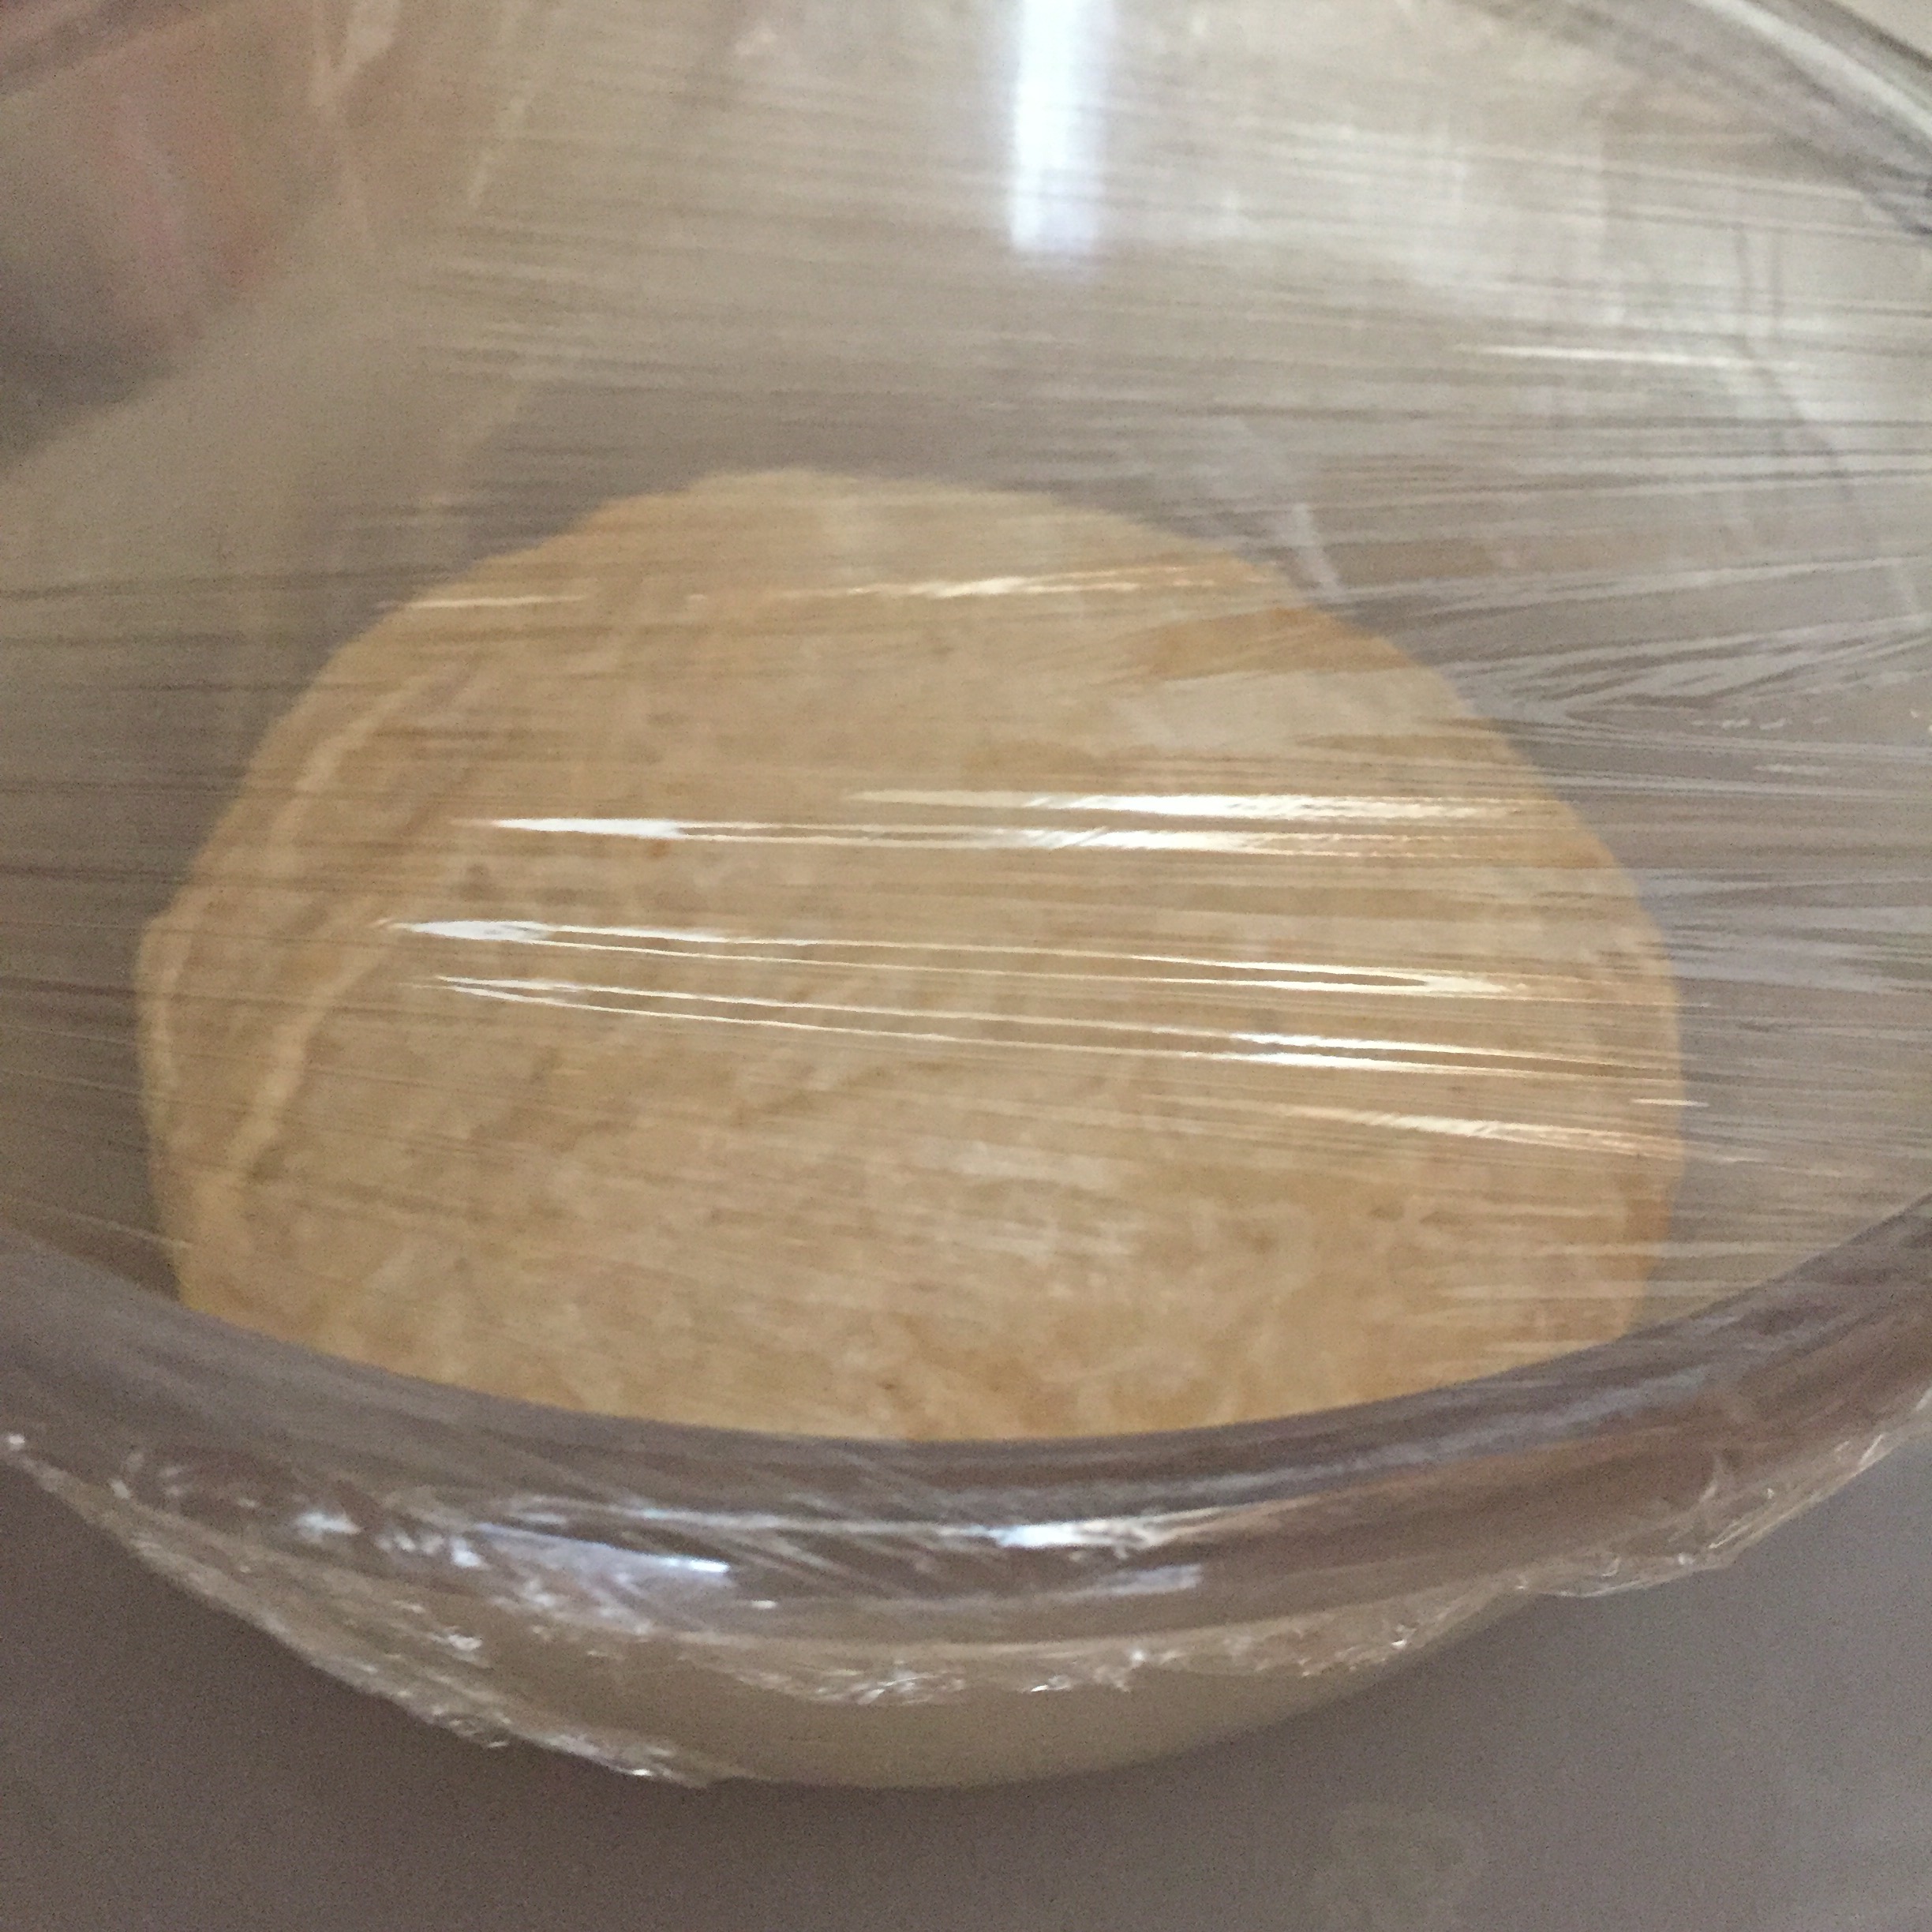
Grease a glass bowl with the lightest brushing of good quality olive oil and place your dough into this. Cover with clingfilm and a clean tea towel and place in the airing cupboard in the winter or leave at room temperature in the summer.
Leave for 6 to 8 hours, returning to it on three occasions to stretch and fold the dough four times by pulling it towards you and folding in half, doing a quarter turn and the same thing again, and repeating so that you have four folds. This part of the process is known as bulk fermentation.
When it has doubled in size, turn out onto a non-floured surface and stretch and fold for another five minutes or so.
Fold over onto its self and then flip 180° so that you have a perfectly round ball and all your folds are underneath.
Place into a Dutch oven, I am using a terracotta roaster. On the bottom of the pot, I put a very light dusting of cornmeal to stop it from sticking.
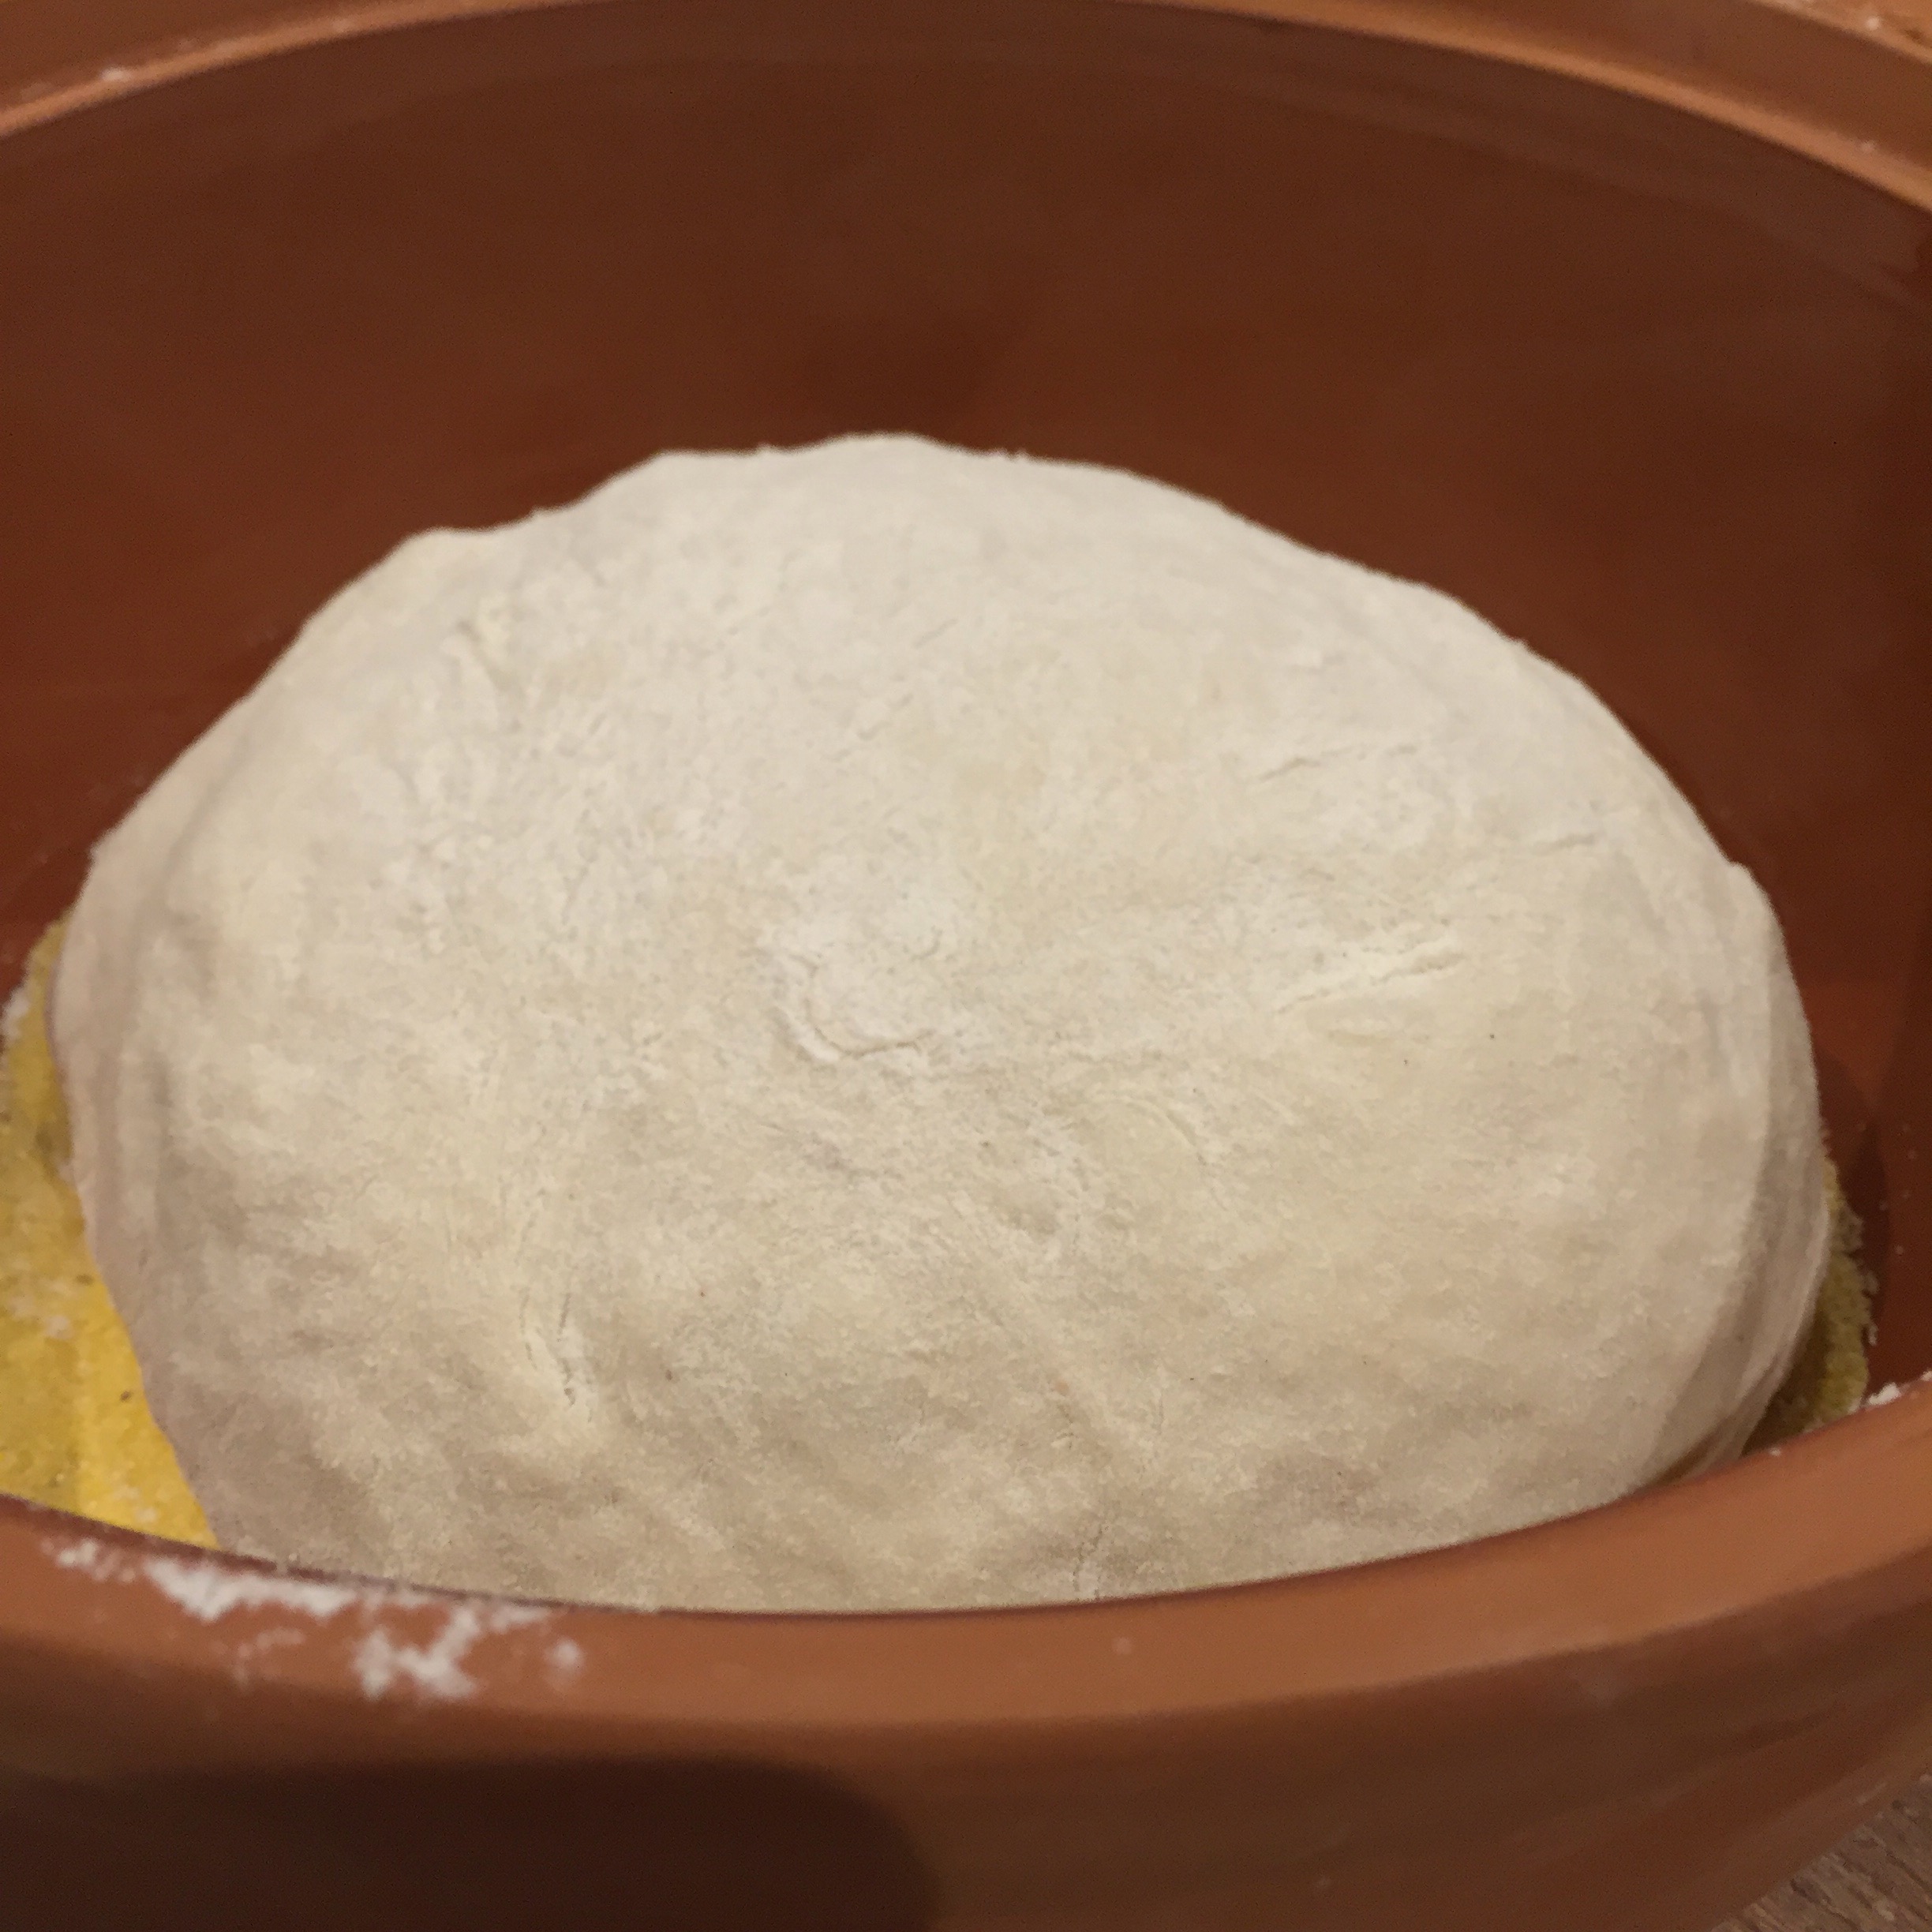
Allow to rise again for a second time in the pan, in the same place as it was previously. This time I left it for around 2 1/2 hours until he had doubled in size.

In the meantime, turn your oven on in advance as high as it will go, my maximum is 220. When the time is right, slit the bread across the top with a sharp knife or blade
and place the the pan with the lid on on the lower shelf of the oven for half an hour. After this time, carefully remove the lid and cook for a further half an hour so that you get a great colour and a really good crunchy crust. Remove from the oven and allow to cool slightly before turning out onto a wire rack.
It will need to cool for at least an hour before you can cut it. But when you do… All I will say is, there is a high chance you will re-enact that scene from when Harry met Sally. Enjoy!
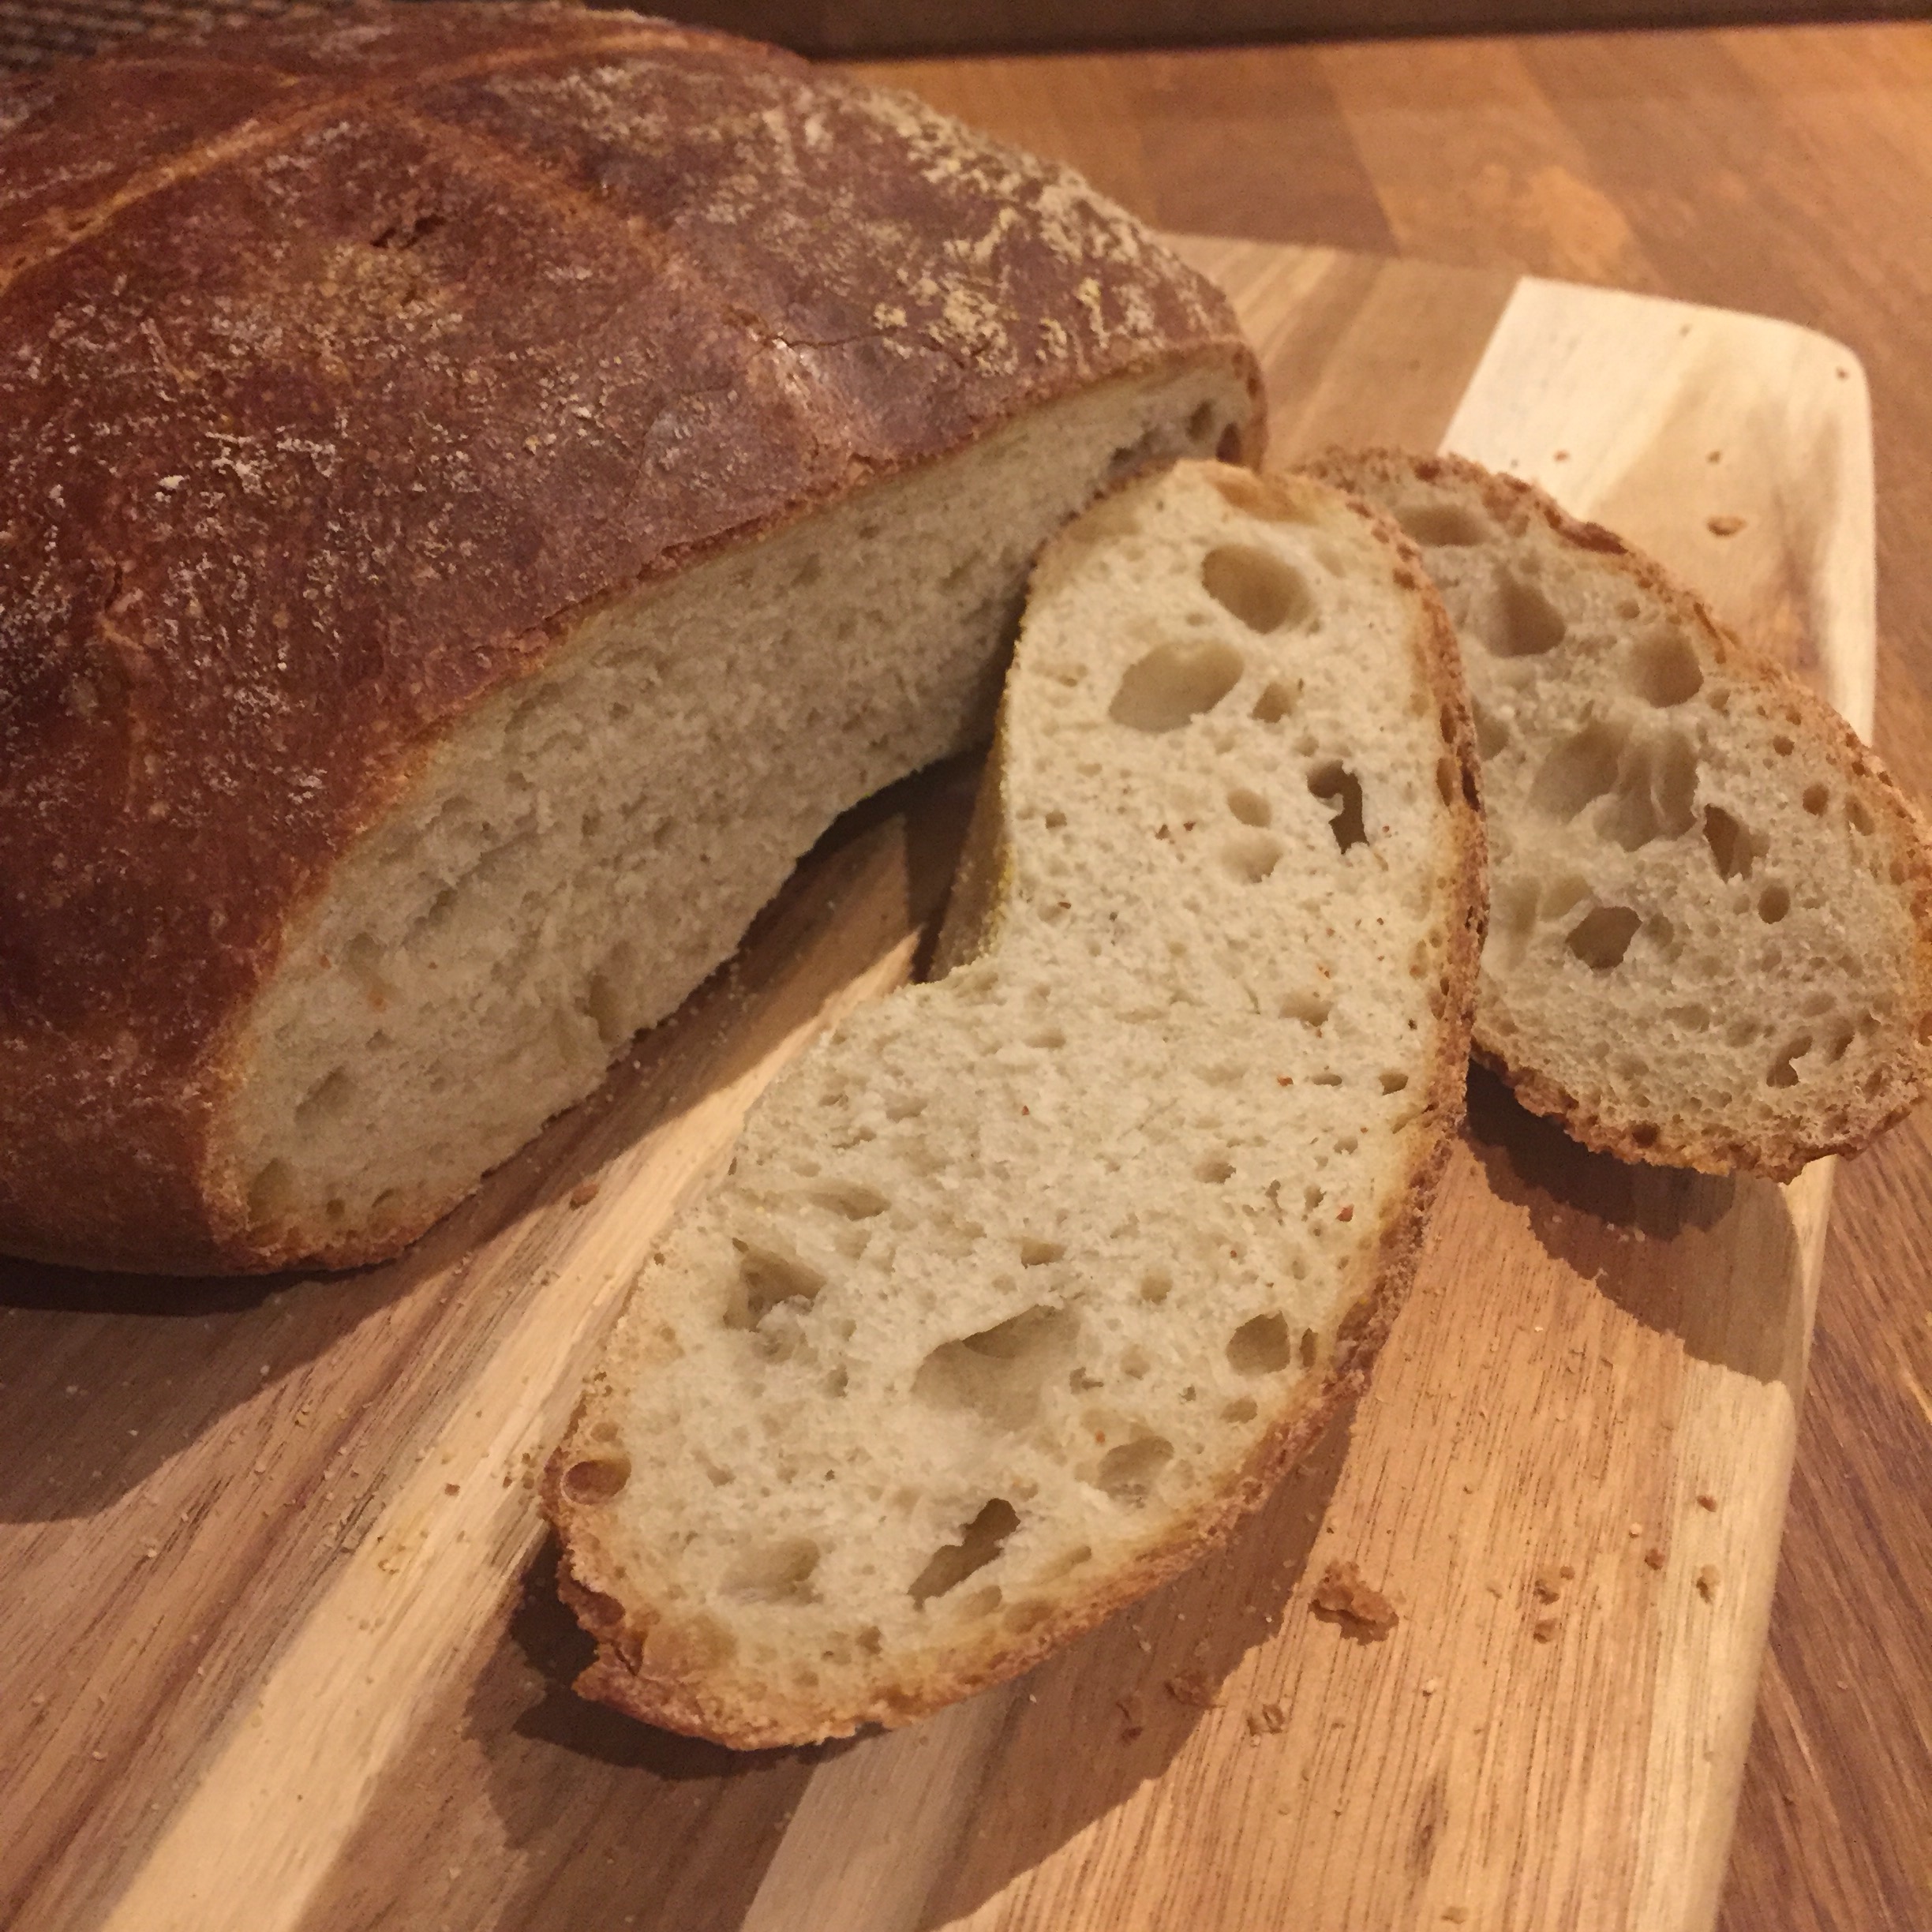
Oh, and it makes the very best toast in the world! Kind of a cross between the best Farmhouse loaf you have ever had and a crumpet if you can imagine that… it’s great fresh for a couple of days but toasted was good for 4 or 5.
I’m absolutely itching to make my next loaf, but I will have to limit myself I think to 1 a week in this house for fear of turning into the stay puff marshmallow man if I baked it any more than that.
Good luck, do have a go, and please share your journey and results! TTFN x