How does your garden grow? 

With silver bells and cockle shells? 

I could not be more excited at the moment with the progress of my little vegetable garden. Every day things change and grow, and I’m able to harvest something delightful for dinner. I literally go skipping down there like the Easter Bunny with my decade old metal trug feeling every inch the country living magazine (plus sized and slightly grey-ing) model. It must be one of the best feelings in the world to be able to come home from work, walk down the garden and get a bit muddy digging up spuds and onions then bring them indoors and cook them up, as fresh as fresh can be. 

Talk about fast food… 

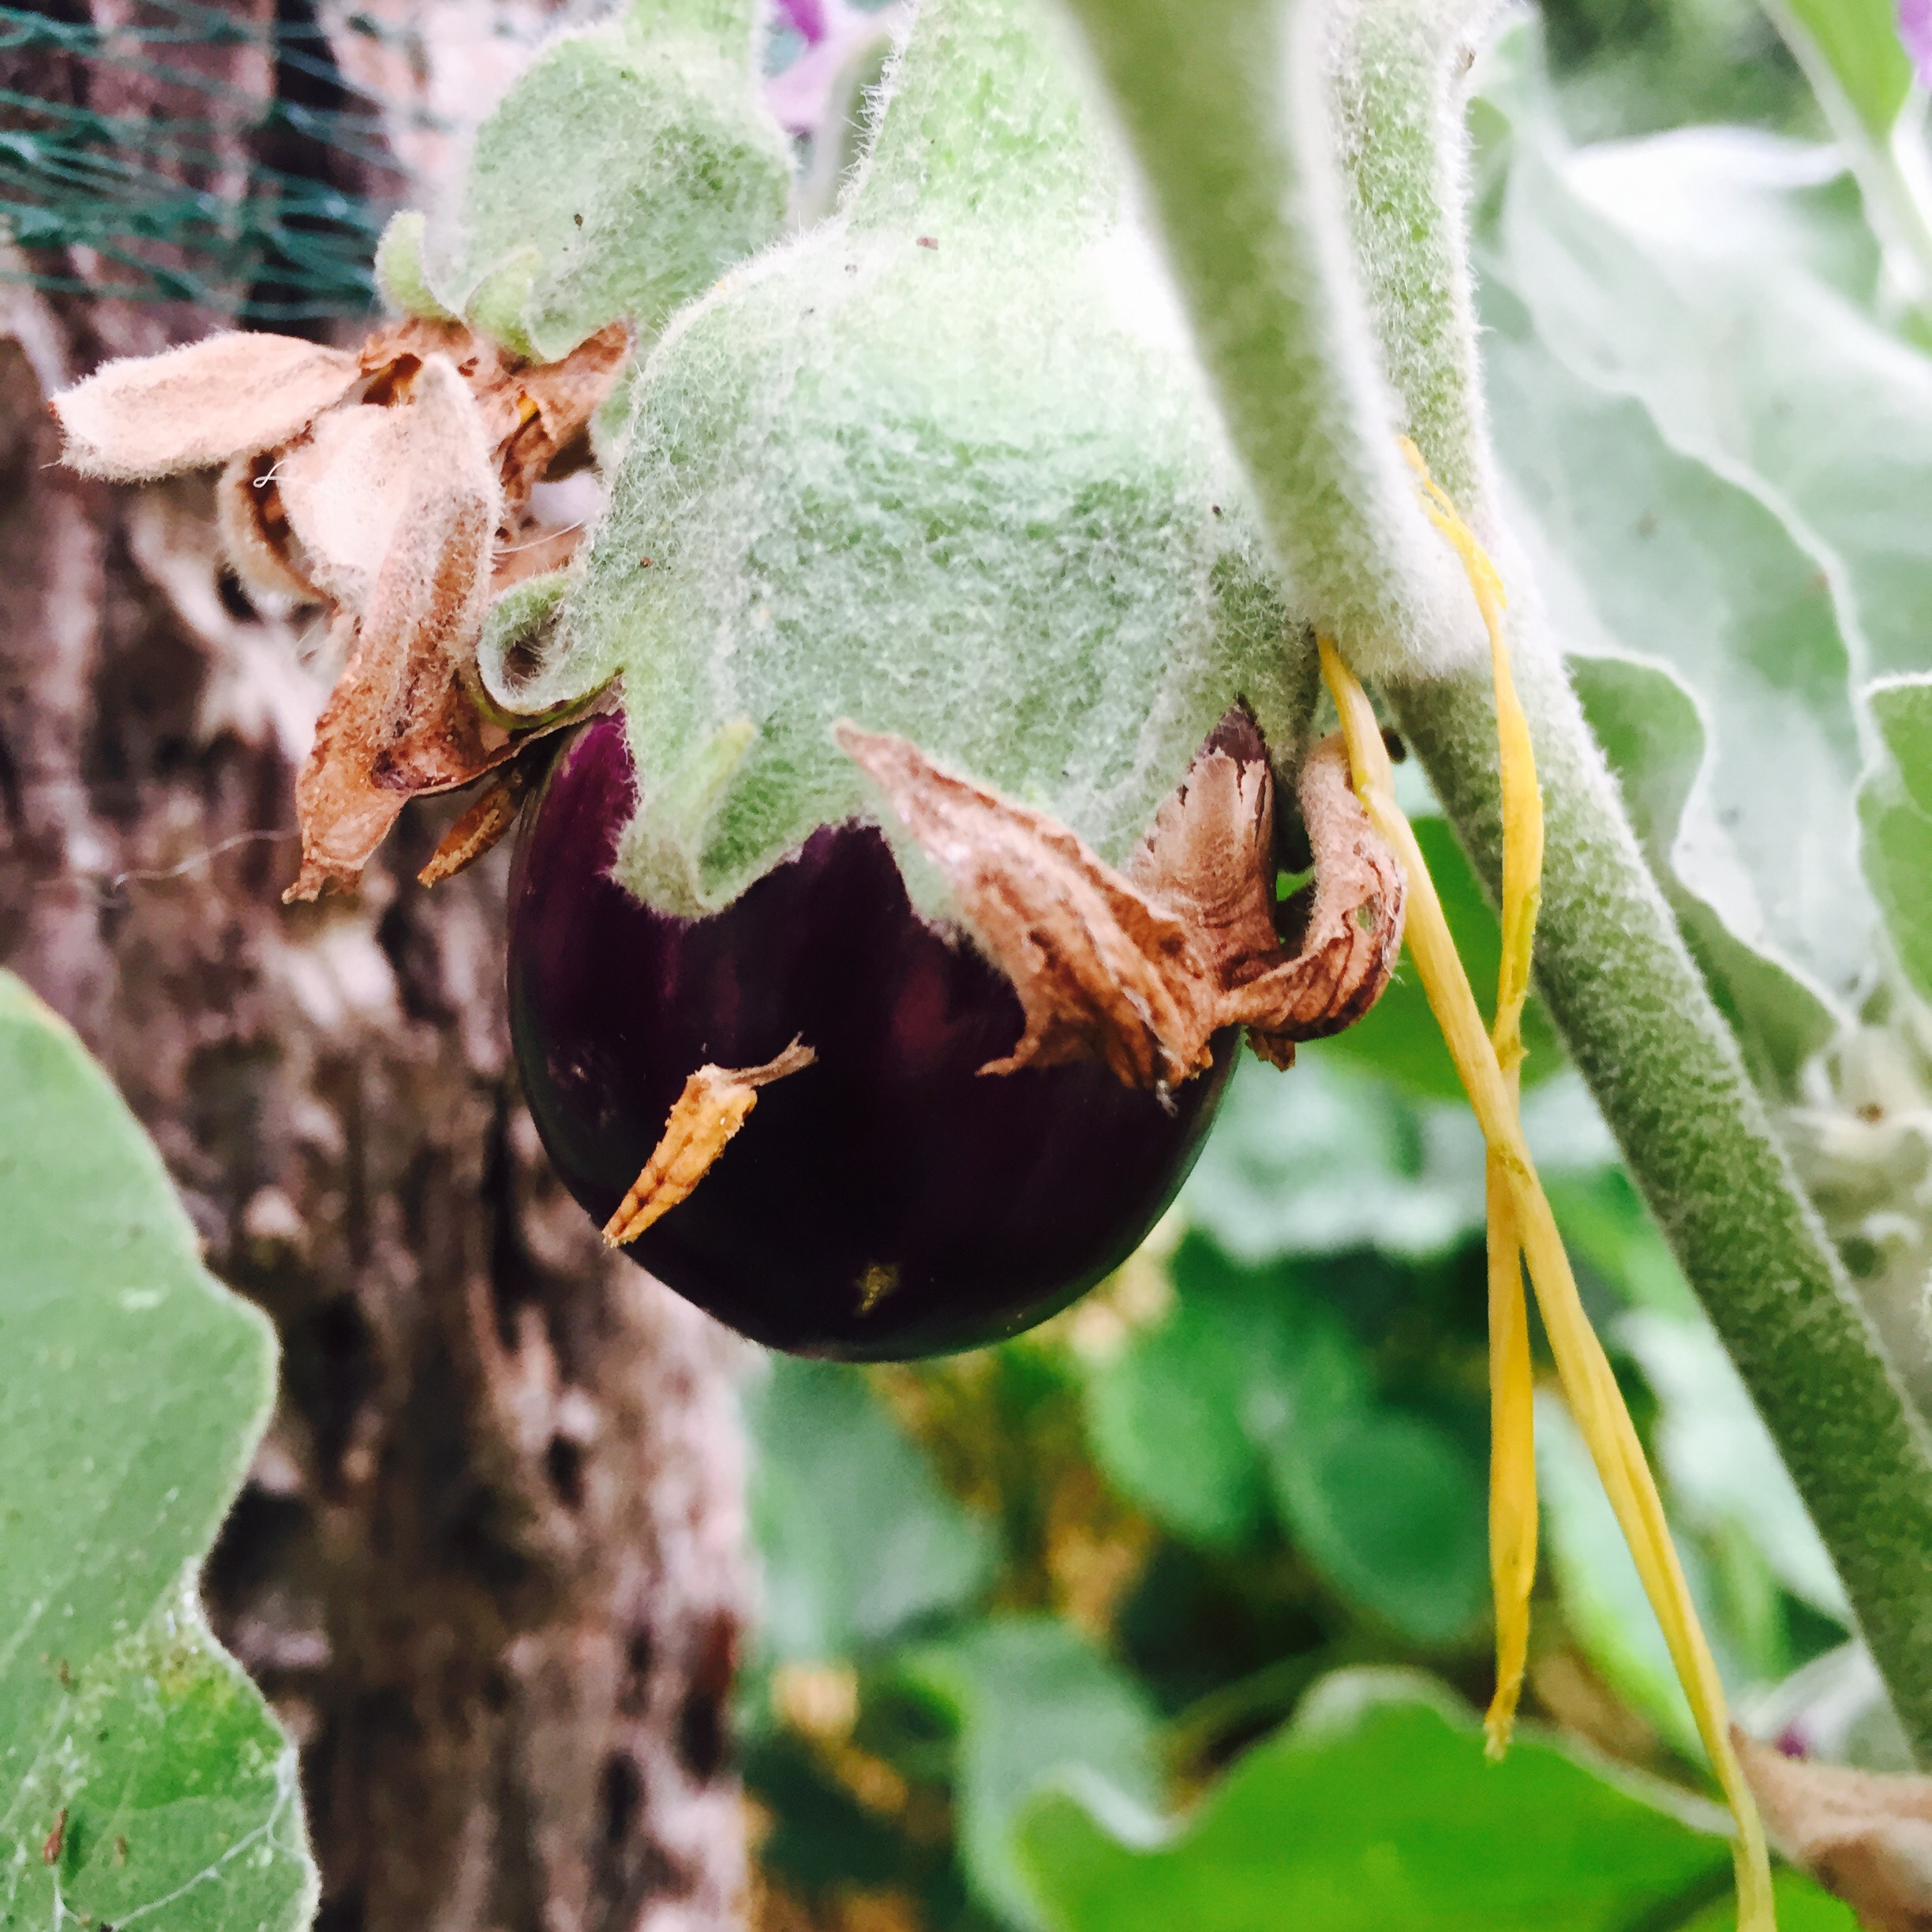
I think my most successful things have been potatoes so far, they are fairly straightforward. The onions are proving to be fantastic, I will plant more of those next year. The leeks are still tiny but growing well, and I have planted some spring onions too. Fingers crossed for those. Oooh, and I have at least half a dozen baby aubergines….


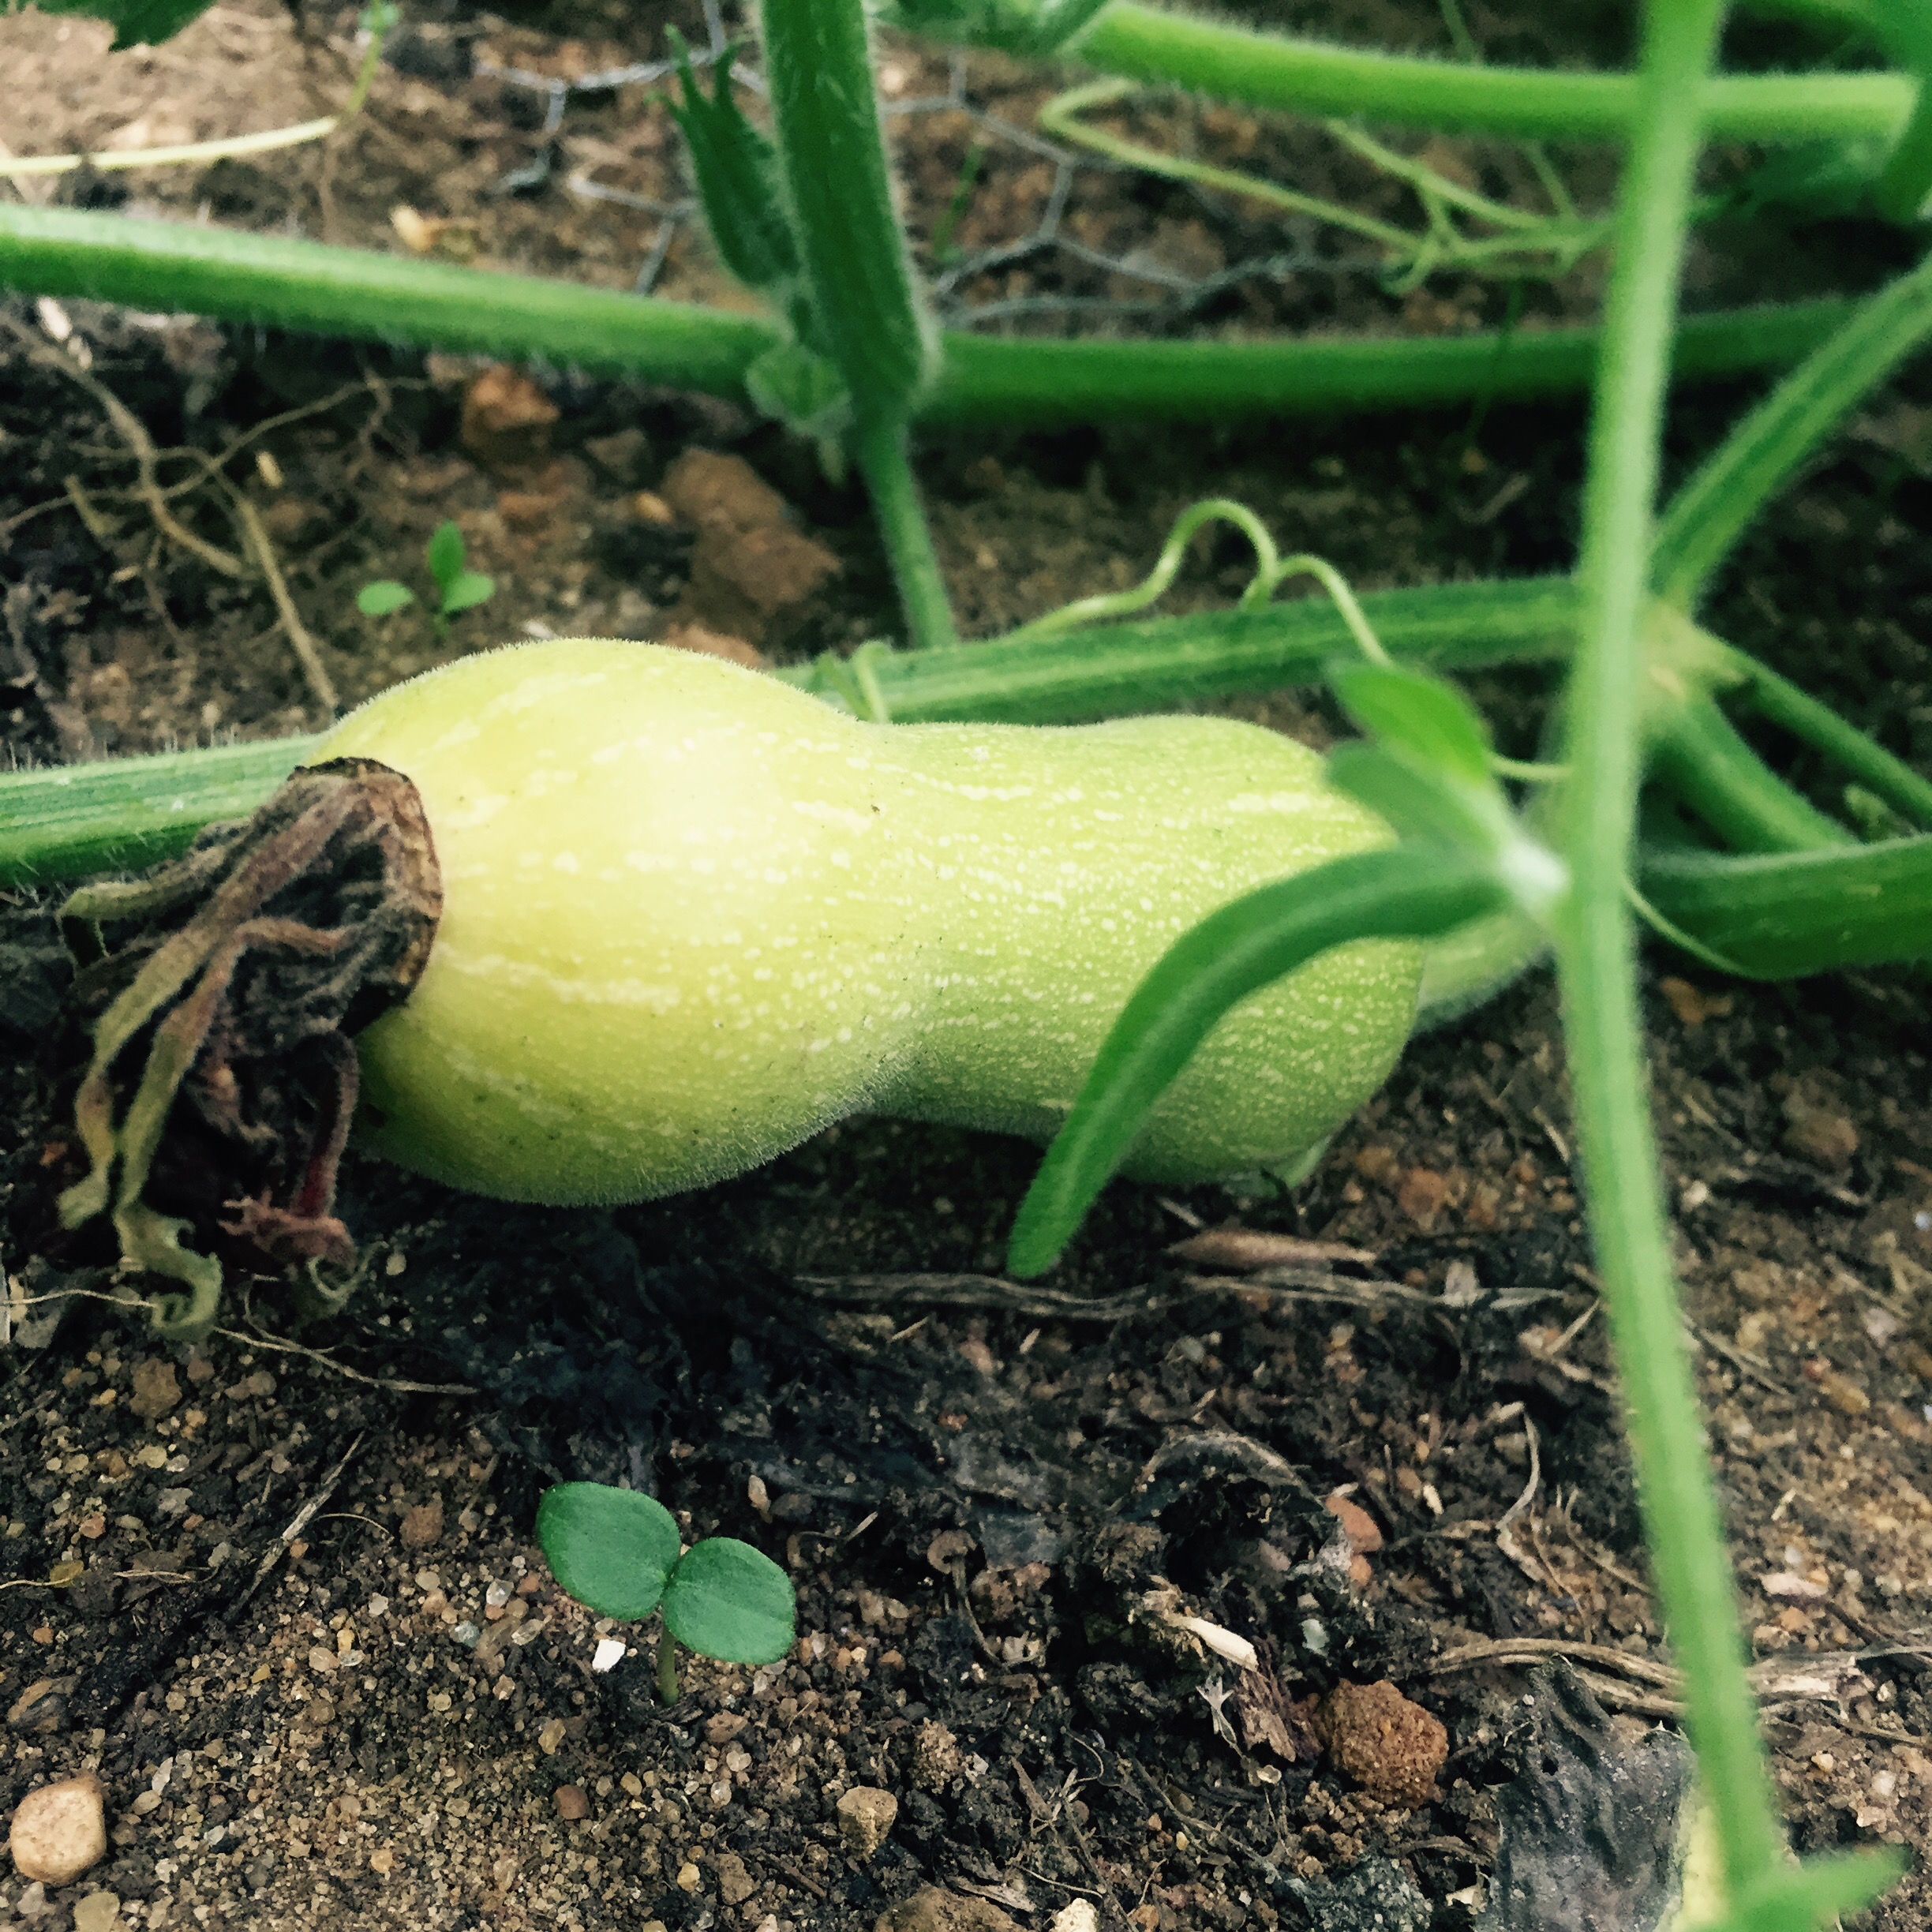
The carrots are also unbelievably good so I am thinking that I will plant some more of those when I have pulled some more potatoes up in the next week. The kale although very pretty was very disappointing and holey and very tough to eat, I think that I really do need a Brassica cage to cover everything, not just my broccoli and cabbage plants. But I’ll give that a miss next year. Lesson learned! Tomatoes are slow but coming and I think I might be overrun with butternut squash when the time comes lol! 


I am really really cheesed off with myself that I didn’t plant any sweetcorn. Everyone else’s is ready now and it’s one of my most favourite things so I am gutted I didn’t think to put these in. Must plan better. But I have already bought seeds from Wilkos so they will be going in next year I can guarantee it!
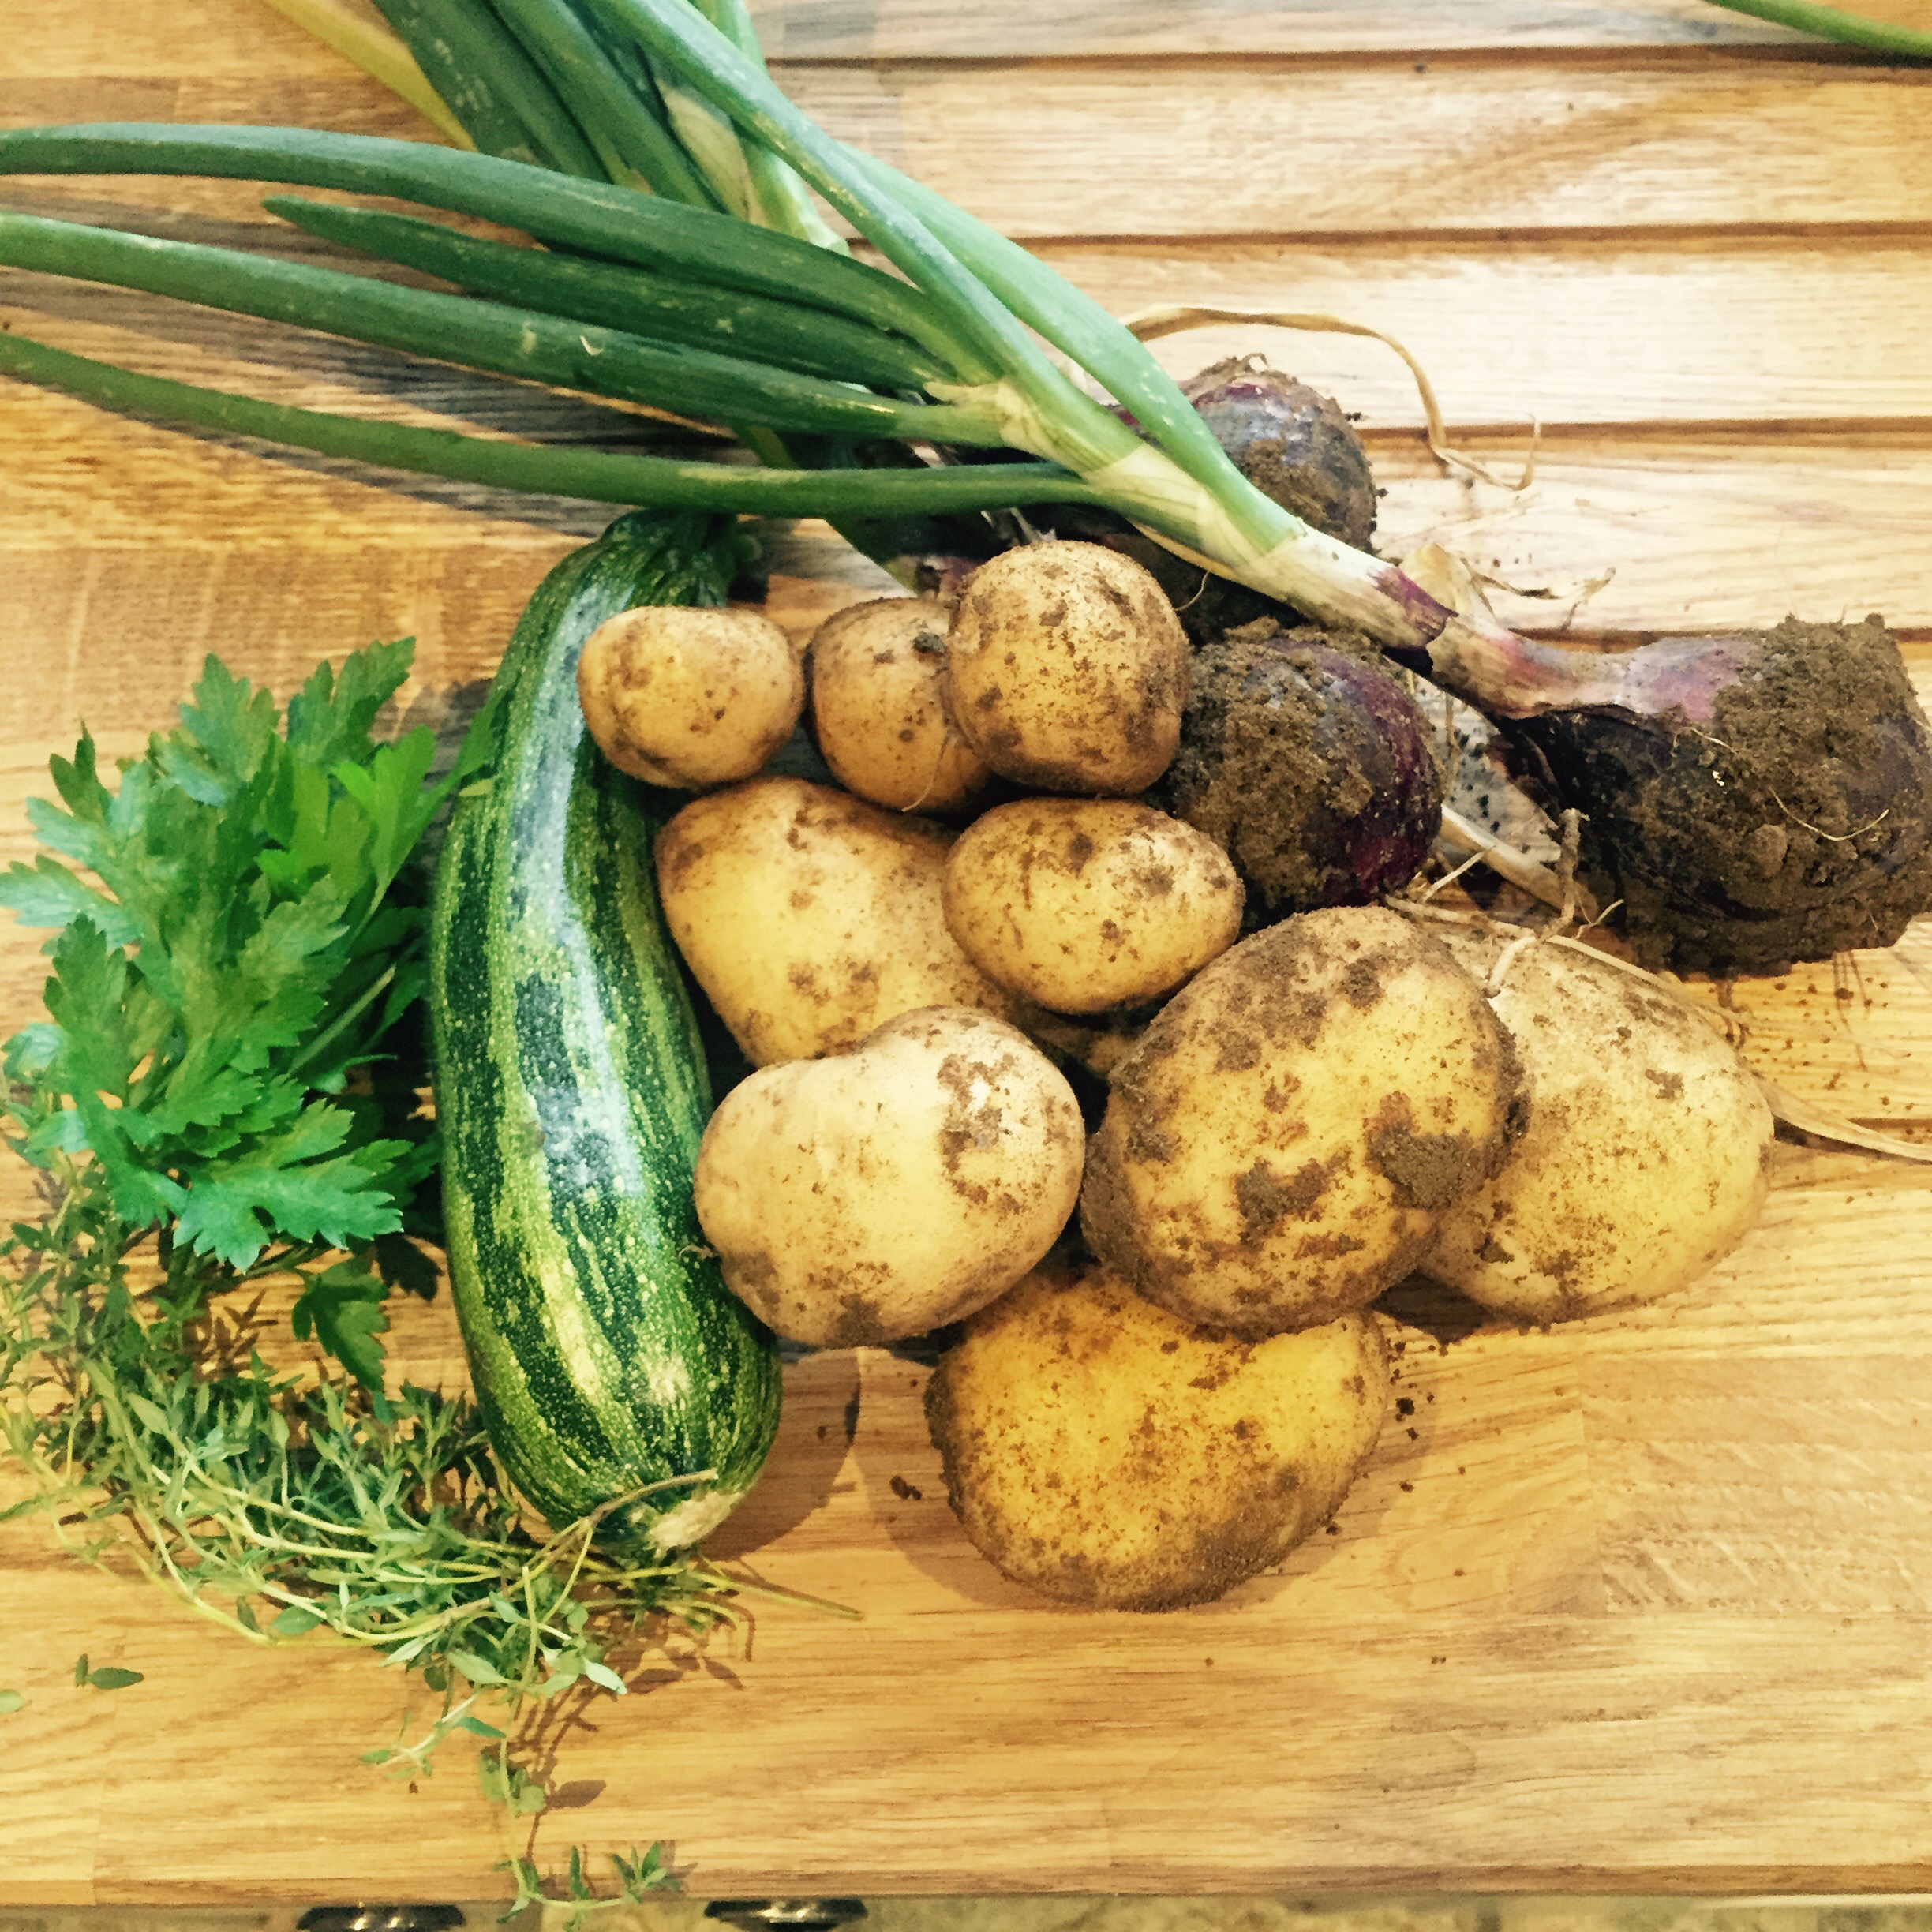
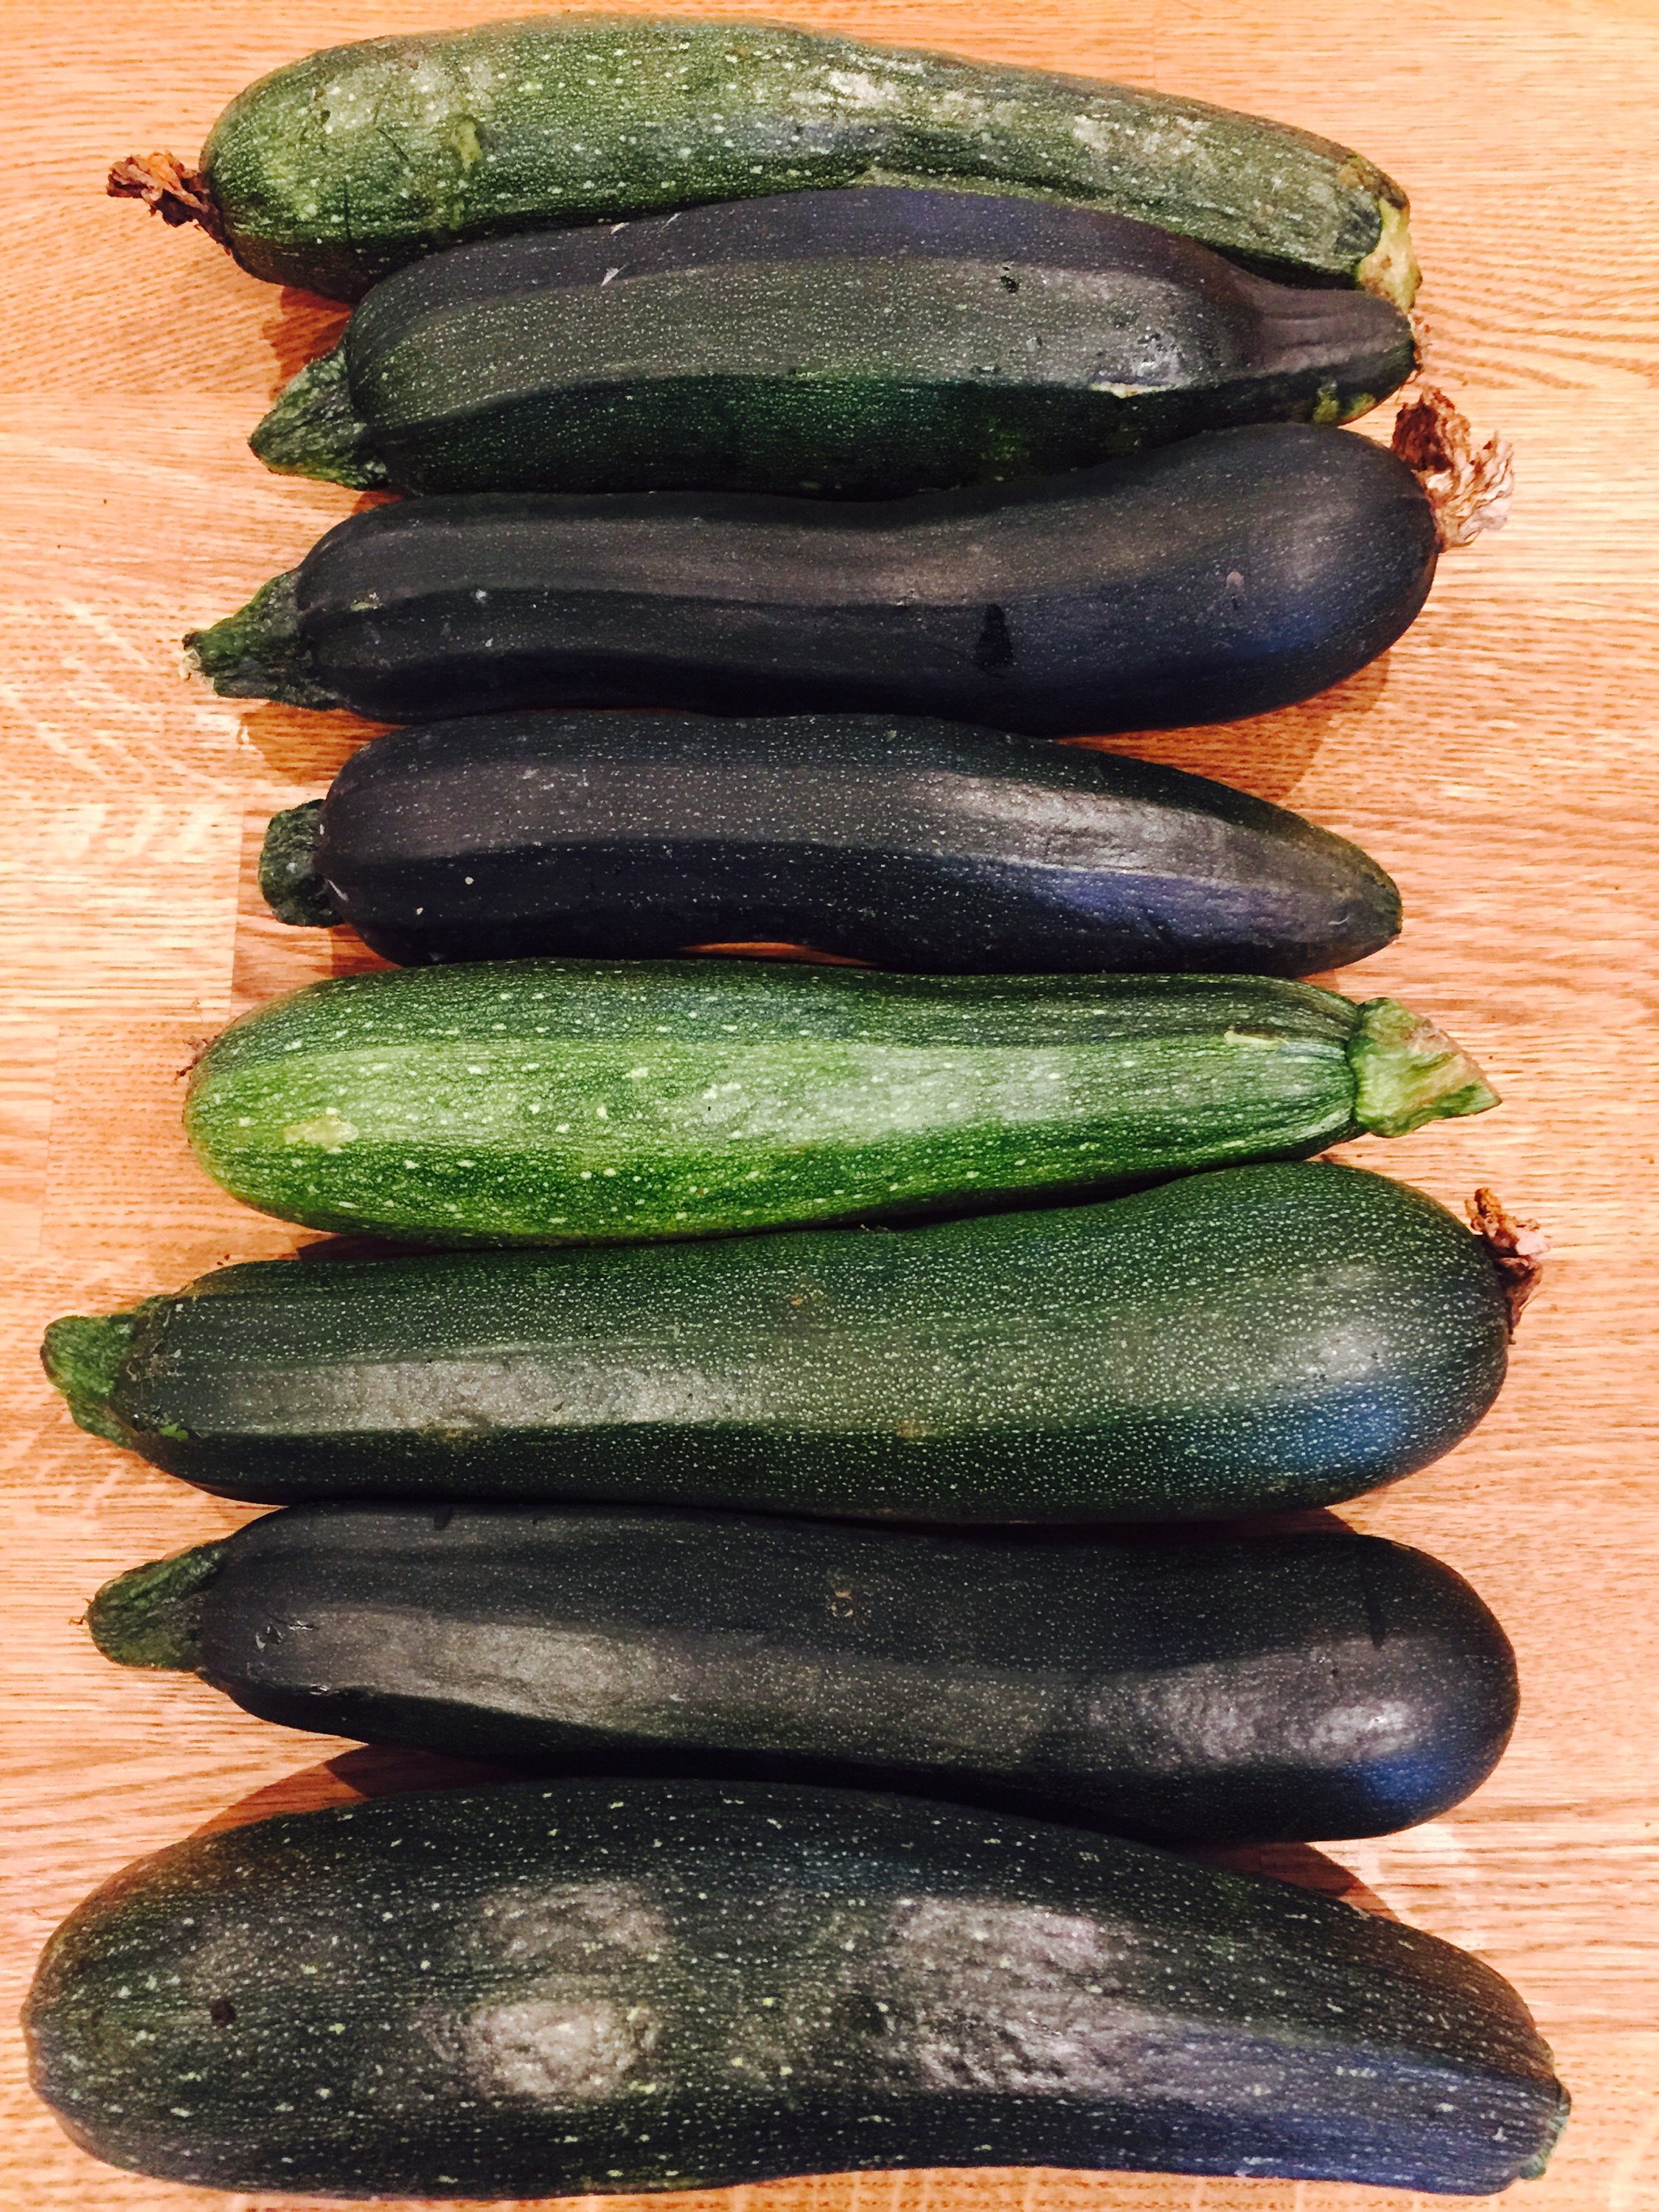
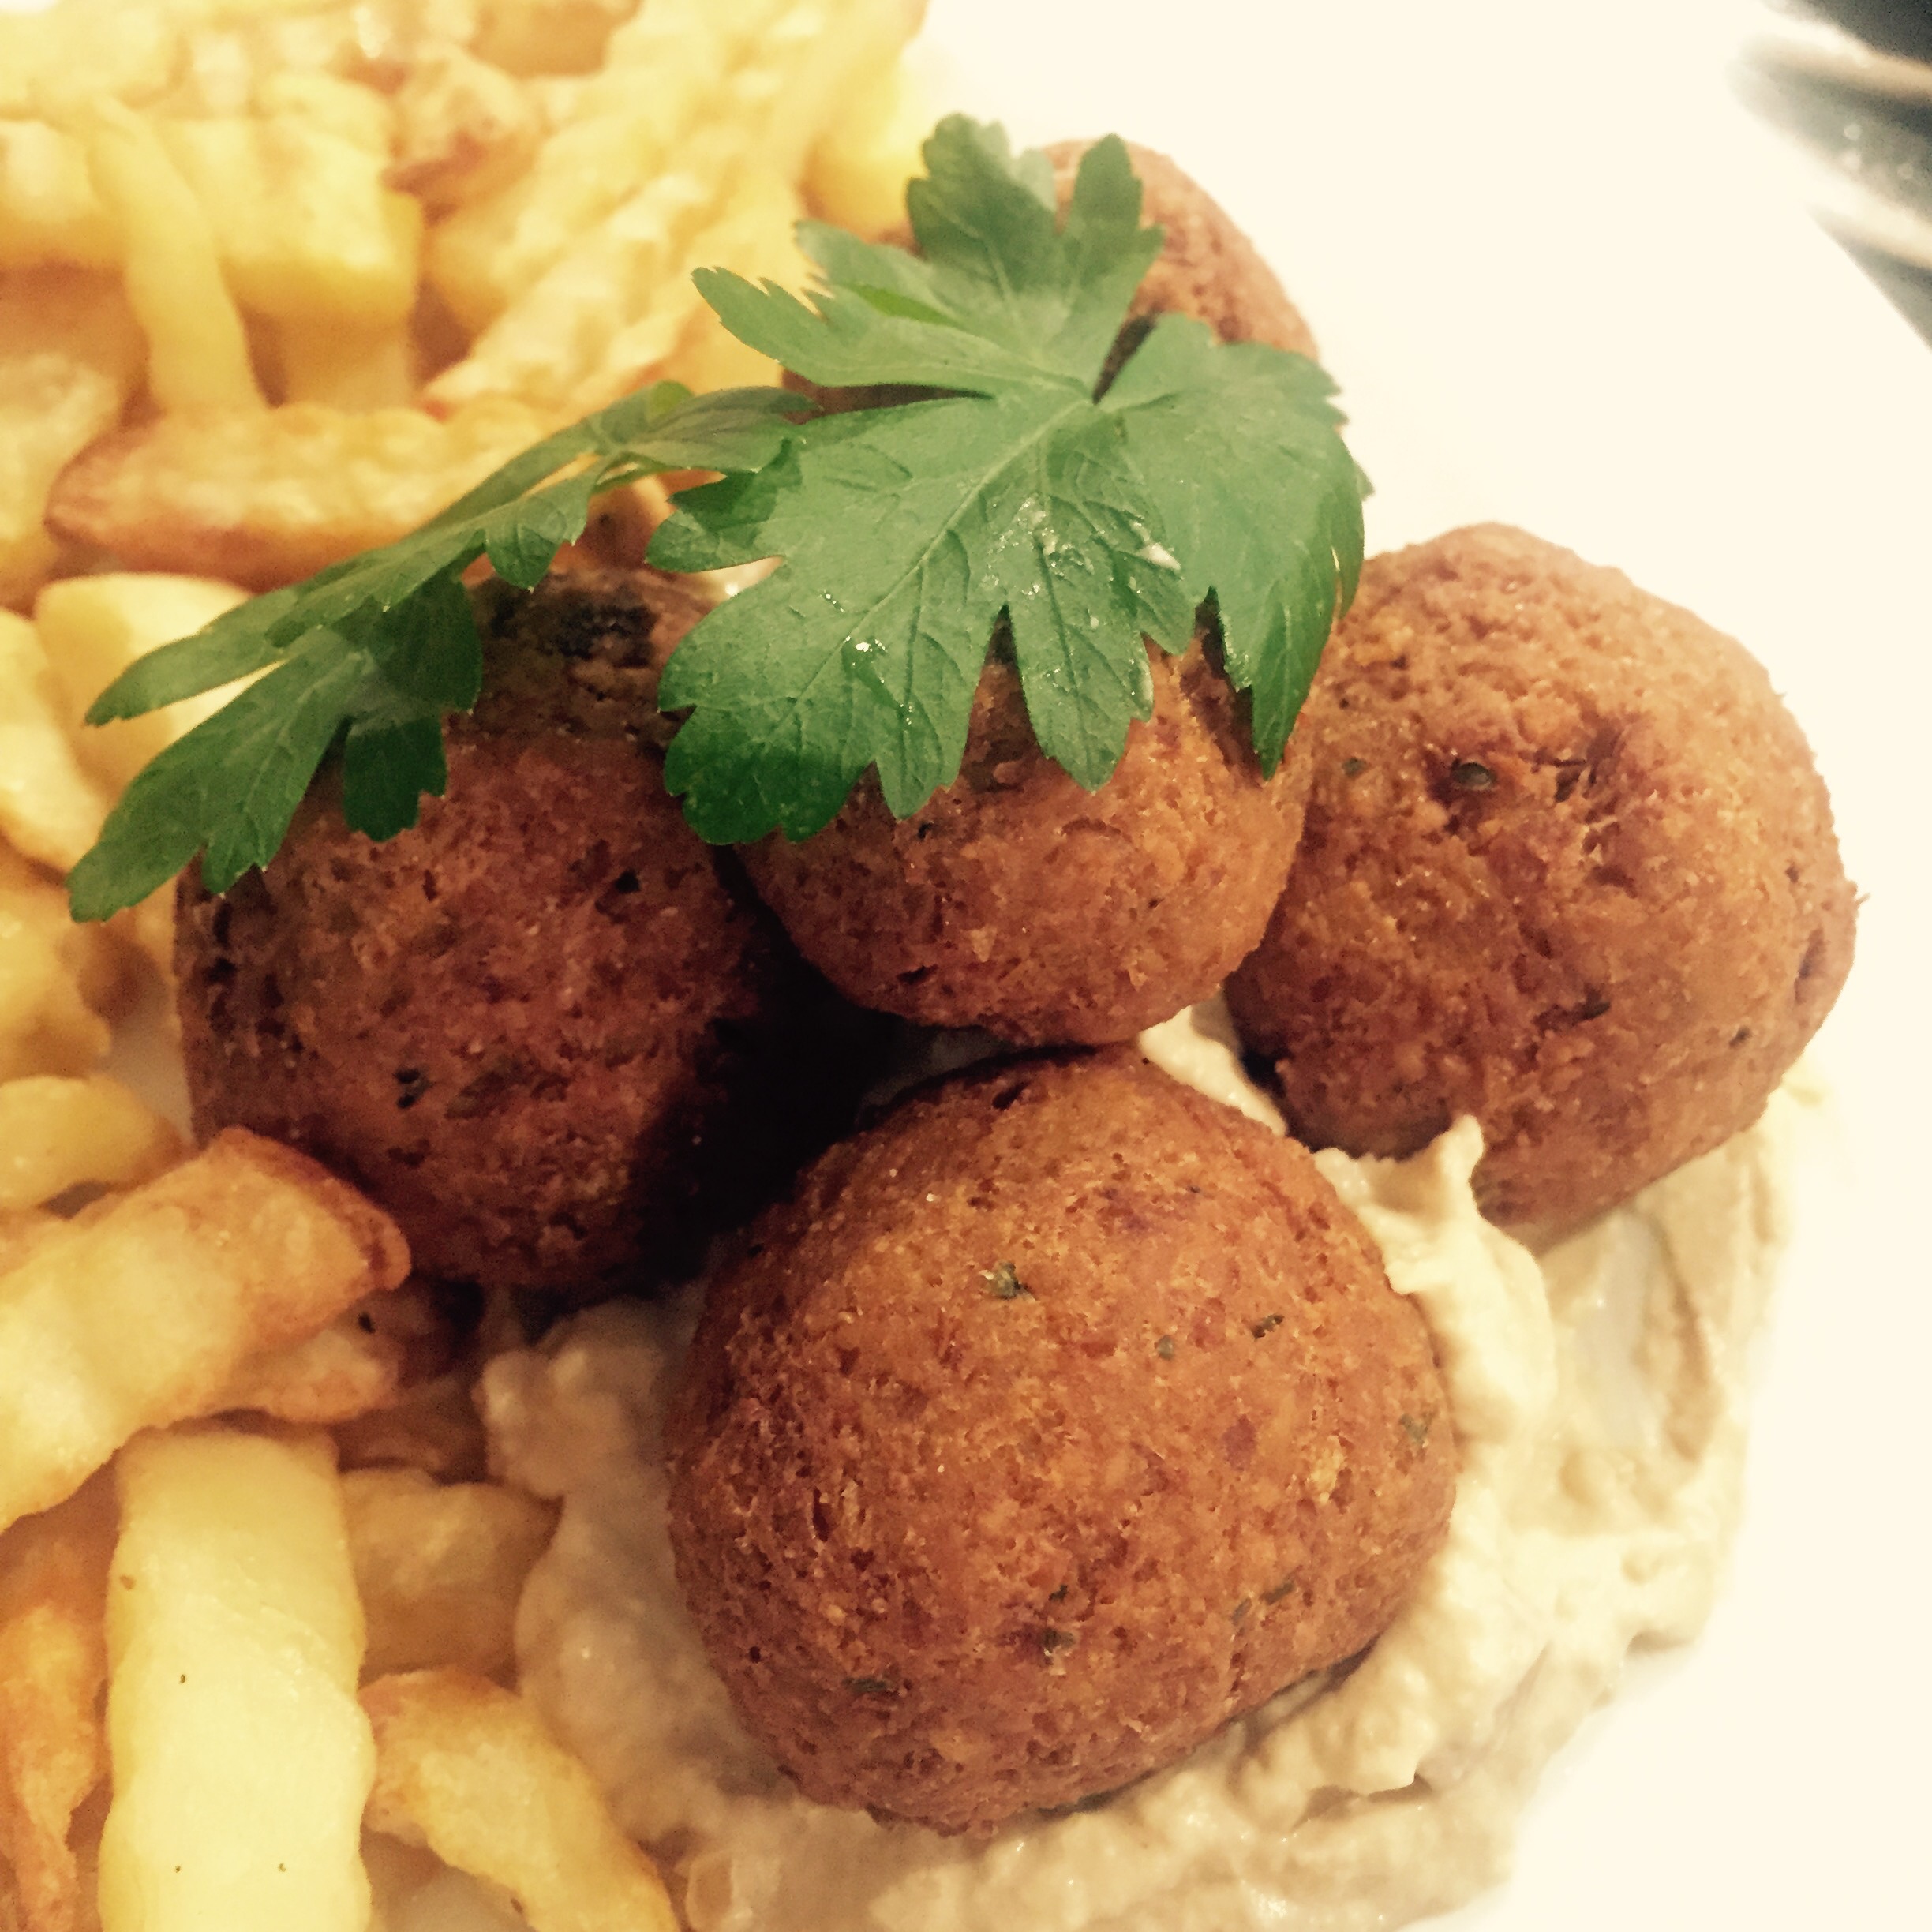
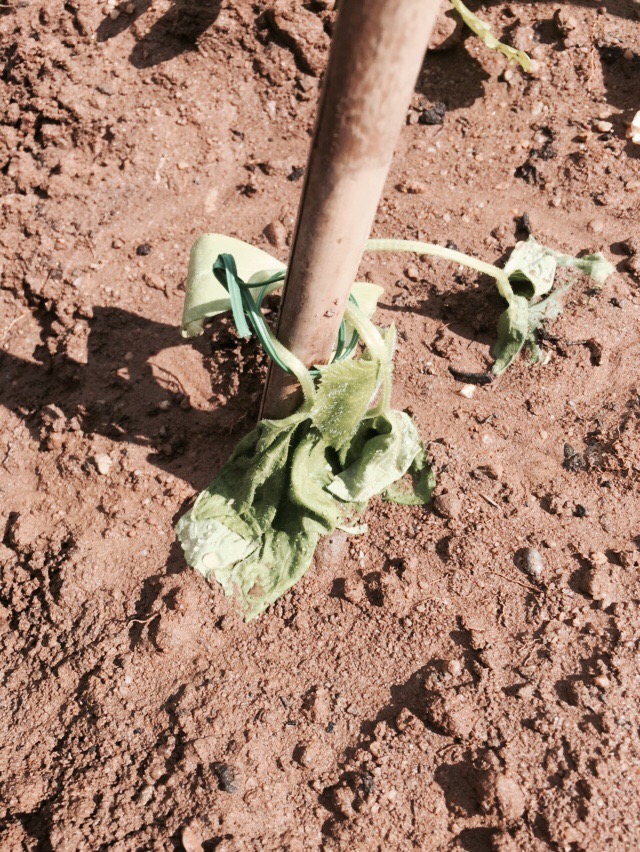
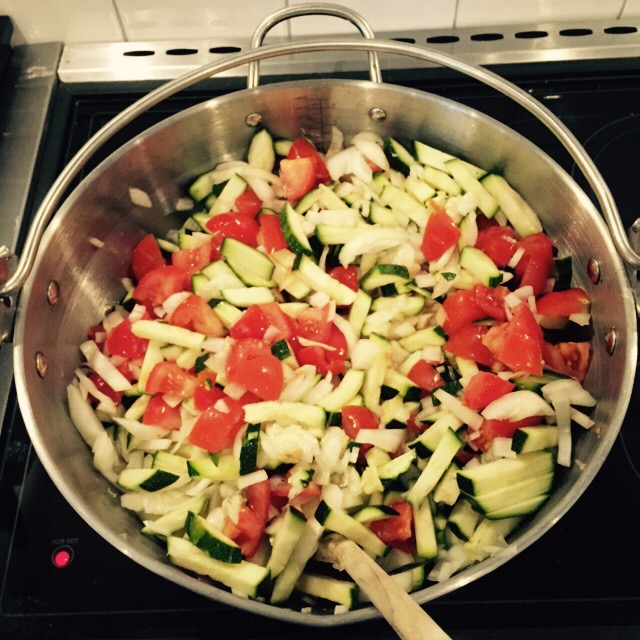
This is what I picked last night:


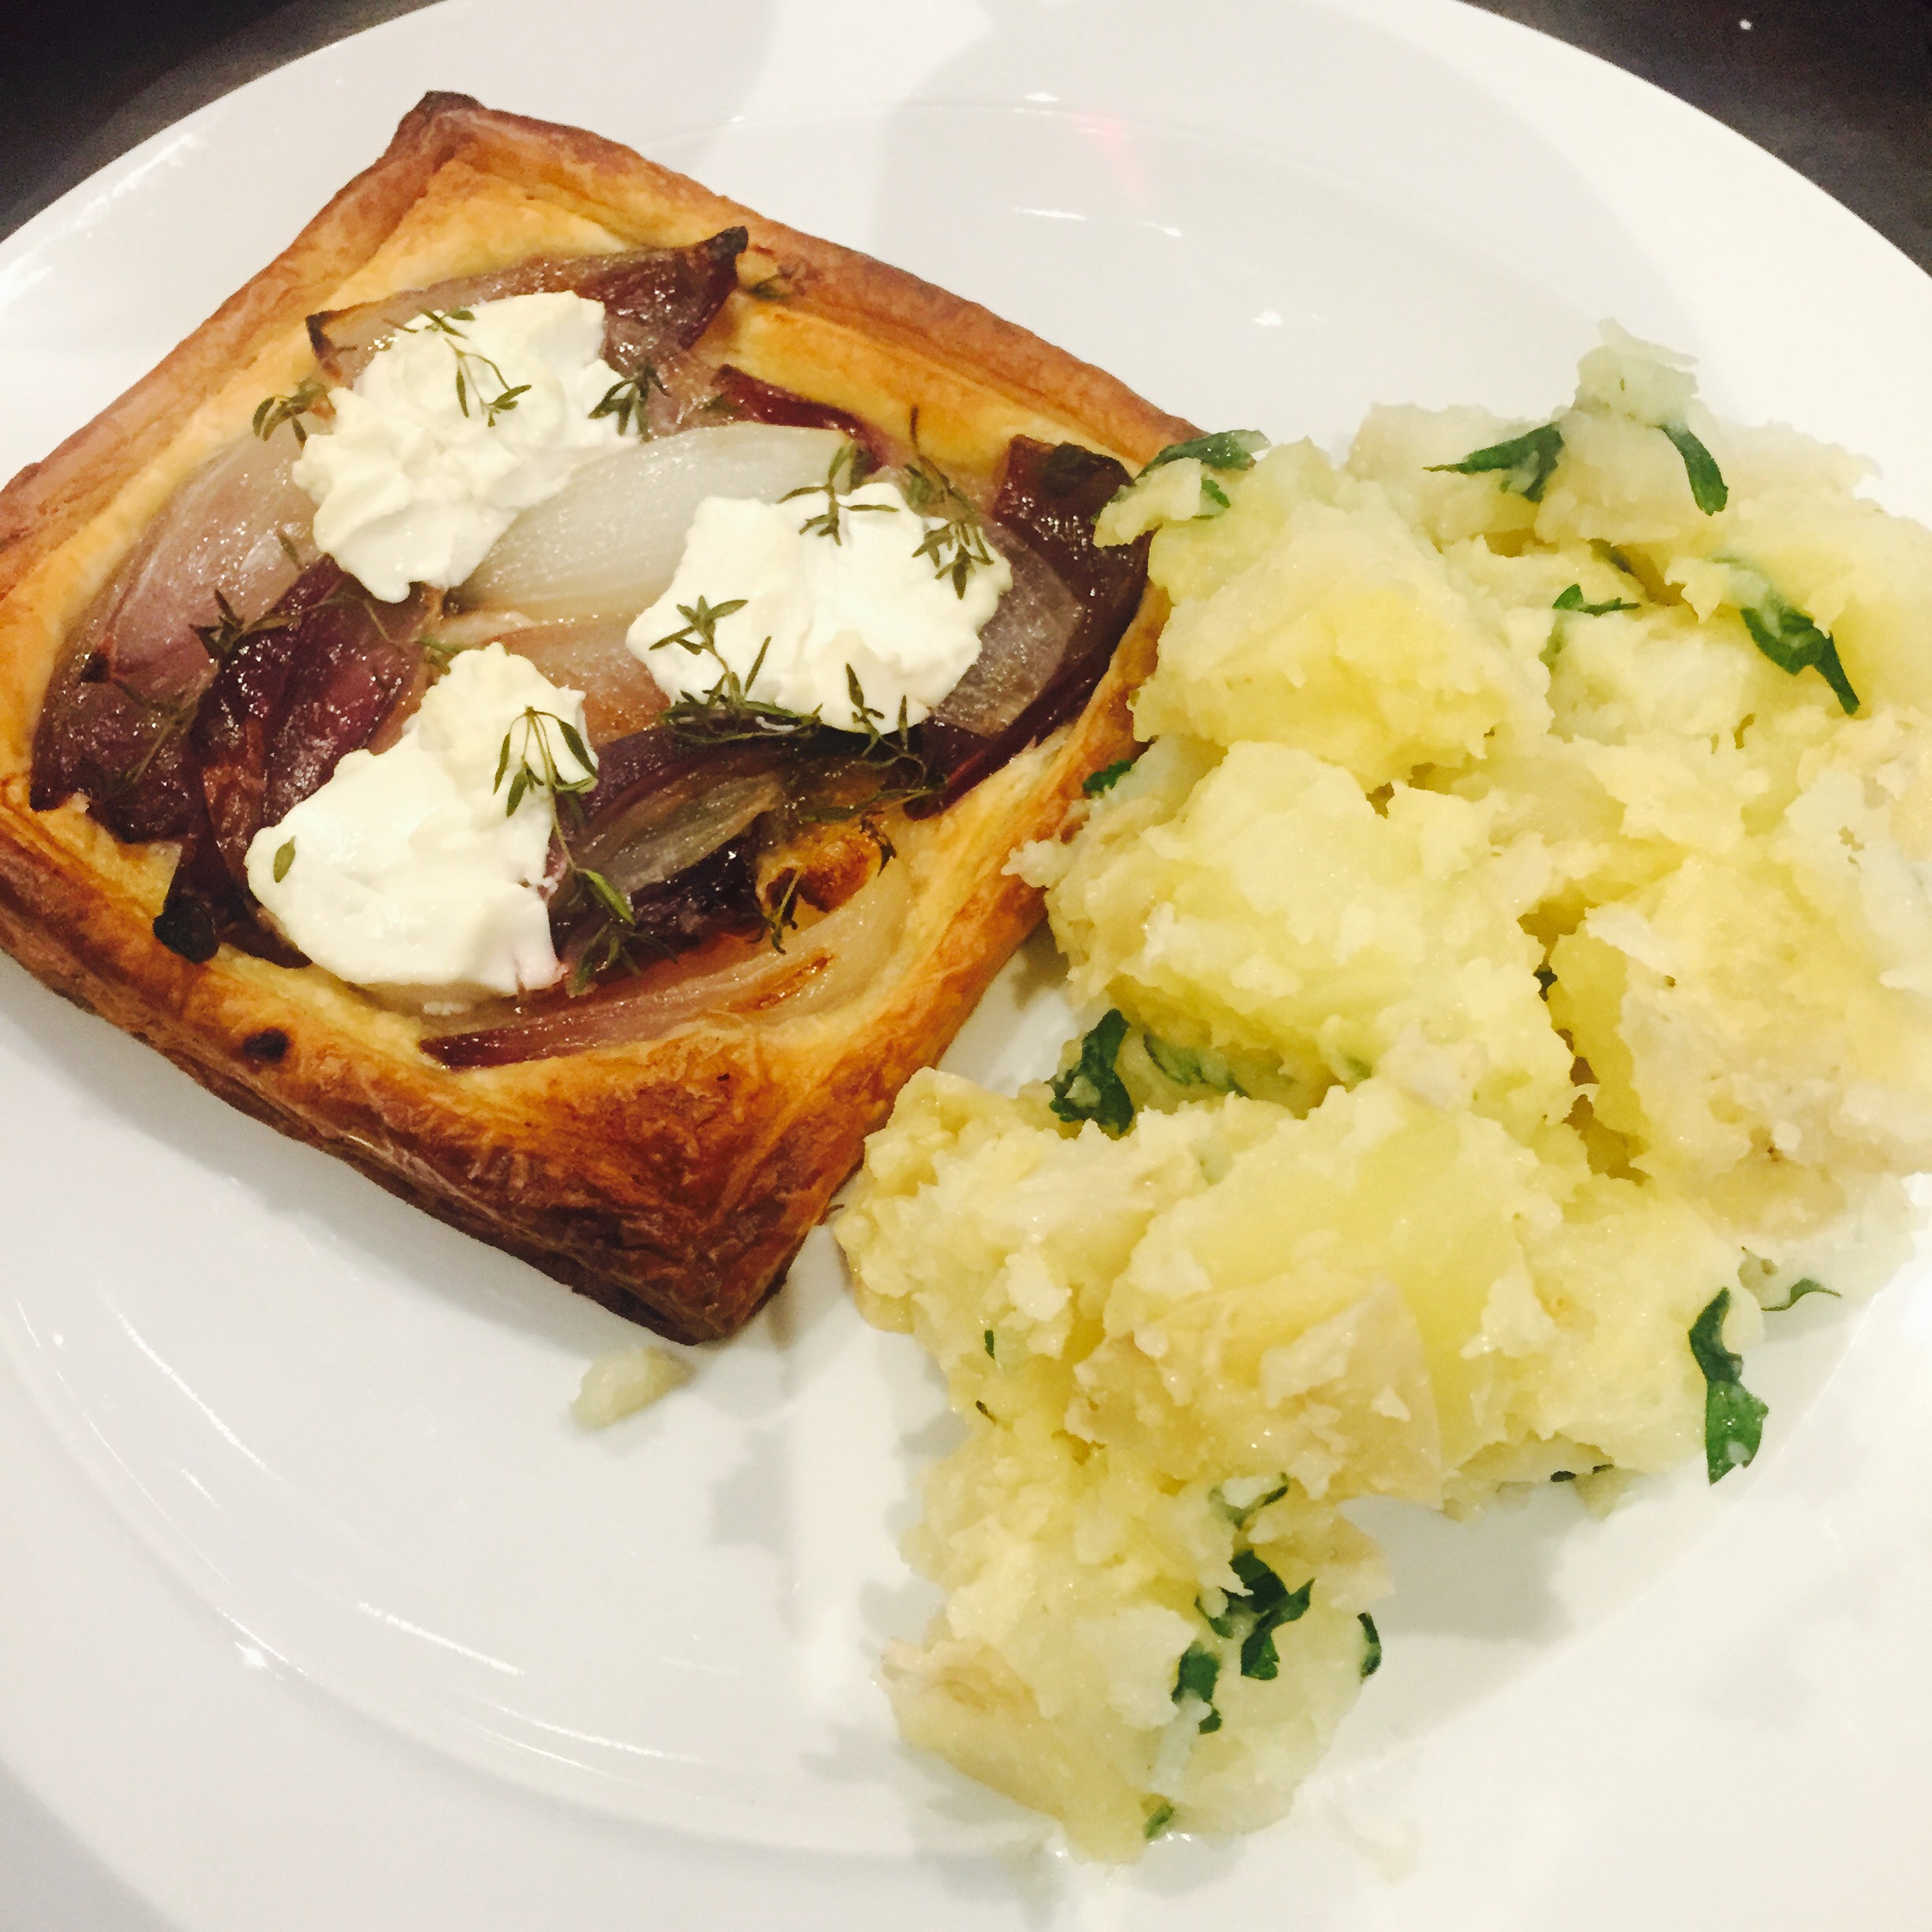
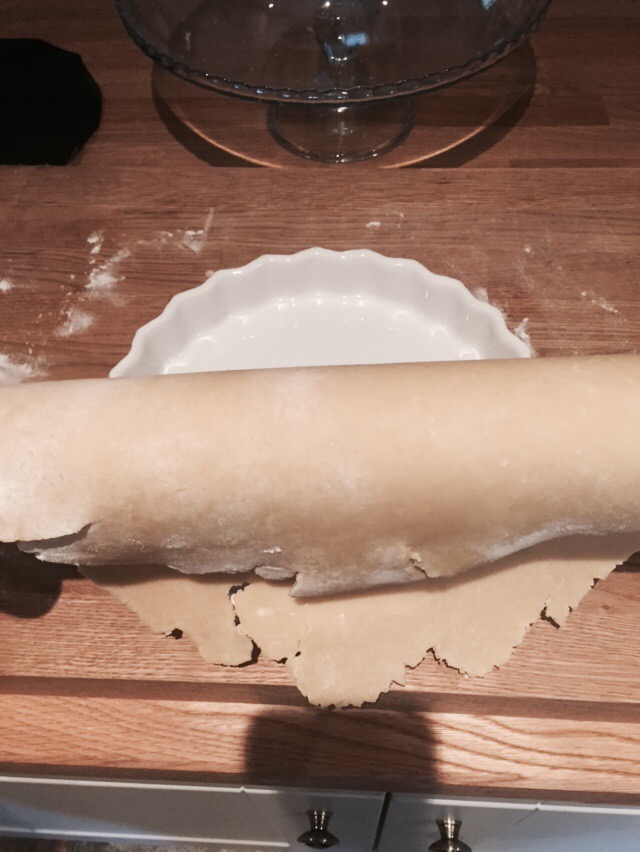
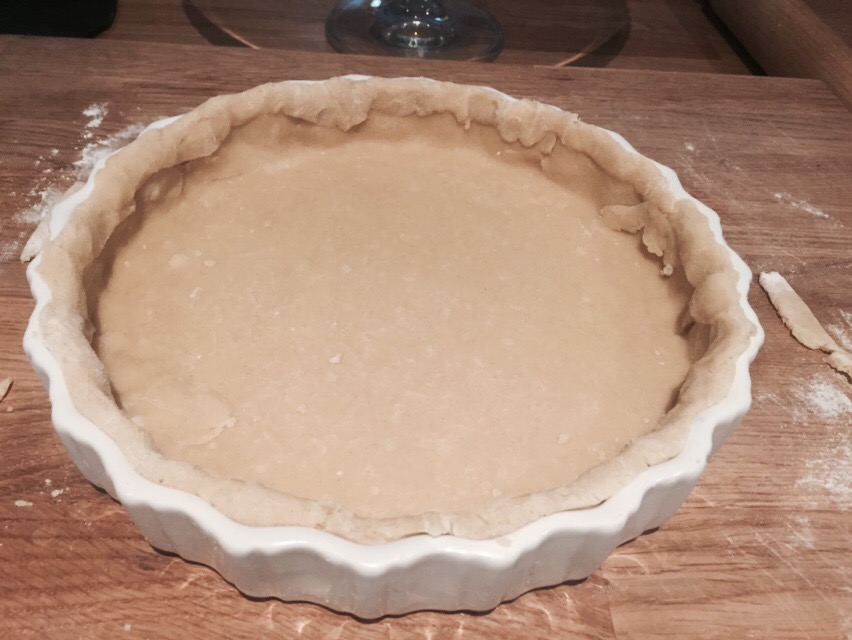
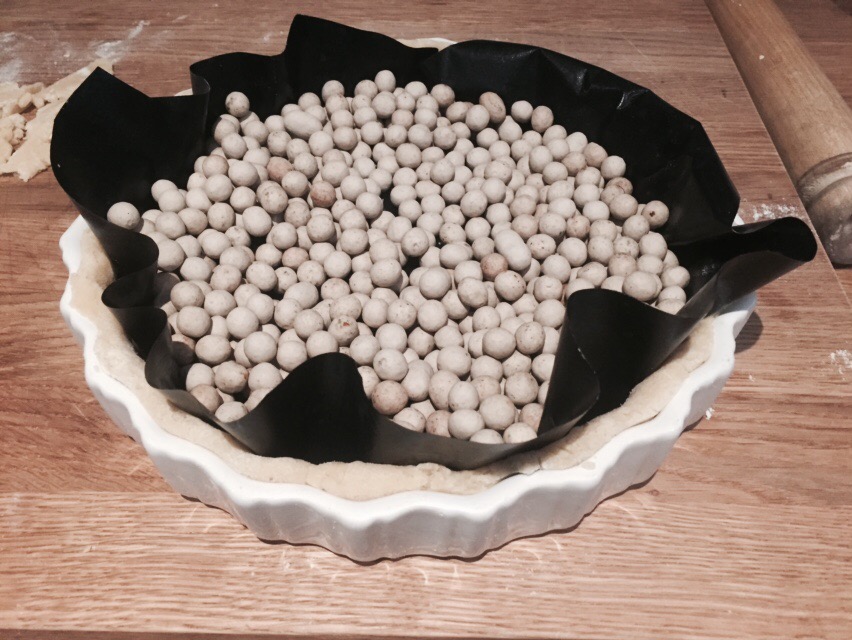
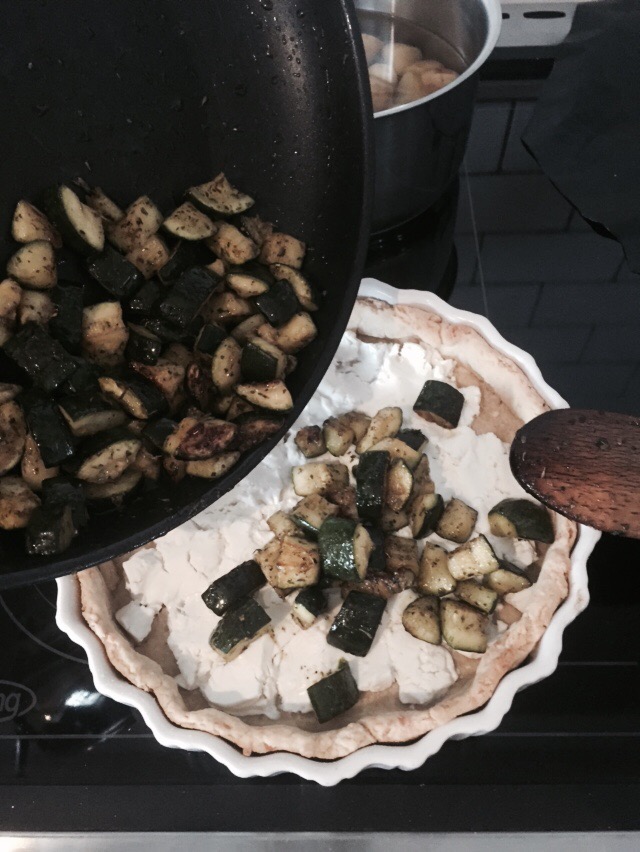
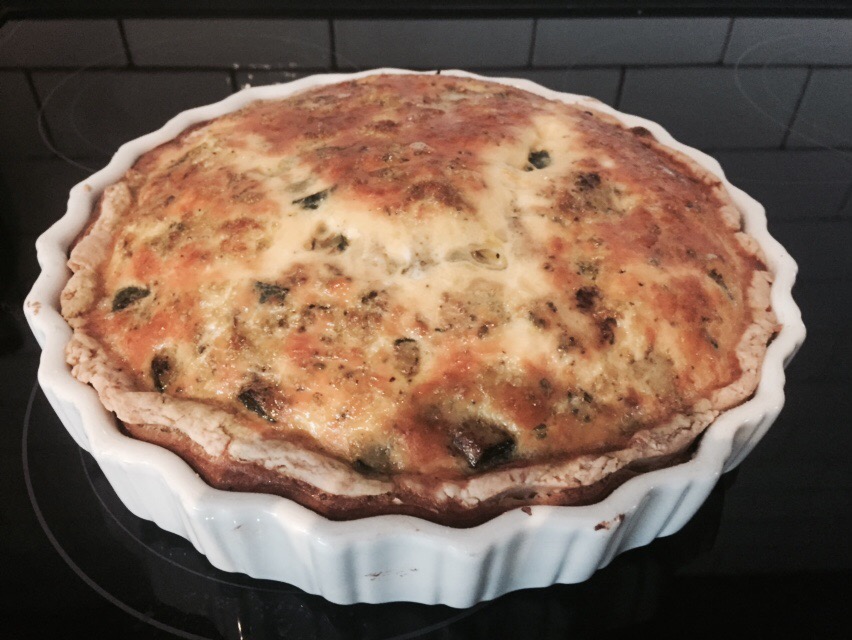
And here is what I consider to be fast food. Wash and boil your potatoes, then add a little fresh crushed garlic, seasoning and chopped fresh parsley and stir. With the onions, chop into wedges and roast with a little olive oil until translucent, perhaps 15 minutes or so at 190°. Then cut some ready-made puff pastry, and score a 1cm line around the outside. Place onto a greased baking tray. Take your onions out of the oven and pop onto the centre of the pastry, add some soft goats cheese and bake in the oven until golden brown and the sides risen. Add a little fresh thyme to serve. 


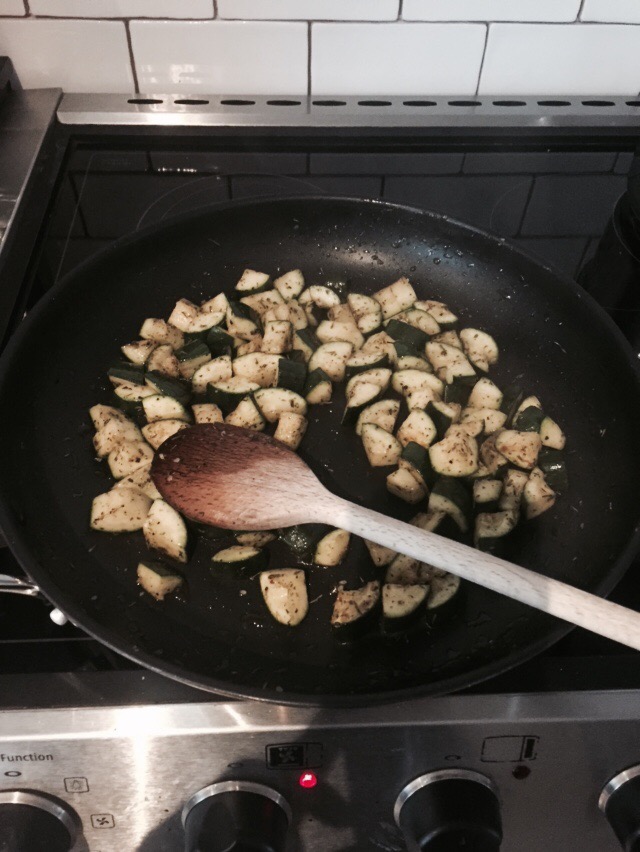
But what about the courgette I hear you ask?! I didn’t think we needed that to so he has been chopped up to make a lovely salad with some leftover onions and goats cheese and quinoa and my new favourite salad dressing of mint sauce and elderflower cordial. Can’t wait to eat that today at lunchtime!

Now if only the first batch of red wine I’m making (currently stinking out the airing cupboard) was already ‘cooked’, that would have been great with this meal. Patience is very much not one of my virtues, I’ll be honest. But I am enjoying watching this one bubbling away every day fermenting

And I’m already itching to make the next. I think this could get quite addictive…

TTFN x

Courgette-tastic! 

Deep breath… Are you in the glut??!!! Funniest thing, I keep on using all of my own, so when my next door neighbour left a carrier bag of stunning courgettes on my doorstep yesterday I was so grateful! What an awesome gift! It means I’ve been busy until 10pm with two of my most favourite recipes, the chocolate courgette cake and the spicy courgette and tomato chutney.


As we’re now coming to the end of July, if you are careful about how you ‘jar’ your jams and chutneys, they will keep perfectly for Christmas and make the most amazing gifts for friends and family. I make hampers for my loved ones and they get bigger and better every year!.

Don’t ever think that because a courgette is bigger than you might normally choose, that it’s no good. These make great cake and chutney! This chutney recipe also works well with marrow, just remove the seeds. You only need to peel if it’s not fresh, or the skin is too tough. 

So it’s all about best and effective use of time and a good bit of multi-tasking here… So chutney on first as that takes a good two hours to bubble down, then you can cake bake while that’s on the stove. 

Chutney Ingredients:

1.4kg courgettes

900g onions

900g brown sugar

3 inches of fresh ginger root

6 cloves of garlic, chopped

1tsp chilli flakes

1tsp salt

900ml malt vinegar

900g tomatoes

Chop everything and pop into a preserving pan. Turn up the heat and let the juices start to run. Add your vinegar, sugar and spices all together and mix well.   


Make sure you stir regularly with a wooden spoon to ensure it doesn’t catch to the bottom of the pan. Simmer. Then you can get on with your cake(s). I had enough courgettes to make two batches, one for home and one for hubby to take to work (he won’t tell them it’s a courgette cake until there’s only crumbs left in the tin teeheeeee) and for ease went with my loaf tins with pre-made liners which are an absolute revelation in life. This recipe is enough for a good full loaf tin and 3-4 muffins (for the chef!) or a flat tin approximately 20cm square. 

Cake Ingredients:

250g plain flour

350g grated courgette

375g caster sugar

75g good quality cocoa powder – I use Green & Black’s

2tsp bicarbonate of soda

1tsp baking powder

1/2 teaspoon salt

2 tsp mixed spice

4 free range eggs

250ml vegetable oil

Remember to stir your chutney! 


Back to the cake… Put your dry ingredients into a mixing bowl, then measure your oil into a jug and add the eggs. Whip the oil and eggs together to form an emulsion and add these to the dry ingredients in the bowl. Mix well for a minute or so. Fold in your grated courgette with a metal spoon. Pour into your cake tin! Bake at the centre of a pre heated oven 180 degrees for an hour or so. Test with a skewer to ensure it comes out clean, if not, pop it back for another five minutes.

Remove from the oven when baked, allow to cool and dust over some icing sugar. Then wait for it to be devoured!!!

    
Back to your chutney! 

It’s ready to jar up when most of the liquid is gone and you can drag your wooden spoon through and just see it’s path. I’ve tried to photograph that below.

   
Warm your jars through with their lids in the oven at 100 degrees then jar up using a jam funnel if you can to keep the mouth of the jar nice and clean. Pop on your lids and you’re done! This one I’ve found gets better and better like a good wine so if you can leave it till Christmas you’ll be grateful for it at Boxing Day lunch when you’ve got all your cold turkey and gammon and cheeseboard in front of you.

   
Enjoy peeps. I’m off to make some scones x

Falafel-ey Good!

So I’m a huge fan of making everything from scratch and some things are really so very simple, it does make you wonder why you ever bought them from a shop before! So here is a (sort of) recipe I’ve handed out on countless occasions to different people over the years. Much loved by veggies and meat eaters alike, and also a favourite with kiddiewinks.

One of the very best things about this is that I always have everything I need to make this in the cupboards so it is a perfect fast food when there looks like there is nothing in the fridge! They’re absolutely lovely cold so are perfect for picnics and go really well with a little home made hummus (also easy peasy lemon squeezy btw). Dang that’s another post I must write: The delights of homemade hummus. Yum. Dammit, I’m making myself hungry writing this.

Back to the falafel… It’s easy to scale up the recipe here. I use one tin of chickpeas as a starting point. It’s easy then to use another tin and double the other bits below or I’ve used kidney beans or butter beans on occasion too which are also grand.

A tin of chickpeas drained well 

A red onion

A couple of cloves of garlic (to your taste)

Some ground coriander, cumin, parsley and paprika. Again to your taste. Probably half a teaspoon of the two Cs then a quarter of parsley (fresh from your herb garden dans la summer months of course) and a sprinkle of paprika and a little salt and pepper.

Then a heaped tablespoon of flour and blitz in your food processor until it’s smooth-ish. Mix done. You should be able to shape it in your hands without it being too wet. Add a touch more flour if it’s a bit soggy. 

  
In fact these aren’t far off of a simple veggie bean burger if you added a little shredded carrot and green pepper, some sweetcorn and used a tin of mixed chilli beans (in water not sauce!) Can you see where I’m going with my approach here? There’s really nothing to it, just chuck it all together!

The above (one tin) makes four burgers which I shape and fry lightly on each side for 4-5 minutes until well coloured. Great in a burger bun with a slice of grilled halloumi over the top and some spicy summer relish. Or just on their own with some homemade herby potato wedges and serve with creme fraiche with some freshly chopped chives over the top. Ding dong fabulous.

You could add in sweetcorn, mashed sweet potato, spinach, anything you’ve got lying about really.

I will confess to recently purchasing a dirty fryer (a mini version of the ones you get in restaurants) recently. So if you want real proper little round morsels of Middle Eastern deliciousness, then the above mix will make 8-10 perfectly sized balls which you just pop into your fryer at 190 for around two minutes until golden brown. Drain and serve. You will not get better anywhere I can wholeheartedly promise you. 

  
Have a go and post your photos below of your work! It’s so easy I promise and takes literally five minutes flat. Barely longer than ripping open a packet! As I said before, they are great cold the next day so try putting into a pitta or a wrap with loads of fresh salad and some hummus. Glorious. Falafel-ey good in fact.

New nephew? Must knit.

So as I approach middle age (ok by approach I mean I still have 13 years till I get there but I’m closer in that direction than the other one and I DO think policemen are getting younger) I begin to understand my grandmother’s generation and their need to knit when a baby is born into the family.

For me, there is absolutely nothing lovelier than something homemade, homegrown, or homebaked in life as a present for someone dear to you. To give someone a gift that is full of your time, effort, care and love is surely a beautiful thing. Now I’ll be honest, my knitting still isn’t totally perfect and it does possess a certain somewhat, erm, ‘rustic’ appeal shall we say, but it’s from the heart, and that’s what matters! 

There’s nothing that says ‘I ran out of time’ more than bringing someone a few random things clearly picked up from Tesco stuffed into a gift bag purchased at the same time. 

So. I have a new nephew. And I’m burning to make a baby blanket for him, but I really want it to be something just a touch more intricate than I’ve done before. Something lovely that (hopefully) will be treasured and tugged around in the garden, and carted about everywhere as little bubba grows up. 

I’ve trawled the Internet, books, shops etc for over a month and finally I’ve found one I love the look of. It’s perfect. Very old school. Retro darling don’t you know. 


This is white chunky wool. I love chunky, it’s cosy and warm and is a joy to knit with as you can see your work really coming to life. And if you make a mistake, it’s easy to pick it back and see where you’ve gone wrong!

So here we go: 

Cast on 60 onto 8mm needles. Bamboo are my favourite to work with.

Knit ten rows plain, this gives a nice border. 

Then row 11 is pattern A – knit 5, purl 10, knit 10, purl 10, knit 10, purl 10, knit 5

Row 12 is pattern B – knit 15, purl 10, knit 10, purl 10, knit 15

Repeat row A&B four times taking you to row 20


Row 21 is pattern B, row 22 is pattern A, repeat four more times to row 30 then 31 is A, 32 is B blah blah blah. 

Rinse and repeat as they say. You will have a lovely waffle-esque pattern of squares with a border round the outside. It’s kind of like doing rib but you’re alternating your rows every 10. I really like the effect.

One thing I would say is just keep a note of which rows you’re on incase you get an Amazon delivery or you are busting for a pee in the middle of a row. That way you’ll be sure to know where you got to and what pattern to do next.


Once you hit row 80 (ten plain then 70 pattern) knit another ten rows of plain to complete the border and cast off. 

That’s it done.

I hope they like it. I’m chuffed to pieces with it I have to say. 


There should always be cake…

When my husband was a child, he remembers that whenever he went to visit his grandmother, there was always cake to be had. Now I know that in this day and age we are more careful about what we eat, but surely a little bit of what you fancy is good for you? Everything in moderation as they say.

We have his relatives coming to visit tomorrow, and much like they always wash their cars when you visit one another, the other rule is that there must always be cake.

The first time I met himself’s whole entire family was bonfire night about 15 years ago. I’d not long left university and had just bought my first house which was still pretty empty apart from my tesco value cutlery and tesco value plates. 

So when he told me that everyone takes a cake to bonfire night, I knew that if I was going to be a bone fide woman of the family (and indeed potential wife material) then I needed to polish up my culinary skills and dust off my apron.

Trouble was, I had no mixer, no tins, no bowls, nothing. So off I trundled to the supermarket. No joke, by the time I’d bought not only the ingredients but also the equipment, that lemon drizzle cake cost me the best part of £35. However, it went down a storm, including with his beloved grandma. That was a proud moment.

Back to topic! Hopefully you’ve read my earlier post Let there be cake – if you have, you’ll see my preferred sponge recipe. And it can literally be modified anyway you fancy. Coffee, lemon, chocolate… Wherever the mood takes you.

Just a little reminder: Weigh your eggs, three big, or four small. Then equal quantities of the egg weight of sugar, self raising flour and butter. Cream sugar and butter, add a spoonful of flour. Whisk eggs, add to butter/sugar. Sieve flour and add. Simples!!! 

Today I fancied a coffee and walnut cake, so to that basic recipe, I added into the sponge 2tsp coffee essence and 50g chopped walnuts. Bake as ever in two greased tins with the bases lined at 180 for 20-25 mins.

This one has a naughty-lick-the-bowl-till-there’s-none-left buttercream icing – speaking of which, if you have a food mixer, don’t faff about, make your icing in there, it takes seconds. Recipe? 350g icing sugar, 200g butter, coffee essence to taste. Start with 1tsp then blend until perfectly smooth. Taste. Add more essence if you’d like. 

Smear half on the bottom layer, half on the top, then decorate with walnut halves. 

This literally reminds me in every way of village fetes and jumble sales in the church hall. It was always my nan’s favourite. 

Delightful.

  
There should seriously always be cake. In fact, it should be the law. 

Withering heights…

So I’m pleased to report everything seems to be going great guns in my little veggie garden. Well, almost everything. My snozcumbers are not happy. I’ve tried three times now and they just keep withering. I’ve grown them before very happily, but only ever in growbags. Sigh. I’m not good at failing at things. Humph. 

I’ve nurtured these little badgers for three months now, planting them carefully from seed into my propagator on the windowsill in the utility room, potting them on, hardening off blah blah blah. Then I put them out onto the plot, and within a day, they flop into a miserable heap. 

Disheartened, I’ve asked around and have a million suggestions as to what it could be. Too much water, not enough water, wrong soil, too hot, too cold, don’t water the leaves and more. You can see my problem here, I’ve actually got no bloomin’ idea.

The first ones I thought perhaps went out a bit prematurely. It’s sooooo difficult not to plant out a week earlier than you’re supposed to. This year, I dared to plant out half my courgettes a month earlier than the RHS website recommended. I know, I’m such a rebellious rule breaker. Truth is, they’re doing brilliantly, and I put the others out yesterday so I’m hoping it will stagger the crop and keep us in plentiful supply just a little bit longer. 

  
The second ones I thought were stomped on by the big fat dopey pheasant we have living in the field next door who got himself trapped inside my veggie patch. He was in quite a tither until I reminded him he was in fact a bird, with wings, who could fly. ‘Flap you daft bugger’ I squawk while gesticulating and demonstrating with my very own flappy flying motion. It must have worked as he did in fact remember he had the gift of flight and was away. Not before his wife Mrs Pheasant had enjoyed a delightful amouse-bouche of my newly sown grass seed I might add. 

And then the third lot, which I’ve been even more careful with, tending them daily indoors, taking them outside each day so they were really strong and ready for the outside world. And so yesterday, on a delightful day, I put out the final four as they came to be known. And no joke, within an hour, they all blew a huge big raspberry at me and flopped lifelessly. 

  
I’m pretty miffed, I’ll be honest. And a bit disheartened that all my hard work and time has been wasted. And I wouldn’t mind if I knew why they’d done this, but I still don’t. So that’s it, I’m now off to the local garden centre to buy some more snozcumber plants. 

Either that or I should just trot off to Lidl where a fully grown one is currently only 29p.

Did someone say Quiche? 

So. Auntie Phyllis. Who wasn’t my auntie, but lived next door and always wore a flowery apron. She taught me to make quiche, I must only have been ten. She taught me pastry, and how to make a cracking (unintended egg pun, do excuse me) filling. 

If you’ve read my blog Let there be cake! then you’ll know I have always been rather more of a savoury soul. And as someone who became a veggie before I was in double figures age wise, quiche was always rather a staple in my diet. 

But. I. Hate. Shop. Bought. Quiche. 

Bleurgh. Even the best ones from good shops taste absolutely nothing like homemade and the rustic made by your own fair hand ones at a buffet or bbq are always the first thing to go whilst the foil encased Sparks & Mensa ones sit there like the last kid that nobody wants to pick for their rounders team.

What’s that I hear you say? I can’t make pastry? 

Do not give me that. Seriously. I’m talking two ingredients here. And you don’t need anything in the way of equipment. I always make my pastry by hand, just because I always have I guess. It’s so bloomin’ easy I can’t believe I’m actually giving away my trade secrets here.

  
175g plain flour, sieved

85g cold (straight from the fridge) butter cut into little lumps

Put butter in flour. Add a pinch of salt. Grate in some Parmesan if you’re feeling really daring. Rub with your finger tips until it’s all breadcrumby. 

  
Then put a tablespoon of water in and mix and knead. But it should only take a few minutes. 

Then pop into a floured worktop and roll out. Now I don’t turn pastry over when I’m rolling it, I turn it a quarter turn after every few rolls. Hence a floured worktop needed. Roll into a rough circle, then lift on your rolling pin and place over the quiche dish. 

  
A few cracks don’t matter now, so just push into the base edge all the way around and then trim the top around roughly to shape with a knife or scissors. Then fold the top in on itself all the way around so you get a perfect crust. And squash and holes full with a piece of the excess. 

  
Then pop in some grease proof and some baking beans and stick into the fridge to chill for half an hour. That stops the pastry shrinking when it cooks. Don’t try and shortcut this bit out or you’ll regret it.

  
So while that’s chillin’ 😎 you can go and knit a few rows of that blanket I know you’re making and think about your filling. Again it’s a matter of what’s around in this house but today it’s goats cheese and courgette. I’m cooking off the courgette with some mixed herbs and olive oil and seasoning just until translucent with a little bit of colour to them.

 
Take the pastry out of the fridge and pop into the oven at 180ish complete with the greaseproof and beans. Then after twenty minutes or so you’ll see your pastry starting to colour around the edges. Take it out of the oven and fill with whatever you choose. As I said we are doing goats cheese and the courgettes today. I like to spread the cheese as a layer so you get the flavour in every bite. 
  
Top with the courgette then go beat your eggs – five or six large or perhaps seven small. Season. Then place the dish on the oven shelf and pour in the egg from there do you’re not carrying a runny eggy dish and spilling it all over the edges.

And BAKE…

Maybe 30 minutes. Until golden brown. Keep watching it in the last moments and turn 180 degrees to get an even golden bake. I’ve used our amazing Jimmy eggs again and they’re so glorious and golden, it really looks like something to behold. A few new potatoes and that’s dinner done for tonight. I’m ahead of time so I’m off to stoke the fire and try and finish that blanket I’m working on.

  
Take home messages? Don’t be scared of pastry. Don’t buy quiche in a shop. 

Toodlepip 😘

One man’s junk is another man’s treasure…

So I grew up as an only child of a single parent. But you know what, I never wanted for anything during my childhood, in fact quite the opposite. 

My mum was always a staunch jumble sale on a Saturday, car-boot on a Sunday enthusiast, firstly out of necessity, secondly out of habit and complete addiction. And it is addictive. Not just jumble sale-ing and car-booting, any form of bargain hunting. So she taught me to be the same, always getting value for money in everything. I will forever be a yellow sticker kind of girl picking up 10p bargains in the supermarket, it gives me a bit of a kick, always has, always will. 

So I was thinking about the old adage, one man’s junk is another man’s treasure… I cannot believe what people just throw away. We live in a culture when things are far too disposable for my liking, and people don’t think twice about chucking things into landfill. 

We have a great game going here if and when we decide that something is no longer needed here, we just stick it on eBay for 1p. The idea being that somewhere locally, someone else might really appreciate what you no longer need. If they give you 1p, you’ve done them a good turn and it’s saved you going to the tip, and that item going into landfill. Sometimes you get a few pounds for things and you’re surprised how many people are after what you’re selling. And we get some amazing bargains ourselves too. Take these old school science lab stools I picked up last week for the kitchen. For just £13 each. And the guy I collected then from thought I’d been robbed and was amazed I’d paid what I did. But I think they’re just stunning. Here’s a little before and after to show what half an hour of elbow grease sanding and waxing can achieve. I absolutely love them. 

  
Today we were taking some hedge trimmings from the garden to the local ‘recycling centre’ – that’s the tip to you and me. We can only compost so much and this was big work, much more than a little trim, I had several unruly bushes. Ahem. Mind out of the gutter please. 

Anyway… Our local tip is literally breathtaking, it’s true. It’s so well organised and efficient and all the guys who work there are delightful and friendly and helpful. Everything has a place and you just know that it’s all about the recycling and not just digging everyone’s crap into a big hole to let it rot. And I will go out of my way to get to go there, as there’s a little corner on the way out where they rescue interesting things from the hoppers… So I must always try and have a few pounds in my purse when I go there. It’s the tip version of the plant graveyard you always find at garden centres where things are being sold for 50p because someone hasn’t watered them for weeks. I always do my best to rescue something from those too. Be it a little shrivelled up herb or a wilting tomato plant.

A couple of weeks ago I managed to rescue this little suitcase from the tip. I literally love things that look and feel and smell like they have some history and a story to them. This is now full of board games under my coffee table (which was a £20 Ebay buy btw). How glorious is he? 

  
I’m literally bouncing out of the car like a kid getting to Toys R Us, running to the sale corner and today, I was rewarded. I honestly think someone looks after me from up above and today, they literally put this little garden bench there just for me. It was exactly what I’ve been looking for for literally months. I did a little whoop, out loud I think. 

Here he is… He definitely needs some TLC, but by Jove he will be a stunner once we’ve given him some love and replaced some of his broken slats. And he will go on for years to come, doing his benchy work in our little garden. Who takes these beautiful treasures to be put into landfill? What’s their story? Where have they come from? Thankfully the lovely boys at our tip rescue things like this so they can be given a new home and another chance at life…

 
I’ll post photos when we start his renovation. He needs a name though. I’m thinking Bernard? 


Can she have wafer thin ham Barbara? 

Seriously the phrase of the century from Nanna in the Royle family. As a vegetarian for almost thirty years now, it’s my experience that this does still epitomise many people’s vision of a veggie… My own darling Nanna once presented me with a quiche Lorraine and said she’d left the ham nice and chunky so I could pick it out if I wanted.

But the seas are now changing. More people are coming around to either being a full time ‘vegetable-arian’ as my best friend calls me, or indeed a part time one, eating veggie a few nights a week. The health benefits are well documented and even Jamie Oliver is championing it now, which I was overjoyed to see this week.

What I desperately want people to realise is that eating veggie is not boring, it’s not dull, and you absolutely don’t need to be scared when you accidentally invite one to your dinner party. I’ve had several panicked phone calls over the years from people saying ‘I’ve invited The Jones’ for dinner and it turns out she’s a blasted vegetarian? What on earth am I going to give her? Salad??!!!’ It’s very easy and simple to make a veggie version of many family favourites.

My darling hairdresser became a veggie last year and no joke, he told me he’s eaten pasta every day for the last twelve months as he doesn’t know what else to do… I’m forever writing out my own cobbled together recipes for people, I’ve been told I need to write a book. That’s on the back burner for now, or my to-do list as it’s also known.

It is possible to be a vegetarian foodie you know…

Why oh why do I still see restaurants with a non existent vegetarian offering? You might lose a booking of ten people if one is a veggie and there’s nothing they can eat, they’ll book somewhere else for everyone. Come on people, get with the program here. And something more than a mushroom stroganoff thank you please. Oh and no I absolutely don’t want tagliatelle on a Sunday when everyone else is eating roast potatoes and Yorkshire pudding.

So over the coming months I am going to share with you some of my most favourite veggie recipes. Ones that even my carnivorous comrades request over and over when they visit. And things that you can make in no time at all. This is fast food at its best and ready in less time than it takes for you to go and pick up a take away.

Eat veggie one, or two, or every day of the week, the choice is yours. Try it, you might like it 😉

Out with the new, in with the old!

So I am thinking that none of the furniture that we had at our last house seems to really ‘go’ as it were in the old cottage here… There’s only one thing for it.

Out with the new, in with the old!

As lovely as this is, and we’ve had it for 10 years, it stands out like a sore thumb so onto eBay it goes! In the meantime, I managed to pick up a shiny orange pine television unit for £7. Now you’re going to have to bear with me here unless you have ‘the vision’ or you with think I’ve gone utterly nuts. Although you’d be right, but that happened quite a long time ago.

Everyone remembers this stuff. It’s proper wood, solid as you like, just not perhaps to our taste now. But I love a bit of repurposing, and this little chap is definitely in need of a new lease of life. Remember the Valentine’s Day sander I mentioned? Well it’s very much needed as you can see. So away I go…

He gets his top well and truly sanded, then it’s a quick buff all over to ‘key’ the surface ready for painting. I’ll be using Grand Illusions vintage chalk paint.

So regarding the painting, people keep asking if it’s easy? Well yes I think it is if you are careful and you spend time on your prep, the same as decorating walls in your house. I prefer a small foam roller for most areas, just using a brush in the internal edges, then roller over so you have no visible brush strokes. If you’ve prepared your surfaces well then you don’t need a primer with this paint, you’re straight in. Three coats should do it.

If you’ve got any drawers on a piece, be sure to take those out and remove the handles, and just paint the exposed front surfaces or you’ll end up with a messy finish.

Oh and don’t paint in the sunshine, it will dry far too quickly. If you want to hurry it along, you can use a hairdryer.

A couple of new handles (purchased from my favourite place Screwfix) and we are almost there. Speaking of which, when did I fall out of love with Top Shop and in love with Screwfix? No seriously, when exactly did that happen?

A couple of coats of clear wax are needed to protect your hard work, three on the top (an extra one for good luck!) applied in a circular motion with a polishing cloth and then buffed. The surface is still pretty fragile to start with but after a month or so it hardens off. Over time, expect to get the odd chip from day to day living, but I honestly think that this only adds to the beauty of a repurposed piece.

Job done. I think around four hours start to finish with coffee breaks. You need to let the paint dry well between coats or it will pull off the previous layer which is infuriating. I know, I’ve done it. Patience is a virtue, but it is not something that I am blessed with in abundance I will confess.

Can I have a drumroll please for the final photo? Taaaaa-daaaaaahhhhh!!!!!! And all for the princely sum of £7 plus a bit of paint and wax and good old fashioned elbow grease.

I’ve seen similar things to this in shops for literally hundreds of pounds. Not mentioning any names… Sparks & Mensa. But seriously, as well as the cost saving (actually I’m up a fair bit on this project as I sold the old one for almost £80) the sense of satisfaction is enormous creating something yourself for your own home rather than going out and buying something that Joe Bloggs down the road has too. Go on, have a go. You can do it.