Dry as a bone?

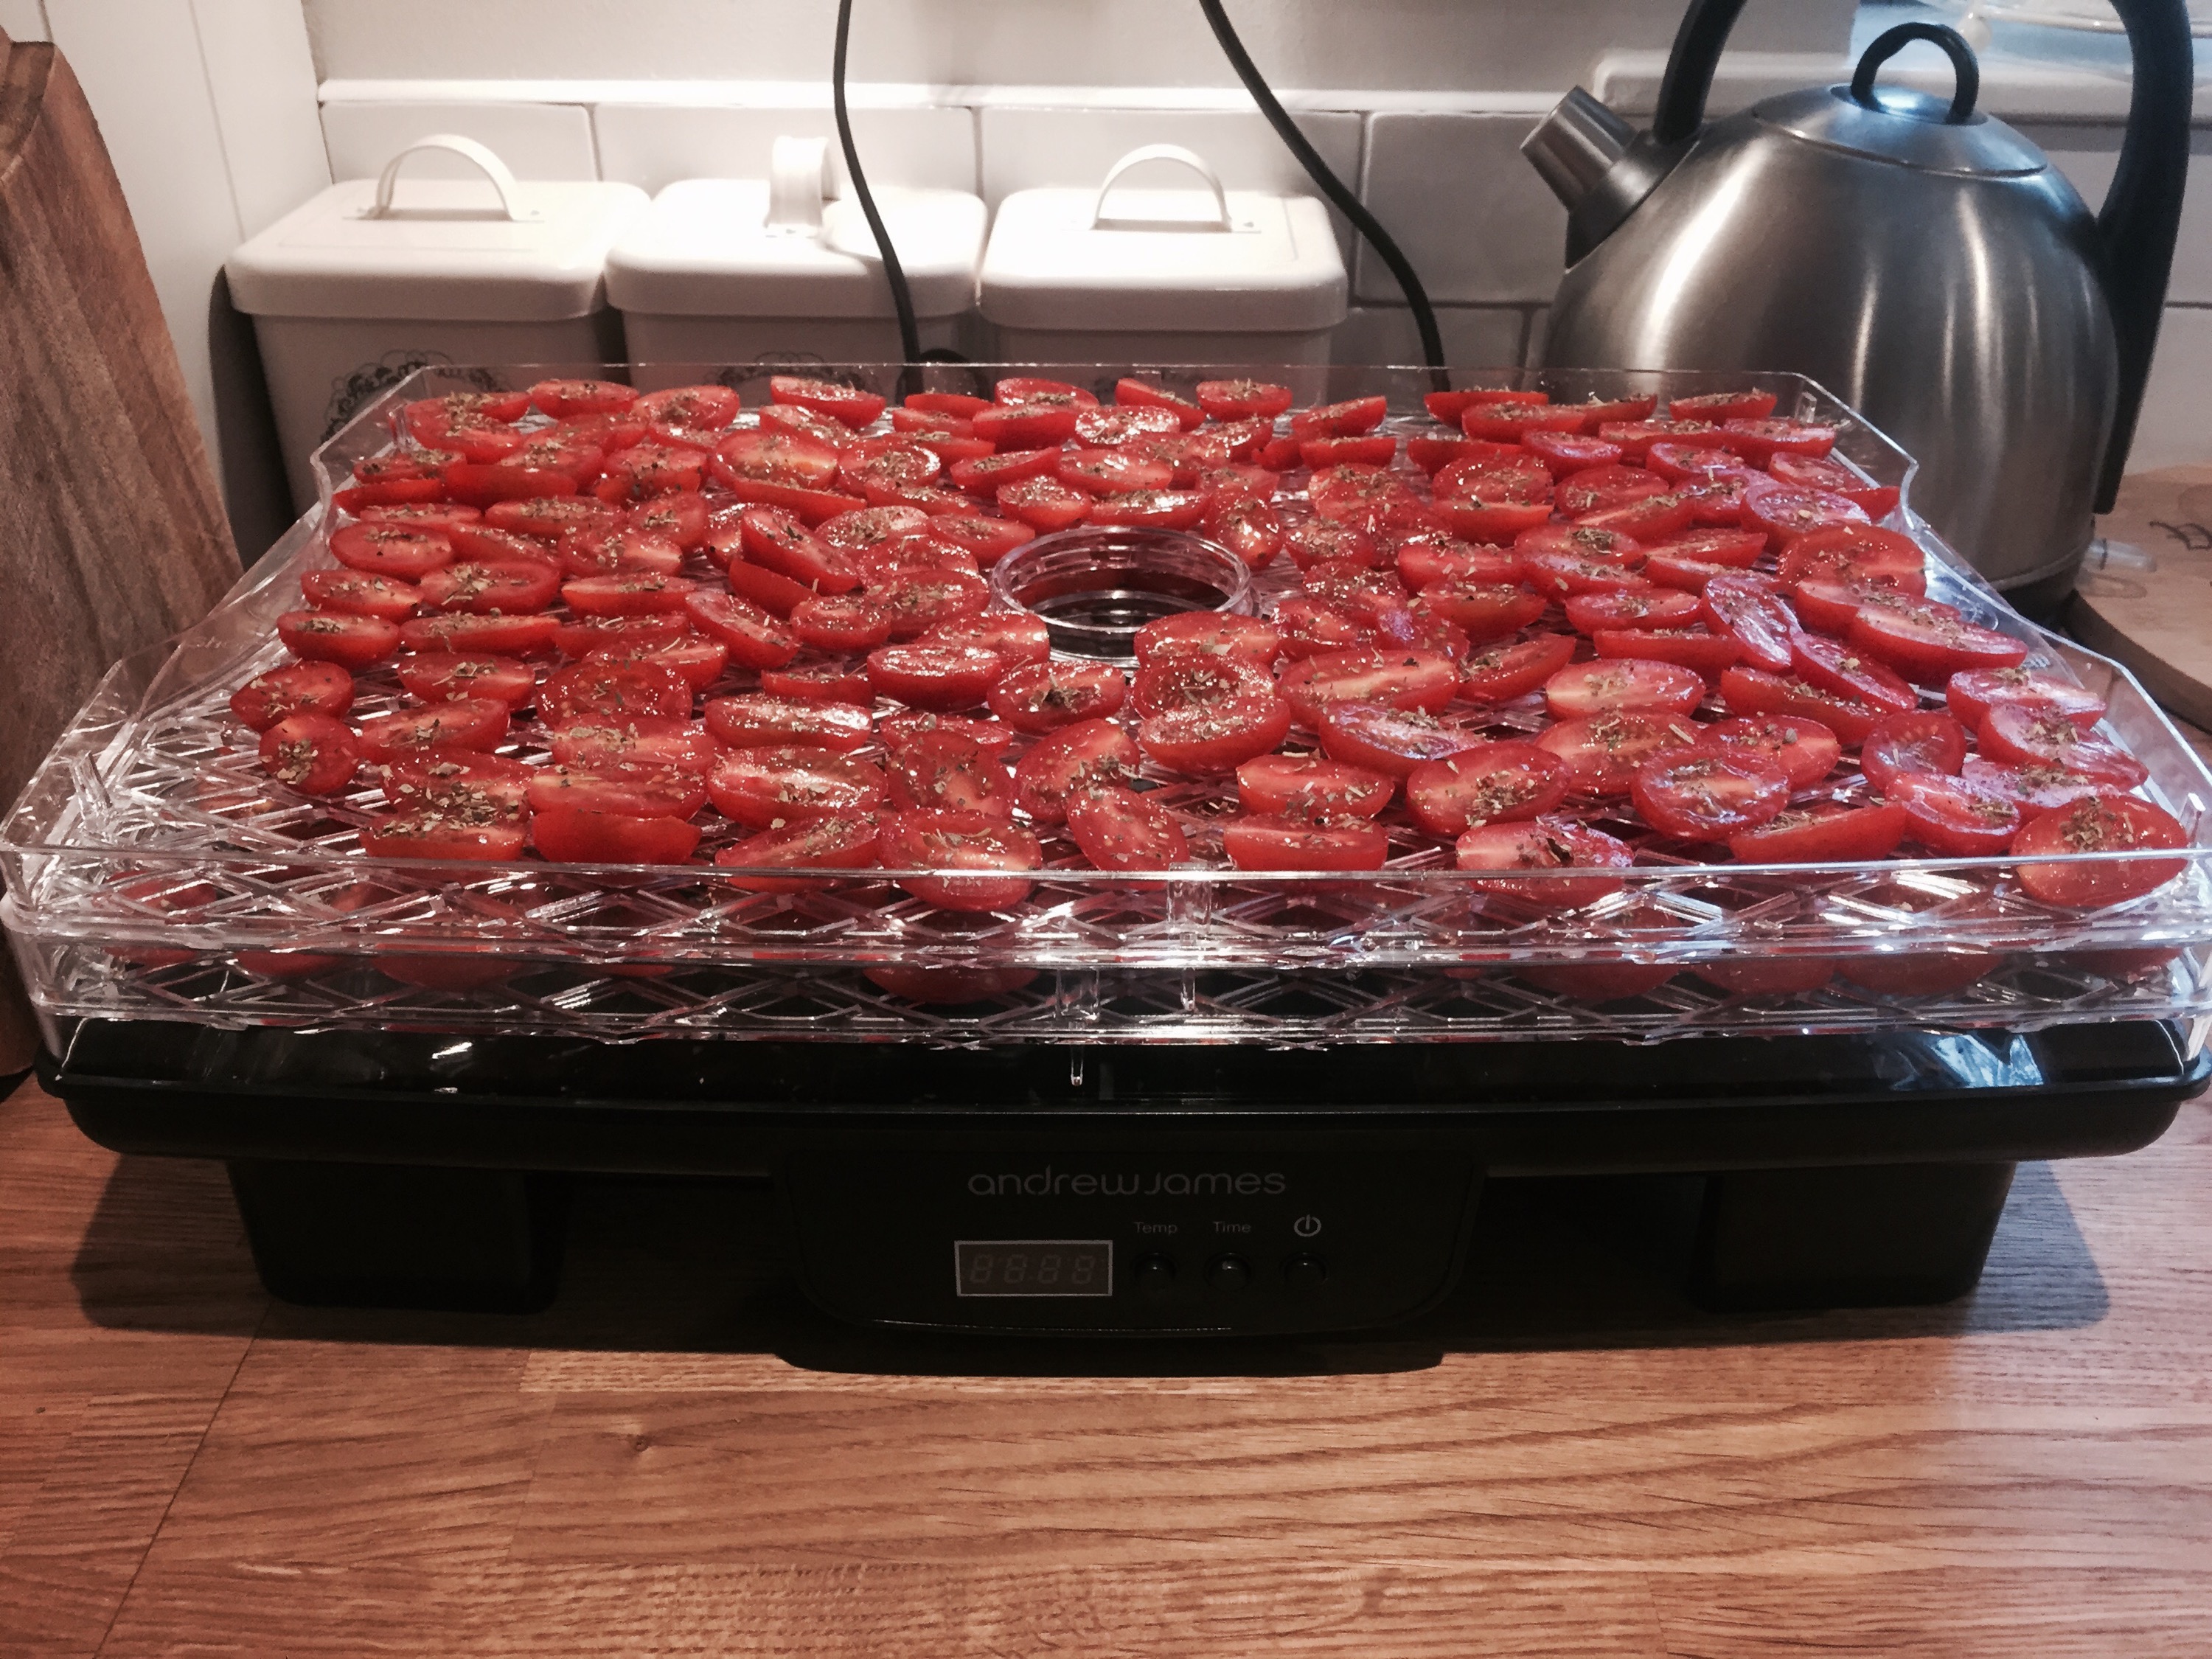
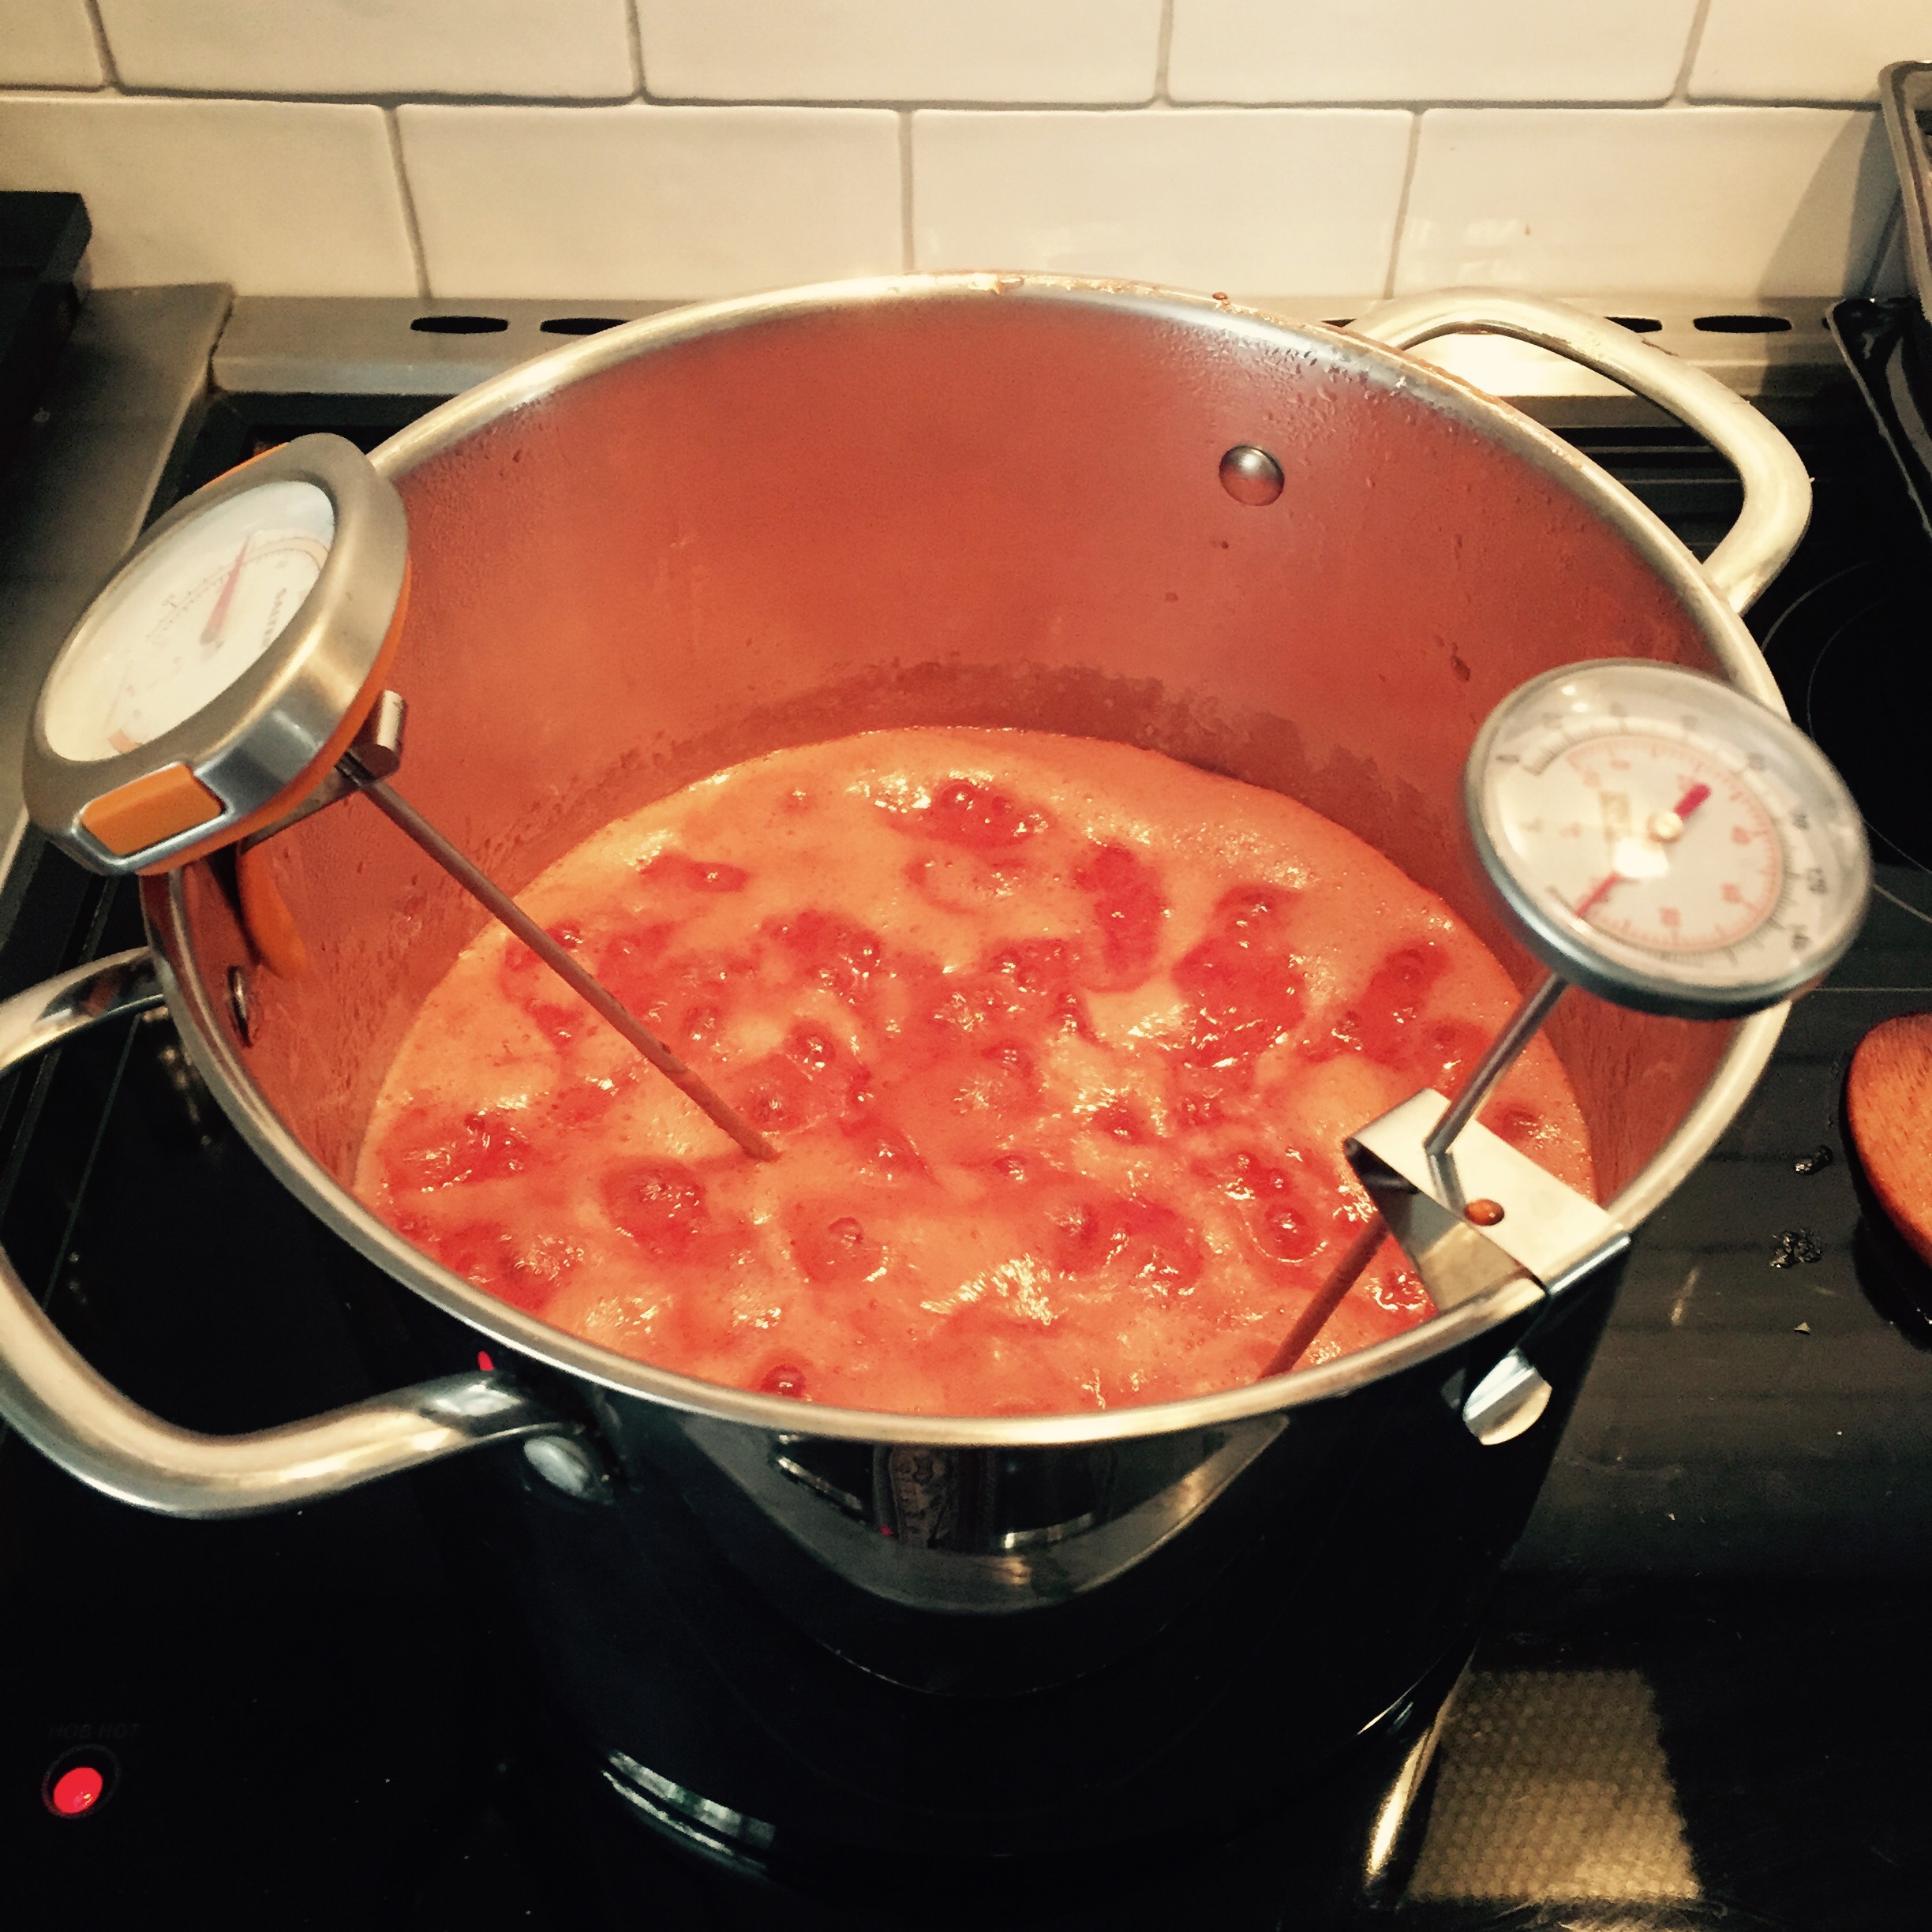
Following on from the apparent triumph and success of my ‘sun’ dried tomato effort last week, I decided that I would have a little experiment with the dehydrator and see what other magic could be made in the kitchen with a little hot air piff paff poof.

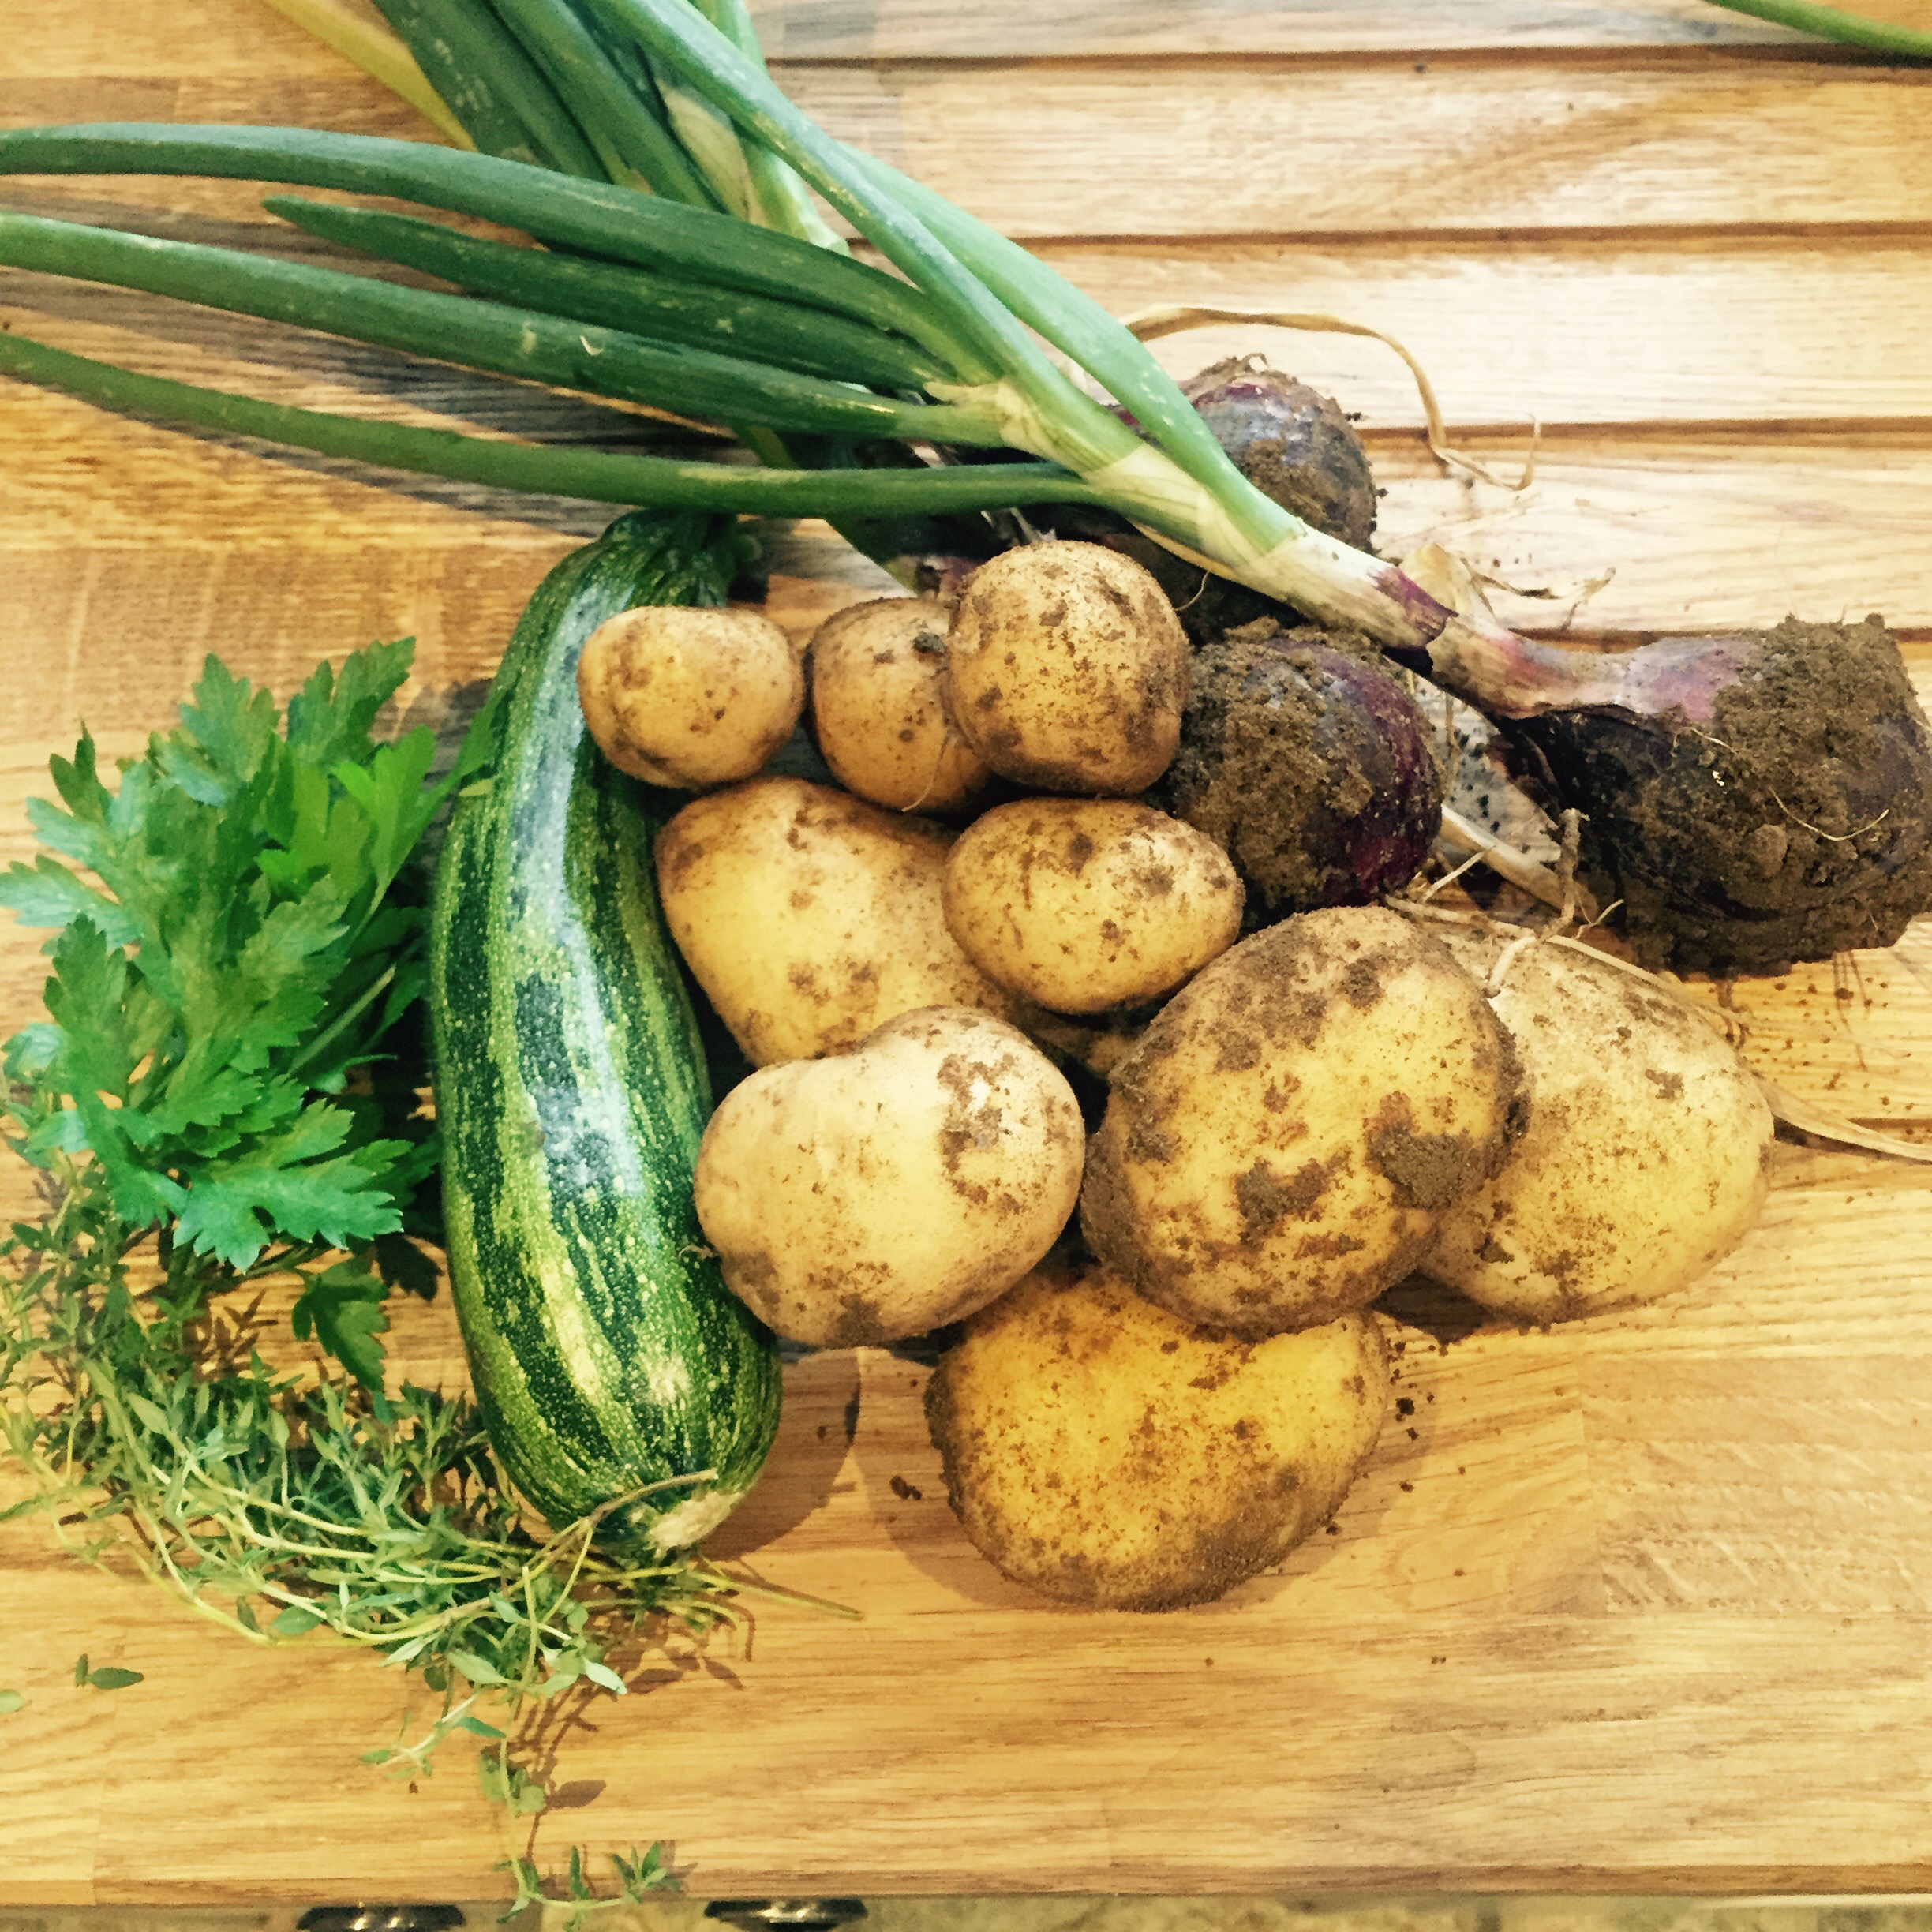
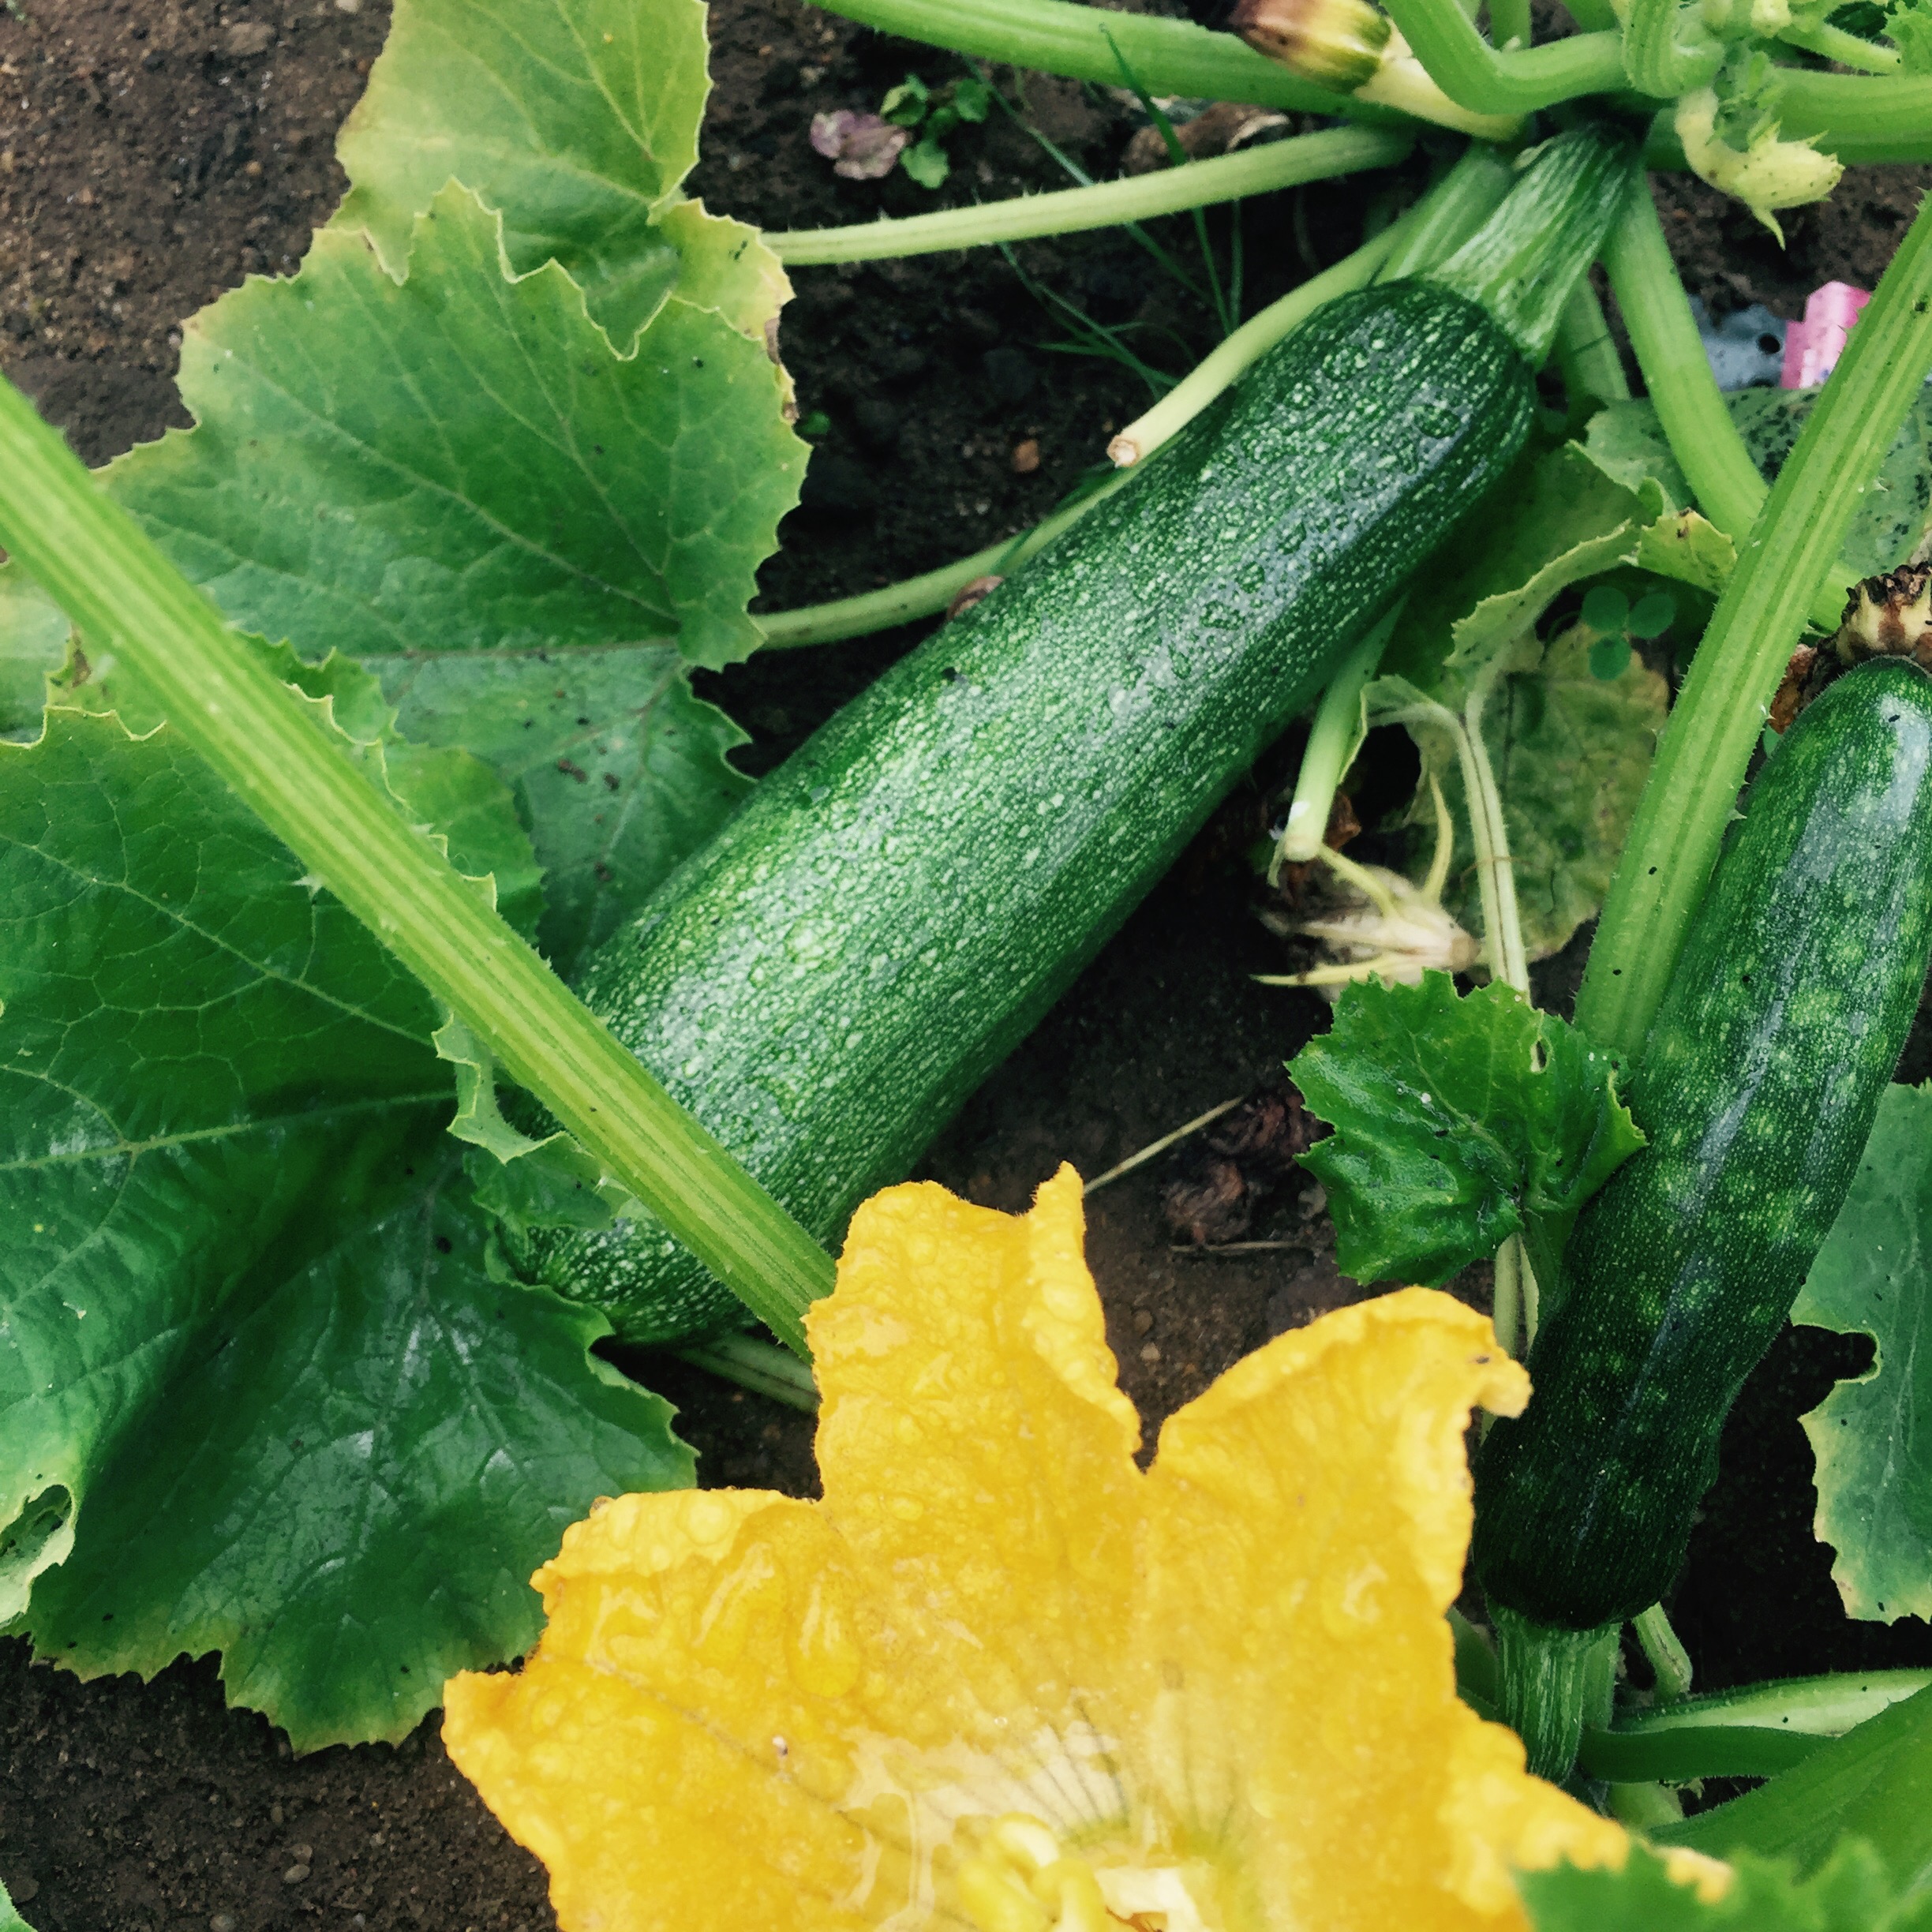
I’m a great one for fresh herbs, I have a herb garden just outside my kitchen and I grow mint, parsley, thyme, chives, sage & rosemary. I have coriander and basil indoors. And I use one or other of these cheeky little flavour enhancers on a daily basis in everything I cook. At the moment, they are in abundance (not quite the abundance of the courgettes thank goodness) and so fresh and flavourful, I wondered if I could capture it somehow for the winter. But there’s nothing much on tinterweb about herbs in a dehydrator so it was a little game of trial and error. Mostly, I won.

Here is my journey!

I decided to try all of the herbs in turn, my idea is to have them all in little pots to replace the ones from Mr Ocado for my own, and then make a one size fits all ‘dried mixed herbs’ blend of them all – because sometimes (and I’m thinking pasta sauces when I say this) a little bit of everything really does work. Well I say all, I fibbed a bit there as I am not bothering with the rosemary on account of it being so hardy it’s available from the garden all year round, come hell or high water.

I’ve already listed the herbs I have, so I picked handfuls of each, washed them well, and patted dry with kitchen paper. They all had a shelf each in the dehydrator, and I put them in at 70 degrees and had the machine whirring in the background of a busy kitchen afternoon.


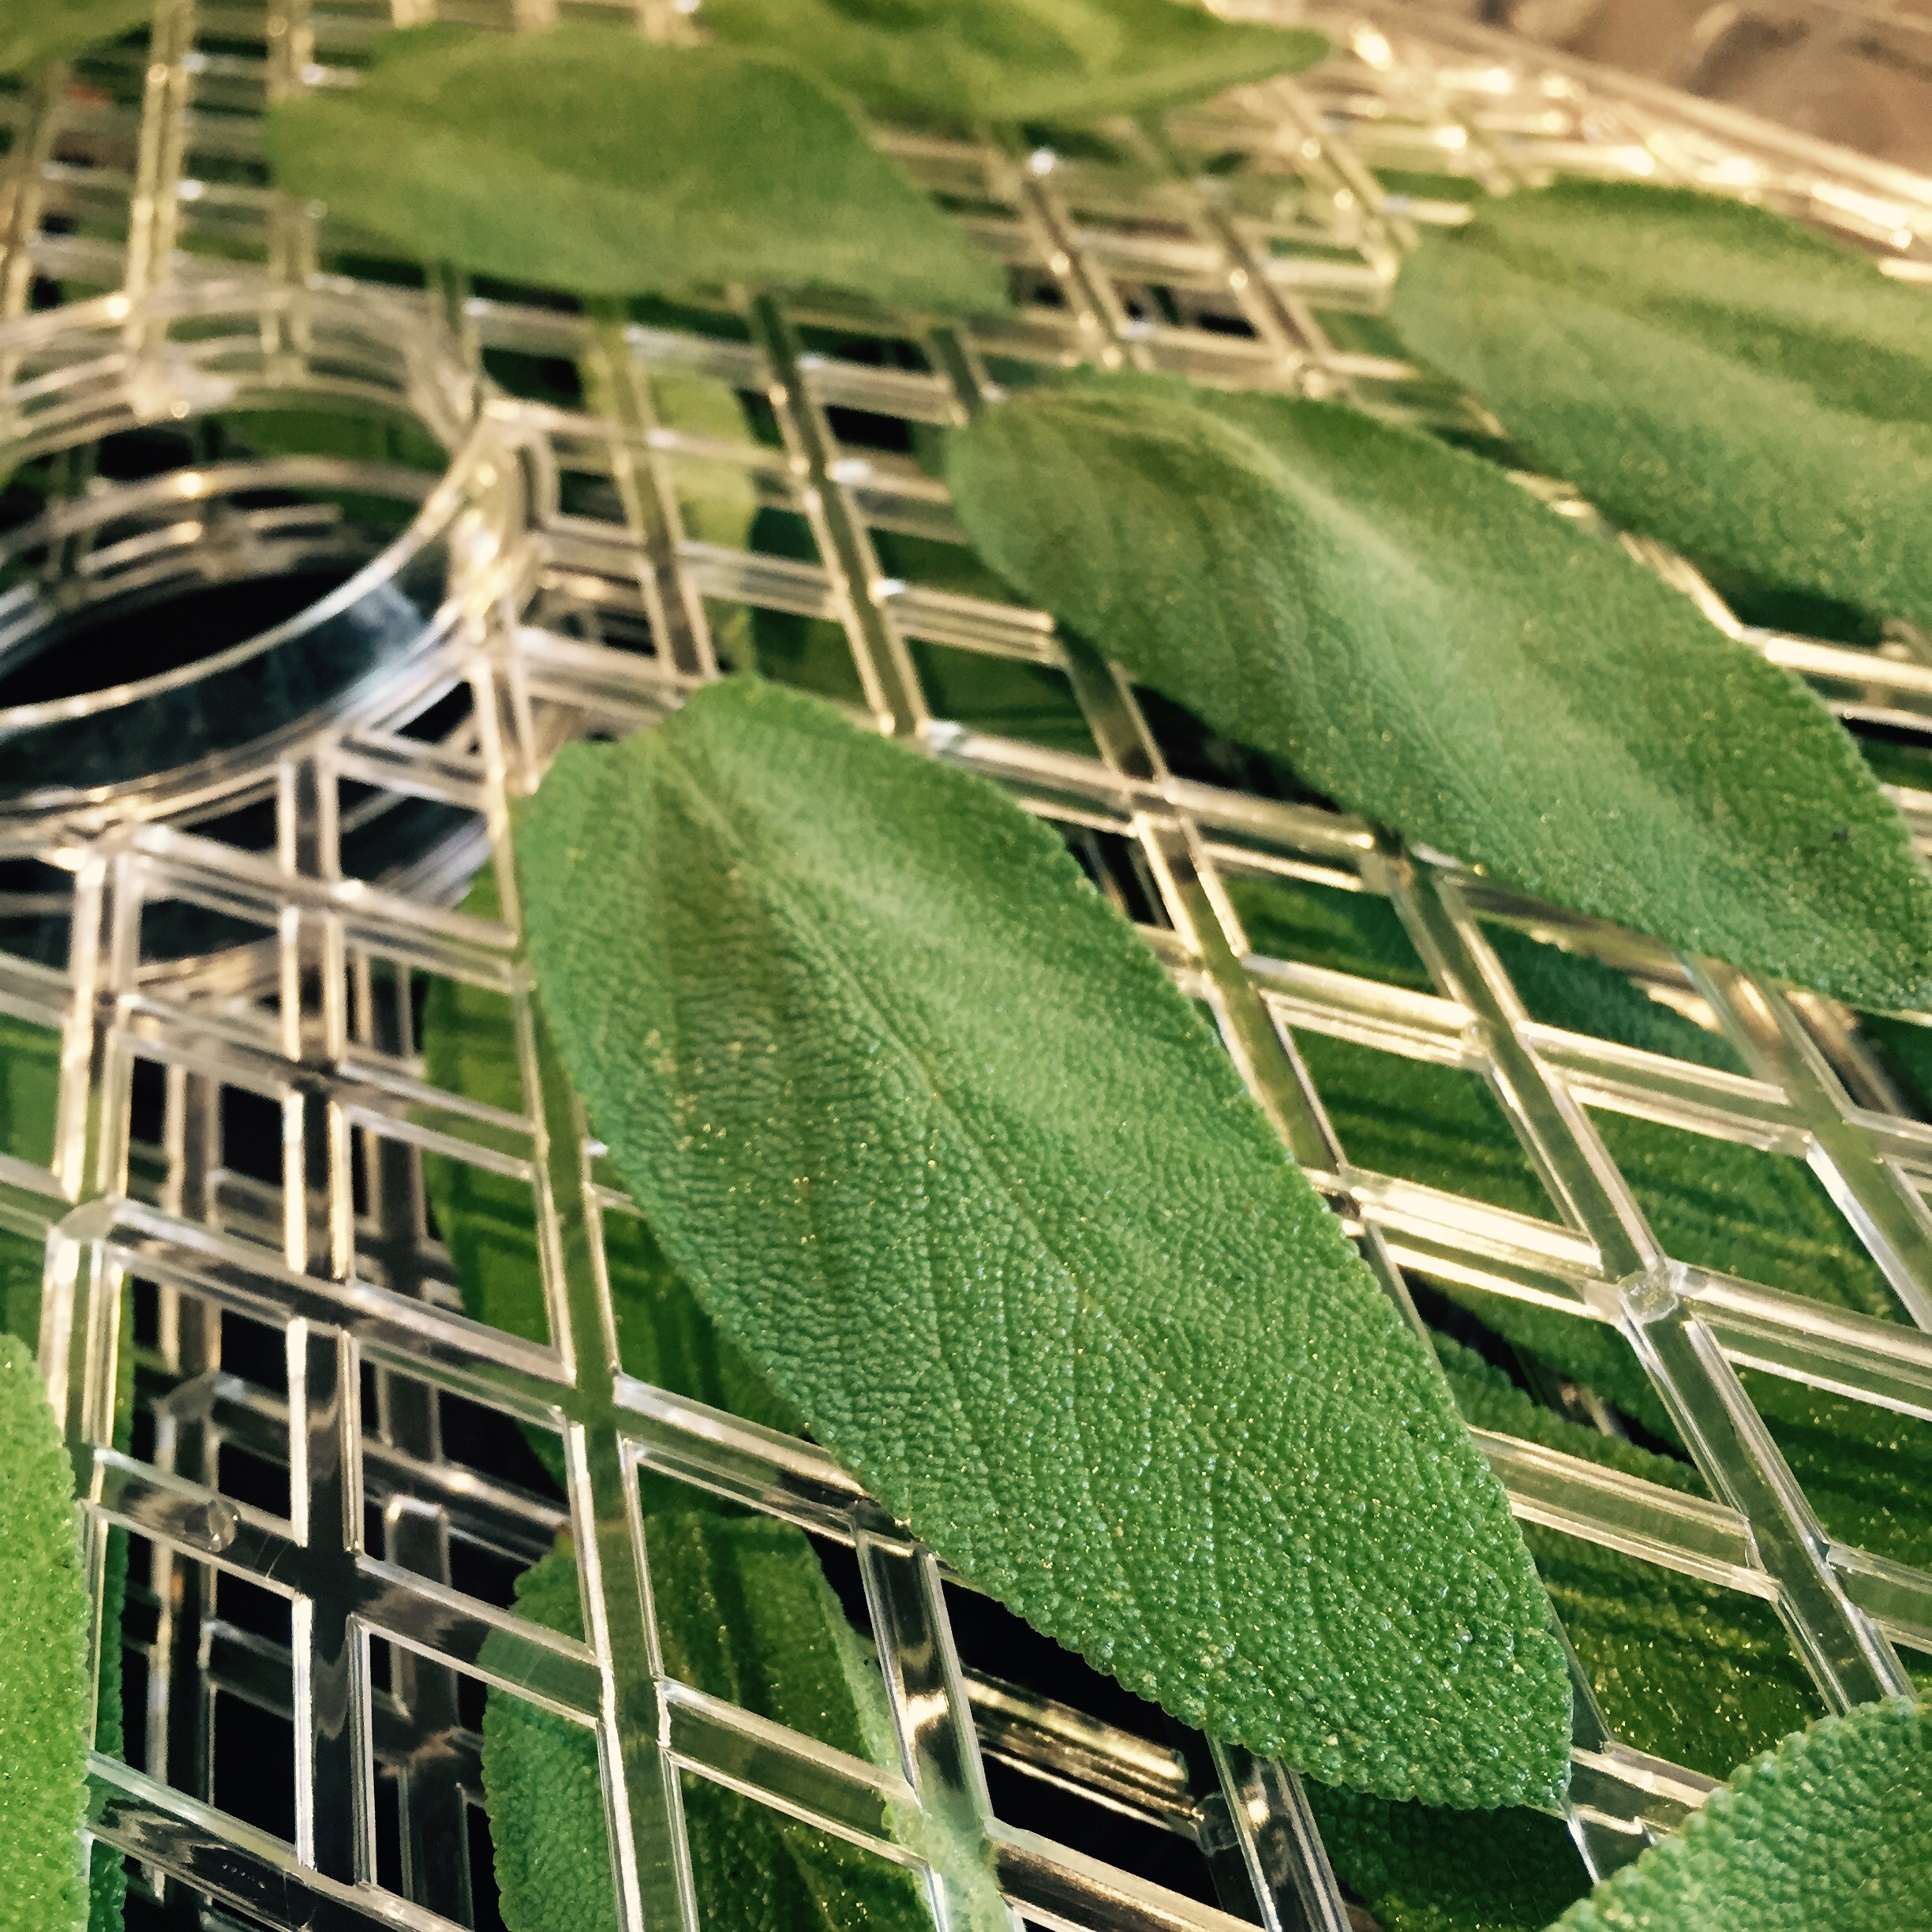
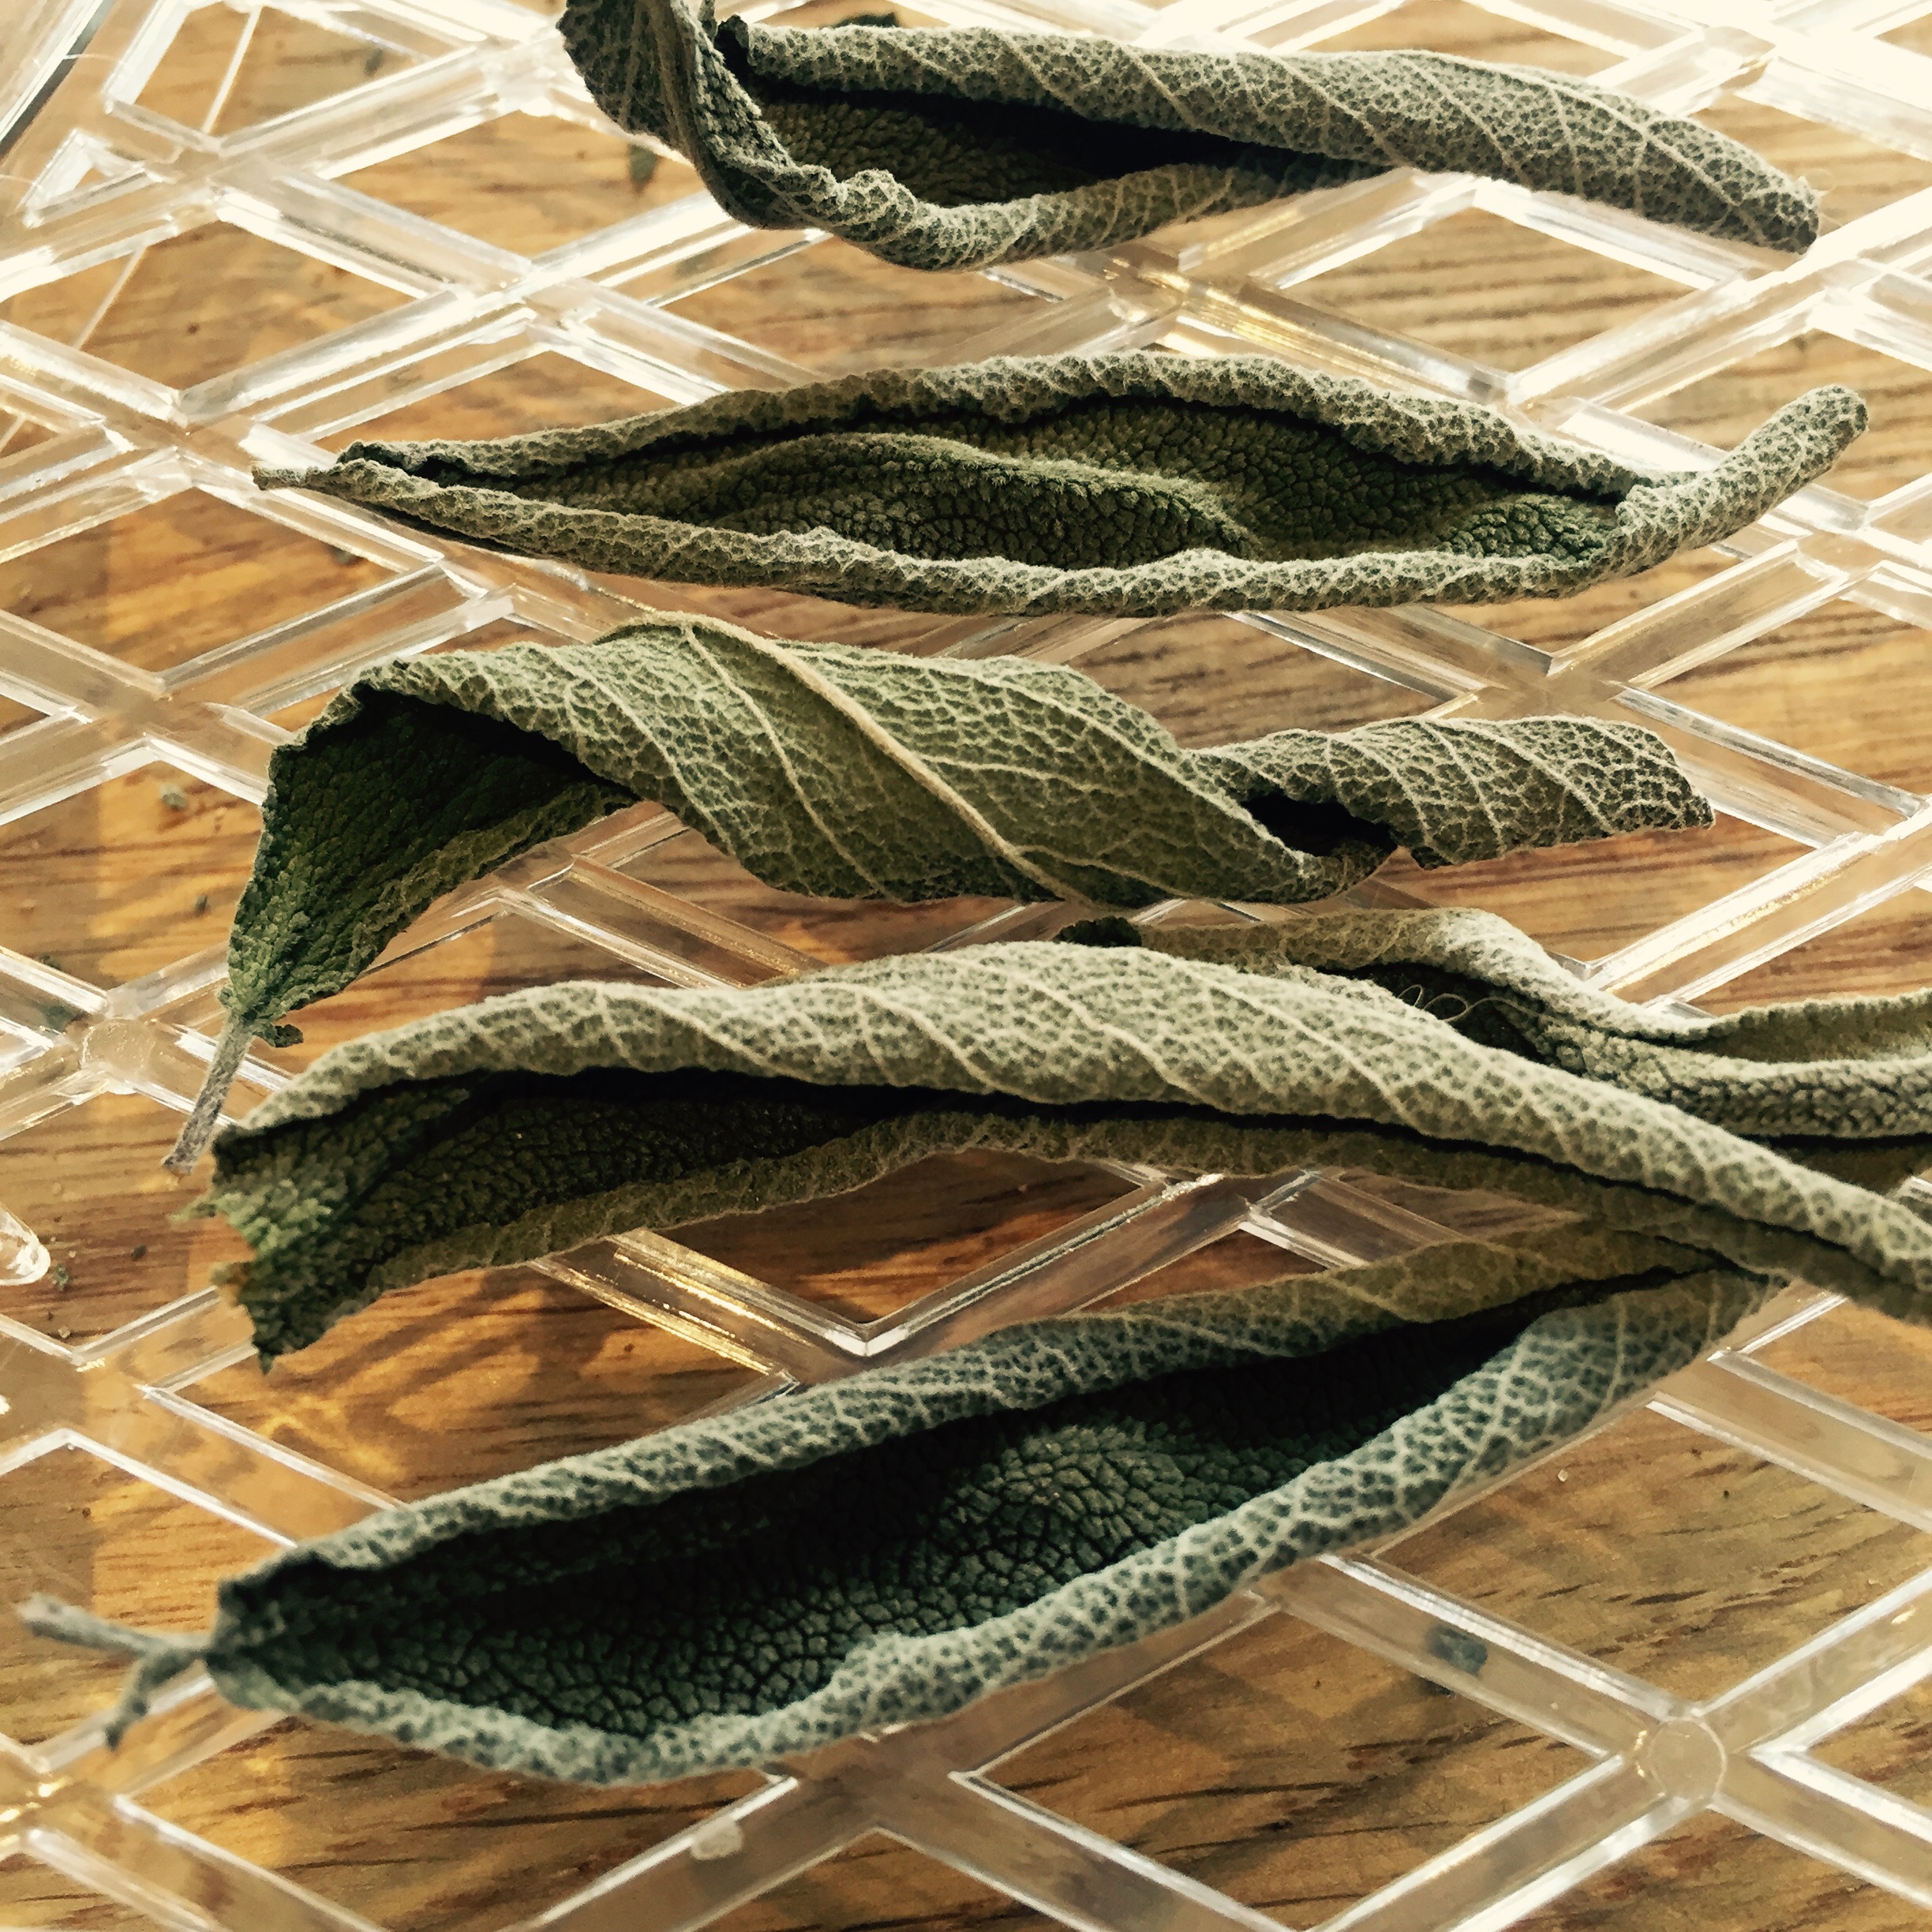
The sage was the first to dry, which really surprised me. It only took around two hours. I tried numerous methods of crushing and getting it into a little pot but the best one was to crush by hand in the fingers into a bowl and then use a teaspoon to spoon into the little jar. They kept blocking up my mini funnel so that was a bit of a fail.

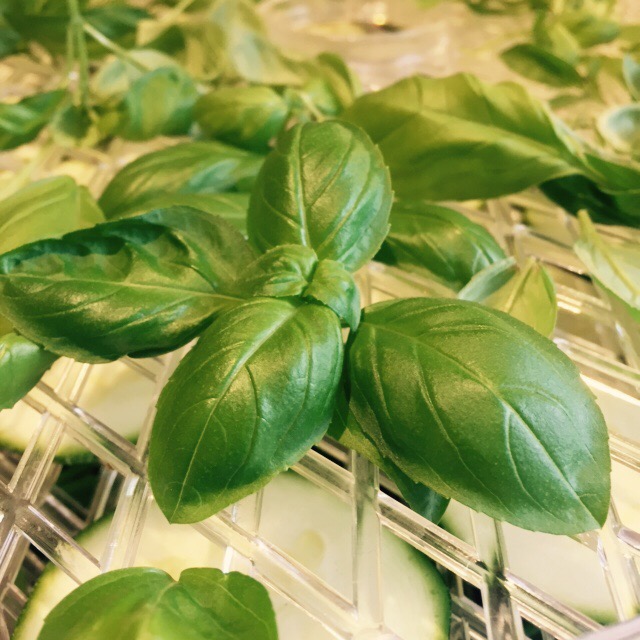
Next was the basil, at around 3 hours, I used the same method for this to crush and jar. It went down to almost nothing.
The parsley and mint came in at around the same time. Same methods employed as above.

The chives were around 4 hours and for these, I lined them up and snipped into a bowl then used the teaspoon into the jar method.

The thyme I felt was a bit woody and ended up a bit like a birds nest of twigs and wotnot so I’d probably avoid that one next time and stick to the others noted.

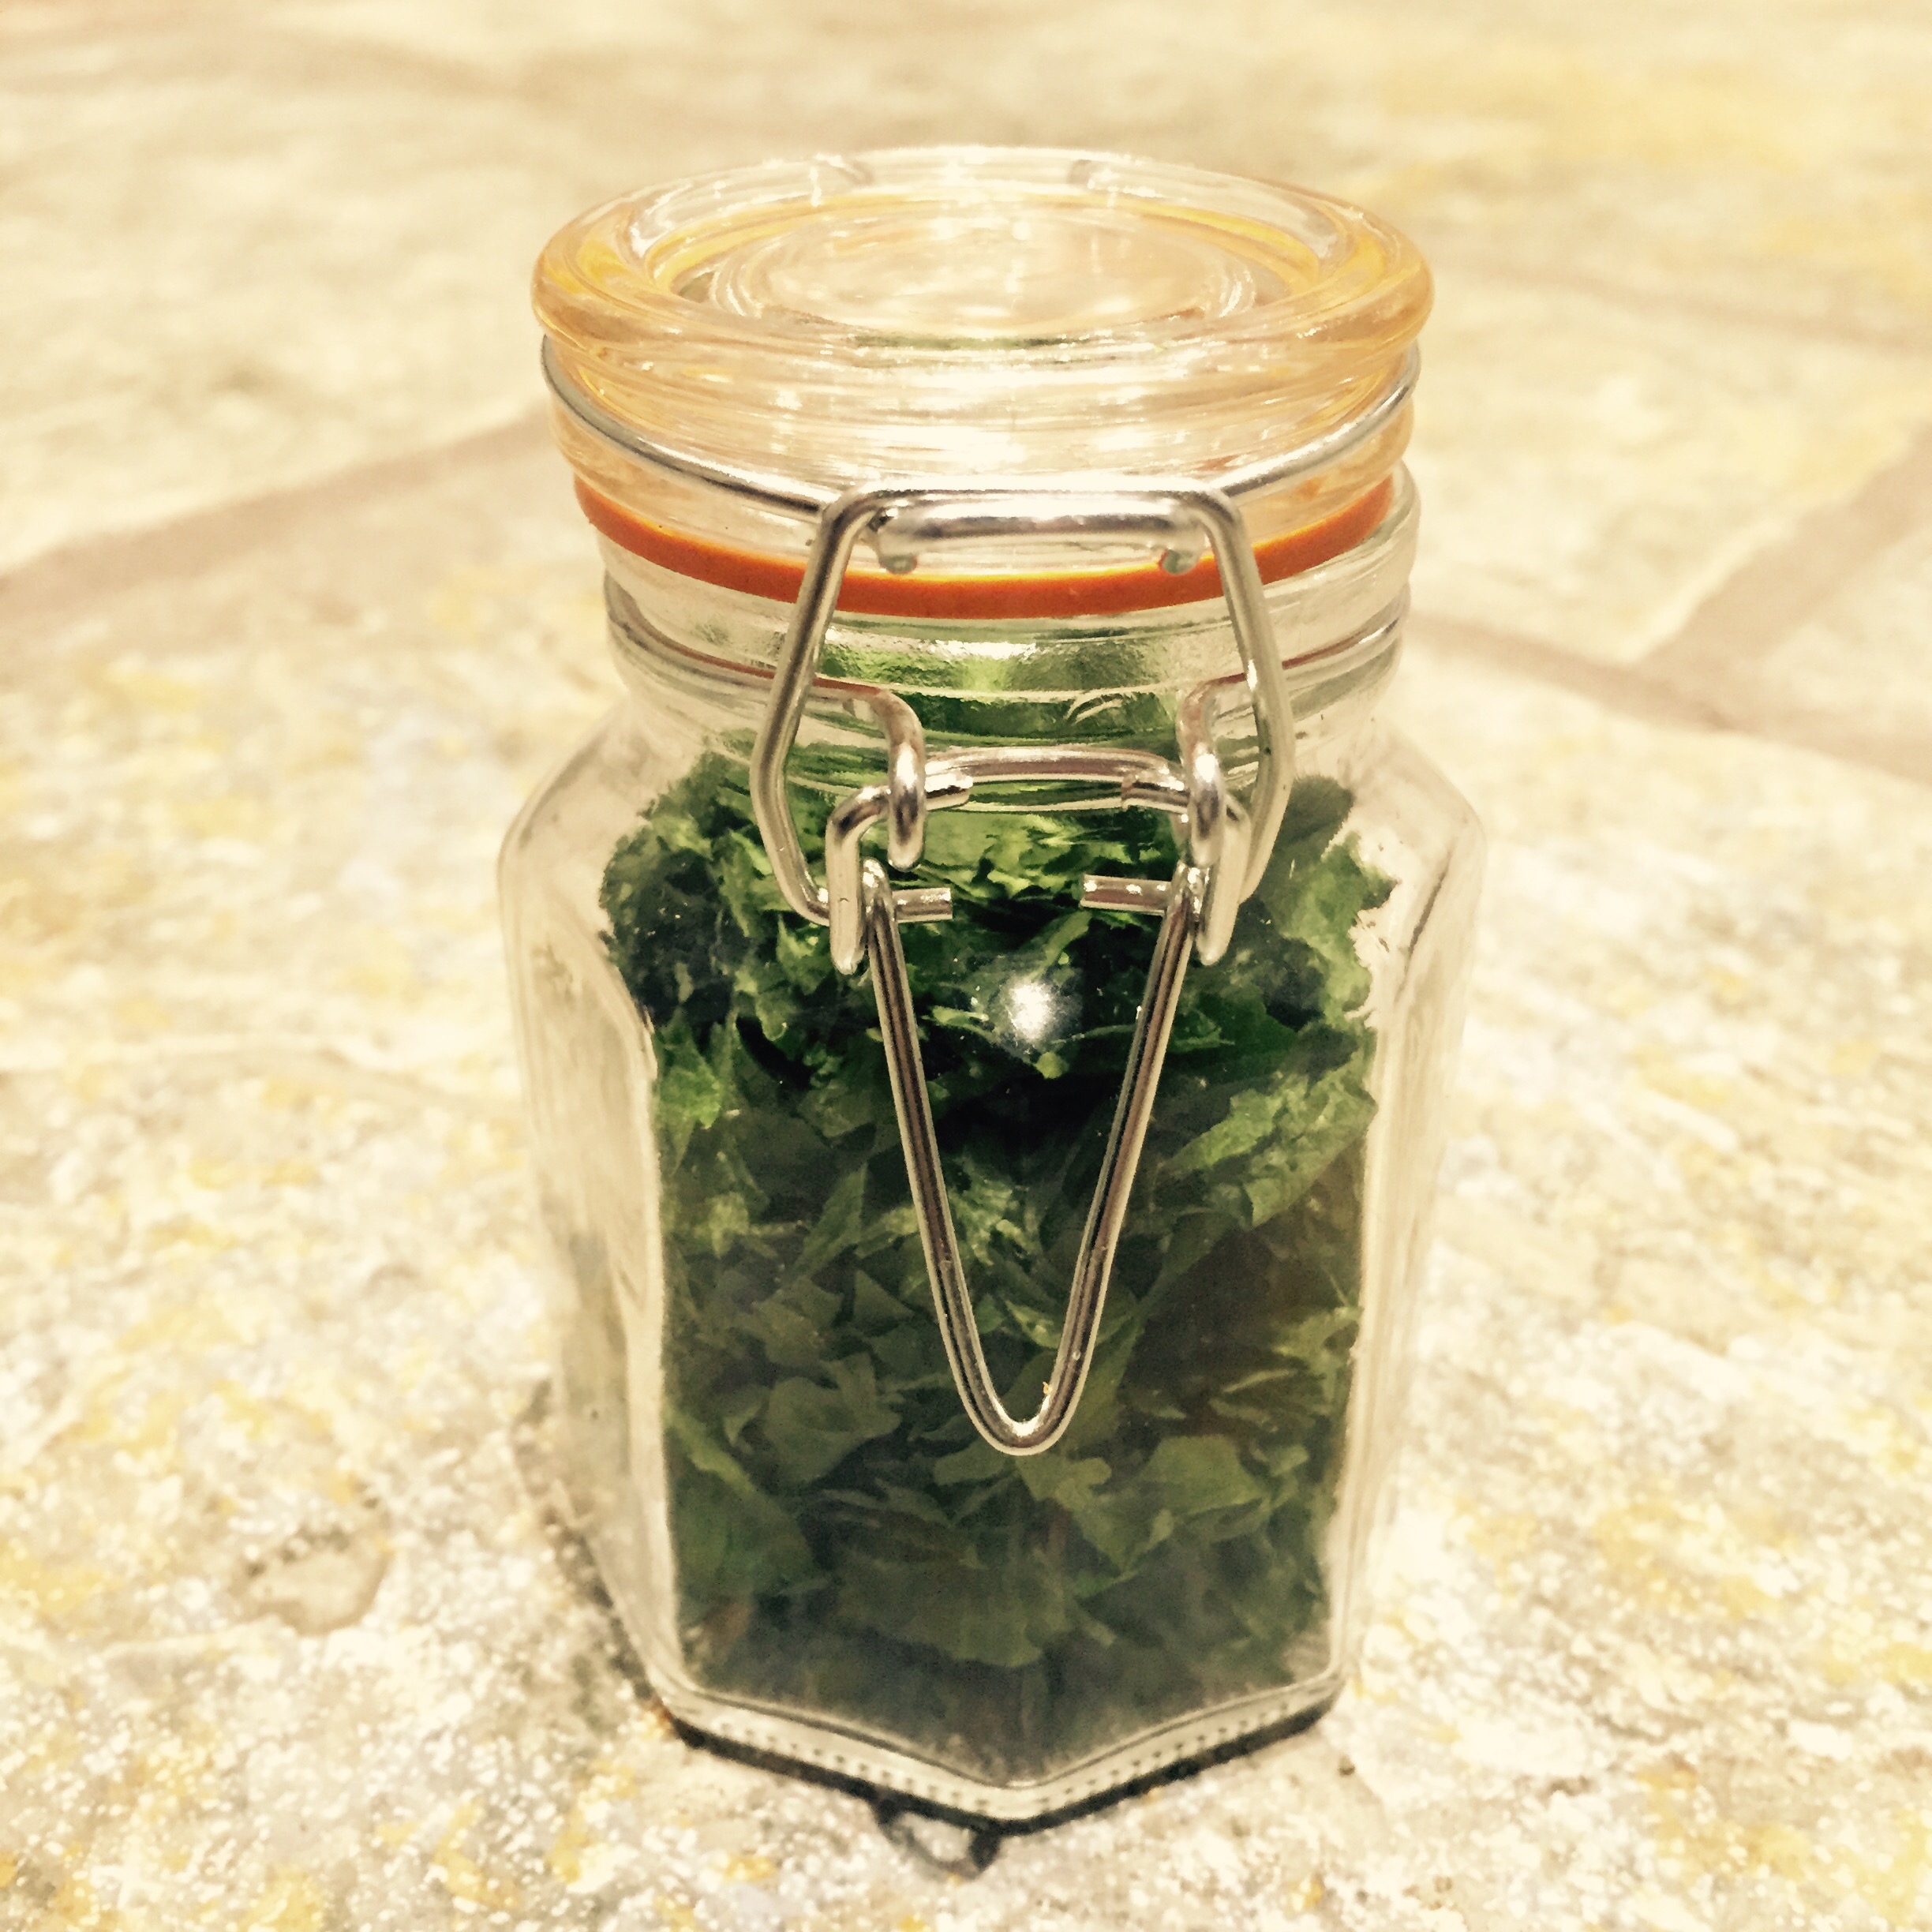
So that was it, literally nothing to it. No sorcery whatsoever. What is magic though is the way that the flavours are so strong and intense, and the colours so vivid.

I’ve already tried the chives in a potato salad (super good) and the rest in a spaghetti bolognese.

I’ve bought some gorgeous little jars so everyone will be getting a dried mixed herbs pot in the Christmas hampers this year.

Right, I’m off to have a go at drying bananas. Follow our blog to see how that turns out! 

Yum-tiddly-umptious. x

Preserving the harvest…

Preserving nature’s harvest is one of my very most favourite phrases at this time of year and encapsulates everything that I think we should be doing. It actually gives me a case of the warm fuzzies. I absolutely love to grow things but when it all comes at once, it can be a bit overwhelming.

I’ve grown up with my mother always making odd chutney combinations of what ever she had a glut of and I think that this has perfused it’s way into my very being.

My chutney recipes now are only very loosely based on things I have done in the past, I very much make it up as I go along depending on what I have in front of me. Most weeks the hubster walks in from work on a Friday to find my pans hubbling and bubbling on the stove with jars in the sink and in the oven. Only in the last year or so have I actually started writing down what I do each time as we can be tucking into a chutney which everybody raves about, asks me for the recipe and I have to confess I have absolutely no idea what I did at the time because it was six months or a year ago! I’ve a few of my favourites listed on my recipes page.

But last year, someone threw me a curveball in and gave me the most spectacular gift. ‘Sun-dried’ tomatoes from her allotment. I was bowled over. Teeny, tiny little pockets of exploding tomato flavour like nothing I’ve ever experienced before. I knew it wouldn’t be long before I had to try to make them for myself!

So, a short discussion with my friend Mr Amazon later, and one food dehydrator was duly purchased.

My first foray I saw very much as a trial run so before committing hordes of my own homegrown tomato people, I bought some beautiful little baby plum tomatoes which were on special at the local shop. I bought eight punnets.

So this is what you do. All very straight forward. I followed the advice of said friend who had gifted me the originals as I like to call them.

Slice your tomatoes in half and lay them in the dehydrator cut side up. Sprinkle with Italian seasoning and salt and pepper. Turn on dehydrator and walk away. Do something else, go out, read a book, knit. Don’t stand and watch it and expect to see something happen as the magic takes hours my friends!

These went in at 65 degrees for eight hours. Then I removed the smaller ones that were leathery and left the bigger ones in for another hour.

Then they all had a sixty second dunk in red wine vinegar and got packed into jars. Now I believe from my research that these will keep quite happily in jars for some months. However, I wanted to replicate the jars stored in oil and so they got topped up with good quality extra virgin olive oil. I figure that once you’ve used the tomatoes, the oil will be fantastic. Whenever I make ciabatta, I always use the oil out of my sun-dried tomato jars in the fridge and not just plain stuff, gives a great extra little bit of flavour.
That’s it then!

They’ve come out brilliantly so I’ll be doing lots more to go into my Christmas hampers for the famalam. The way things are going this year, the hampers will be so big that I will need to provide a donkey to carry them too.

I’ve started experimenting with dehydrating my fresh herbs so check back for progress!

TTFN x

How does your garden grow? 

With silver bells and cockle shells? 

I could not be more excited at the moment with the progress of my little vegetable garden. Every day things change and grow, and I’m able to harvest something delightful for dinner. I literally go skipping down there like the Easter Bunny with my decade old metal trug feeling every inch the country living magazine (plus sized and slightly grey-ing) model. It must be one of the best feelings in the world to be able to come home from work, walk down the garden and get a bit muddy digging up spuds and onions then bring them indoors and cook them up, as fresh as fresh can be. 

Talk about fast food… 

I think my most successful things have been potatoes so far, they are fairly straightforward. The onions are proving to be fantastic, I will plant more of those next year. The leeks are still tiny but growing well, and I have planted some spring onions too. Fingers crossed for those. Oooh, and I have at least half a dozen baby aubergines….


The carrots are also unbelievably good so I am thinking that I will plant some more of those when I have pulled some more potatoes up in the next week. The kale although very pretty was very disappointing and holey and very tough to eat, I think that I really do need a Brassica cage to cover everything, not just my broccoli and cabbage plants. But I’ll give that a miss next year. Lesson learned! Tomatoes are slow but coming and I think I might be overrun with butternut squash when the time comes lol! 


I am really really cheesed off with myself that I didn’t plant any sweetcorn. Everyone else’s is ready now and it’s one of my most favourite things so I am gutted I didn’t think to put these in. Must plan better. But I have already bought seeds from Wilkos so they will be going in next year I can guarantee it!
This is what I picked last night:


And here is what I consider to be fast food. Wash and boil your potatoes, then add a little fresh crushed garlic, seasoning and chopped fresh parsley and stir. With the onions, chop into wedges and roast with a little olive oil until translucent, perhaps 15 minutes or so at 190°. Then cut some ready-made puff pastry, and score a 1cm line around the outside. Place onto a greased baking tray. Take your onions out of the oven and pop onto the centre of the pastry, add some soft goats cheese and bake in the oven until golden brown and the sides risen. Add a little fresh thyme to serve. 


But what about the courgette I hear you ask?! I didn’t think we needed that to so he has been chopped up to make a lovely salad with some leftover onions and goats cheese and quinoa and my new favourite salad dressing of mint sauce and elderflower cordial. Can’t wait to eat that today at lunchtime!

Now if only the first batch of red wine I’m making (currently stinking out the airing cupboard) was already ‘cooked’, that would have been great with this meal. Patience is very much not one of my virtues, I’ll be honest. But I am enjoying watching this one bubbling away every day fermenting

And I’m already itching to make the next. I think this could get quite addictive…

TTFN x

Courgette-tastic! 

Deep breath… Are you in the glut??!!! Funniest thing, I keep on using all of my own, so when my next door neighbour left a carrier bag of stunning courgettes on my doorstep yesterday I was so grateful! What an awesome gift! It means I’ve been busy until 10pm with two of my most favourite recipes, the chocolate courgette cake and the spicy courgette and tomato chutney.


As we’re now coming to the end of July, if you are careful about how you ‘jar’ your jams and chutneys, they will keep perfectly for Christmas and make the most amazing gifts for friends and family. I make hampers for my loved ones and they get bigger and better every year!.

Don’t ever think that because a courgette is bigger than you might normally choose, that it’s no good. These make great cake and chutney! This chutney recipe also works well with marrow, just remove the seeds. You only need to peel if it’s not fresh, or the skin is too tough. 

So it’s all about best and effective use of time and a good bit of multi-tasking here… So chutney on first as that takes a good two hours to bubble down, then you can cake bake while that’s on the stove. 

Chutney Ingredients:

1.4kg courgettes

900g onions

900g brown sugar

3 inches of fresh ginger root

6 cloves of garlic, chopped

1tsp chilli flakes

1tsp salt

900ml malt vinegar

900g tomatoes

Chop everything and pop into a preserving pan. Turn up the heat and let the juices start to run. Add your vinegar, sugar and spices all together and mix well.   


Make sure you stir regularly with a wooden spoon to ensure it doesn’t catch to the bottom of the pan. Simmer. Then you can get on with your cake(s). I had enough courgettes to make two batches, one for home and one for hubby to take to work (he won’t tell them it’s a courgette cake until there’s only crumbs left in the tin teeheeeee) and for ease went with my loaf tins with pre-made liners which are an absolute revelation in life. This recipe is enough for a good full loaf tin and 3-4 muffins (for the chef!) or a flat tin approximately 20cm square. 

Cake Ingredients:

250g plain flour

350g grated courgette

375g caster sugar

75g good quality cocoa powder – I use Green & Black’s

2tsp bicarbonate of soda

1tsp baking powder

1/2 teaspoon salt

2 tsp mixed spice

4 free range eggs

250ml vegetable oil

Remember to stir your chutney! 


Back to the cake… Put your dry ingredients into a mixing bowl, then measure your oil into a jug and add the eggs. Whip the oil and eggs together to form an emulsion and add these to the dry ingredients in the bowl. Mix well for a minute or so. Fold in your grated courgette with a metal spoon. Pour into your cake tin! Bake at the centre of a pre heated oven 180 degrees for an hour or so. Test with a skewer to ensure it comes out clean, if not, pop it back for another five minutes.

Remove from the oven when baked, allow to cool and dust over some icing sugar. Then wait for it to be devoured!!!

    
Back to your chutney! 

It’s ready to jar up when most of the liquid is gone and you can drag your wooden spoon through and just see it’s path. I’ve tried to photograph that below.

   
Warm your jars through with their lids in the oven at 100 degrees then jar up using a jam funnel if you can to keep the mouth of the jar nice and clean. Pop on your lids and you’re done! This one I’ve found gets better and better like a good wine so if you can leave it till Christmas you’ll be grateful for it at Boxing Day lunch when you’ve got all your cold turkey and gammon and cheeseboard in front of you.

   
Enjoy peeps. I’m off to make some scones x

Falafel-ey Good!

So I’m a huge fan of making everything from scratch and some things are really so very simple, it does make you wonder why you ever bought them from a shop before! So here is a (sort of) recipe I’ve handed out on countless occasions to different people over the years. Much loved by veggies and meat eaters alike, and also a favourite with kiddiewinks.

One of the very best things about this is that I always have everything I need to make this in the cupboards so it is a perfect fast food when there looks like there is nothing in the fridge! They’re absolutely lovely cold so are perfect for picnics and go really well with a little home made hummus (also easy peasy lemon squeezy btw). Dang that’s another post I must write: The delights of homemade hummus. Yum. Dammit, I’m making myself hungry writing this.

Back to the falafel… It’s easy to scale up the recipe here. I use one tin of chickpeas as a starting point. It’s easy then to use another tin and double the other bits below or I’ve used kidney beans or butter beans on occasion too which are also grand.

A tin of chickpeas drained well 

A red onion

A couple of cloves of garlic (to your taste)

Some ground coriander, cumin, parsley and paprika. Again to your taste. Probably half a teaspoon of the two Cs then a quarter of parsley (fresh from your herb garden dans la summer months of course) and a sprinkle of paprika and a little salt and pepper.

Then a heaped tablespoon of flour and blitz in your food processor until it’s smooth-ish. Mix done. You should be able to shape it in your hands without it being too wet. Add a touch more flour if it’s a bit soggy. 

  
In fact these aren’t far off of a simple veggie bean burger if you added a little shredded carrot and green pepper, some sweetcorn and used a tin of mixed chilli beans (in water not sauce!) Can you see where I’m going with my approach here? There’s really nothing to it, just chuck it all together!

The above (one tin) makes four burgers which I shape and fry lightly on each side for 4-5 minutes until well coloured. Great in a burger bun with a slice of grilled halloumi over the top and some spicy summer relish. Or just on their own with some homemade herby potato wedges and serve with creme fraiche with some freshly chopped chives over the top. Ding dong fabulous.

You could add in sweetcorn, mashed sweet potato, spinach, anything you’ve got lying about really.

I will confess to recently purchasing a dirty fryer (a mini version of the ones you get in restaurants) recently. So if you want real proper little round morsels of Middle Eastern deliciousness, then the above mix will make 8-10 perfectly sized balls which you just pop into your fryer at 190 for around two minutes until golden brown. Drain and serve. You will not get better anywhere I can wholeheartedly promise you. 

  
Have a go and post your photos below of your work! It’s so easy I promise and takes literally five minutes flat. Barely longer than ripping open a packet! As I said before, they are great cold the next day so try putting into a pitta or a wrap with loads of fresh salad and some hummus. Glorious. Falafel-ey good in fact.

Oh no, not another bloody courgette! 

I feel that today needs a little fanfare really. It’s the day of my first courgette of the year. First of many I hope. As a longstanding vegetablearian I truly love these versatile veggies.

But my poor hubby, a caveman-esque manly meat eater with a great love of all things steak, did get fed up of the things last year.

The glut. Ah yes, you know it? The London bus syndrome of the vegetable world. You plant your seeds in March, then mother them daily until BOOM they become unruly teenagers one weekend when your back’s turned and the first fruits appear. Then they all arrive at once and grow at an unrivalled rate of knots.

So over the years, I have devised many many ways of using these little babies in all sorts of recipes… I’m not saying I sneak them in as such… Well yes, you’ve got me, sometimes I do. Don’t tell the hubster.

He suggested that I write a book. Oh no, not another bloody courgette! was born, in my mind at least. Basically this is what he would say to me every night when he got in from work from the onset of July’s first harvest.

Last night we enjoyed our first one of the year, it was sensational and in the form of one of my very favourite things, Zuchinni Fritti. I’m eagerly awaiting the next one and as supply becomes more plentiful, I shall stuff and batter up some flowers too. Prosecco chilling in the fridge? Check.

I’m going to list my recipes here as you’ll be needing them as we hit the season of plentiful harvest and I’ll write them all up as soon as I can with links to each one… So please sign up to my blog and keep checking back here for more recipes!!!

*Courgette and feta fritters

*Roasted courgettes with onions, halloumi and herbs

*Courgette and goats cheese quiche

*Courgette and pepper frittata

*Stuffed baked courgette boats

*Courgette soup

*Chocolate courgette cake

*Lemon courgette cake

*Zucchini fritti (healthy)

*Zucchini fritti (less healthy!)

*Courgette flowers

*Courgette and pesto tagliatelle

*Courgette lasagne

*Paneer & vegetable tikka kebabs – great for a BBQ

*Courgette & broad bean summer salad

*Courgette & goats cheese crostini

*Sweet courgette & apple chutney

*Spiced courgette chutney

*Spicy summer BBQ relish

I’d love to know if anyone has any more genius ways to use them… Please do share.

And one day I really will write that book I swear…

Bon appetit! X

From plot to plate…

The time is here. The day I’ve been waiting for. I’ve been away for a few days and when I came back, my veggie patch was a jungle! And so drumroll please…. I’ve picked my first courgette of the year!!! Previously I’ve only ever bought plants from the garden centre but these were actual 50p for ten from B&Q seeds. I’ve nurtured them and loved them each day and now they’re rewarding me with my dinner!!!  

When I was starting to thin out my other seedlings a few weeks ago my mum suggested taking the biggest ones to eat, and leaving the little ones to come on rather than the traditional method of pulling the weaker ones and composting them. So I’ve done that with my carrots and I have enough for dinner there too. Don’t laugh, but I really want you to know just how carrotty they smell.   

And some kale… So here’s my dinner for tonight! I think I’ll make a cottage pie to go with it even though it’s the middle of summer. It’s pretty nippy out today so I think that will go down a treat. I’ve got onions that another friend gave me from her allotment last week so honestly there won’t be much on our plates that’s not been grown by me or one of my pals. It doesn’t get much better than this.  And I wonder why people keep calling my husband and me Tom and Barbara?   

I got given some red gooseberries at the weekend too so I’m thinking I might whip up a gooseberry and elderflower fool for afters… A friend said this morning that her husband made one yesterday and after googling to see exactly what one was, I think I shall try! I’m going to go with Auntie Delia’s recipe as she’s never let me down yet. It’s basically a bit like crumble by all accounts and in this one you pop some elderflower cordial in with the gooseberries and some sugar. Seriously, what is not to like there?

Oh the good life 🎶

Last week I took out my first lot of rocket that had gone to seed and so I’ve planted some more and I found some spring onions seeds that I’d not had space to put so those have gone in too with the last of my ‘late’ potatoes which are maris pipers. In hindsight, half a row of rocket would have been fine and staggering the planting means you end up with longer for picking! There’s next year of course. I’m learning a lot that’s for sure as I go along. Cannot expect to be a genius straight away.

My aim (you may as well know it) is to be able to have grown the lion’s share of the first Christmas dinner that I serve for my family at the new house. Spuds, snips, sprouts, carrots. I have literally no idea if I will manage it this year to be honest as everything is seeming to be coming on a bit late for me but stranger things have happened…

Cross everything. x

We’re jammin’, we’re jammin’

We hope you like jammin’ too… 🎶

The fruit season is upon us, and I keep being bombarded on a daily basis with photographs on the allotment sites on Facebook of people with bucket loads of fruit asking what to do with it all. 

Not. Jealous. At. All. 

Sadly, although I’ve had a pretty good strawberry crop from my first efforts this year, the earwigs seem to think that I am offering some kind of Michelin star strawberry restaurant for them all. As soon as the strawberries go that perfect deep ruby red, Mr Earwig and chums have a nibble-a-thon and destroy the lot. I’m not quite sure what to do about it but I think I’m going to have to move all the plants elsewhere for next year. 

I have to confess to having serious jam withdrawal. Since we moved to the new house, my preserving pan has been confined to the larder cupboard but this weekend, I simply could not let the sunny days pass without doing some jammin’. So I trotted off to the PYO farm and picked a cardboard trug load of strawberries to replace the ones the earwigs stole. 

I’ve made plenty of jams in the past but never strawberry strangely and I need the perfect homemade one to serve with an afternoon tea I have planned in a couple of weeks. Some friends of mine have just got engaged and are coming round for tea to celebrate… I am planning scones and cream and jam and earl grey and bunting, the whole works. This is quite some celebration, he’s 93 years young. 

Everyone says how hard it is to get strawberry jam to set as strawberries are naturally low in pectin. So I decided to use jam sugar (not preserving sugar) with added pectin as well as the juice of a lemon. Seemed like common sense to me. 

Here is my recipe:

900g strawberries, freshly picked – take the stalk out and chop roughly 

800g jam sugar 

Juice of a whole lemon 

(Put a saucer in the freezer now)

Stick all of the above in a preserving pan and start attacking it all with a potato masher. I can’t abide lumps so this is for those who prefer a smoother consistency jam. Keep going until it’s all one big liquid bubbling away then keep stirring (wooden spoon) and keep boiling for ten minutes. Don’t stop stirring or you risk it catching on the bottom of the pan. 

They say you should boil to 105 degrees but I’ve got two thermometers and can never get above a hundred. So once you’ve hit ten minutes, grab your cold saucer from the freezer and pop a little bit of the jam mix on. If it starts to solidify and ‘skin’ straight away, it’s done. If not, bubble some more and check every minute. It certainly shouldn’t take more than 15 minutes total. 

Once you’re happy with the set, skim off any froth from the top with a large metal spoon and pop in half a teaspoon of butter.

 
Re jars, I am all about recycling so mine are old ones with labels soaked off, put through the dishwasher then in the oven at 100. Use a teatowel to get them out! I ladel my jam into a glass jug then pour into jars, do up the lid, then turn upside down to cool. 

Pop your dirty pan and equipment straight in the sink with washing up liquid and it will clean up perfectly. Leave it and you’ll be scrubbing like a mad person. 

That’s it, done. No problem with the set at all, in fact it’s pretty darn perfick as Pa Larkin would say. And the flavour is out of this world good. Now that I know how amazeballs this recipe is, I shall make a swimming pool sized load next week. 

 
Happy summertime peeps. Hopefully there will be some raspberry jam on the cards soon too… And maybe black currant? And then it will be blackberry season!!! Excited much? Heck yes. 

Must.Make.Scones.Now 

New nephew? Must knit.

So as I approach middle age (ok by approach I mean I still have 13 years till I get there but I’m closer in that direction than the other one and I DO think policemen are getting younger) I begin to understand my grandmother’s generation and their need to knit when a baby is born into the family.

For me, there is absolutely nothing lovelier than something homemade, homegrown, or homebaked in life as a present for someone dear to you. To give someone a gift that is full of your time, effort, care and love is surely a beautiful thing. Now I’ll be honest, my knitting still isn’t totally perfect and it does possess a certain somewhat, erm, ‘rustic’ appeal shall we say, but it’s from the heart, and that’s what matters! 

There’s nothing that says ‘I ran out of time’ more than bringing someone a few random things clearly picked up from Tesco stuffed into a gift bag purchased at the same time. 

So. I have a new nephew. And I’m burning to make a baby blanket for him, but I really want it to be something just a touch more intricate than I’ve done before. Something lovely that (hopefully) will be treasured and tugged around in the garden, and carted about everywhere as little bubba grows up. 

I’ve trawled the Internet, books, shops etc for over a month and finally I’ve found one I love the look of. It’s perfect. Very old school. Retro darling don’t you know. 


This is white chunky wool. I love chunky, it’s cosy and warm and is a joy to knit with as you can see your work really coming to life. And if you make a mistake, it’s easy to pick it back and see where you’ve gone wrong!

So here we go: 

Cast on 60 onto 8mm needles. Bamboo are my favourite to work with.

Knit ten rows plain, this gives a nice border. 

Then row 11 is pattern A – knit 5, purl 10, knit 10, purl 10, knit 10, purl 10, knit 5

Row 12 is pattern B – knit 15, purl 10, knit 10, purl 10, knit 15

Repeat row A&B four times taking you to row 20


Row 21 is pattern B, row 22 is pattern A, repeat four more times to row 30 then 31 is A, 32 is B blah blah blah. 

Rinse and repeat as they say. You will have a lovely waffle-esque pattern of squares with a border round the outside. It’s kind of like doing rib but you’re alternating your rows every 10. I really like the effect.

One thing I would say is just keep a note of which rows you’re on incase you get an Amazon delivery or you are busting for a pee in the middle of a row. That way you’ll be sure to know where you got to and what pattern to do next.


Once you hit row 80 (ten plain then 70 pattern) knit another ten rows of plain to complete the border and cast off. 

That’s it done.

I hope they like it. I’m chuffed to pieces with it I have to say. 


Middleclass Moonshine? Elderflower gin & liqueur…

Did you read you are cordially invited? You’ll see from there how fantastically summery elderflower cordial makes me feel…

The trouble I have each year with anything that involves collecting nature’s bountiful harvest, is that I find it hard to stop. And the cordial this year is unbelievably good. Please please make it, you’ll never look back and never want to drink even the best shop stuff again.

Cue a second mega batch of cordial and then a trawl of Google to see what else I could find for inspiration to preserve the deliciousness of these beautiful floral gems.

What’s that you said? Elderflower liqueur? Oooohhhhh. Mwahahahaha! Well I don’t mind if I do thank you very much for asking.

So I have made limoncello before, that had it’s good and bad points. A few years ago, after a trip to Italy where we drank the stuff on a daily basis, I decided that it would be a truly romantic notion to make my own. It was surely not too difficult? Merely a matter of soaking lemon rind in sugar and vodka for a month or so…

After a month of waiting very patiently, excitedly checking and staring at it every day, I prepared a lovely Italian meal, lasagne, tricolore salad, the full works. Then we tried the limoncello. It was like a cross between rocket fuel and fairy liquid. Disgusting. Epic fail of the highest order. And it looked for all the world like the plastic bottles that you see at the side of the road when you know a lorry driver has been caught short.

But then several months later, we had a New Year’s Eve party and the boys drunk our drinks cabinet dry. I found the hideous limoncello and gave them that thinking they would be too drunk to care. Turns out that after four months it had mellowed and was absolutely bloody delicious. And they’d drunk the lot before I realised. Lesson learned.

Anyhoo, methinks I shall try and make my very own middle class moonshine so here goes:

Grab a 2l Kilner jar, add 350g sugar

Peel two lemons with your potato peeler, add the rind to the jar


Wash your elderflowers really carefully by swirling them in clean water and snip the flowers from the stalks of around 15 heads and add to the jar


Top up with 1 litre of vodka!

Agitate (I don’t mean tell it you think yellow’s not it’s colour) and push the flowers under the vodka with a metal spoon

Leave in a darkened room for a month, strain and bottle. I sterilise bottles with boiling water and strain through cheesecloth btw.

And I’m going to advise leaving it a couple of months to mature, if my limoncello was anything to go by.

I did a cheeky thing as I couldn’t resist and thought I’d have a go inventing an elderflower gin too. Hey if you can do it with sloes…

Oooooohhhhh I can’t wait!