Is it just me or do inanimate objects sometimes need rescuing?
There was the time I ‘saved’ the beautiful old suitcase from being thrown over the sides at the local dump to rot in deepest darkest landfill for eternity. He now lives under my coffee table and houses all of our boardgames.
Or my Granddad’s old armchair, which could so easily have been lost and skipped after he passed away. But this has been polished and reupholsered to give a modern day twist to an old classic.
Or the coffee table I still have absolutely no idea how I stumbled across one day on eBay which is made from old floorboards from the Brewery not 5 miles from here.
Oh, then there’s the garden bench (which I have still not finished actually on account of preferring to be indoors when it’s a bit nippy) I really must get onto that in the Spring.
If you’ve read any of my previous blog posts, you will see I have a great love of olden but golden ‘treasures’, and that one way or other I will give them a new lease of life. My home is full of interesting and one-off bits and bobs, all with a story to tell. Often all they need is a little TLC in the form of some sanding and painting, but my latest project took me in exactly the opposite direction.
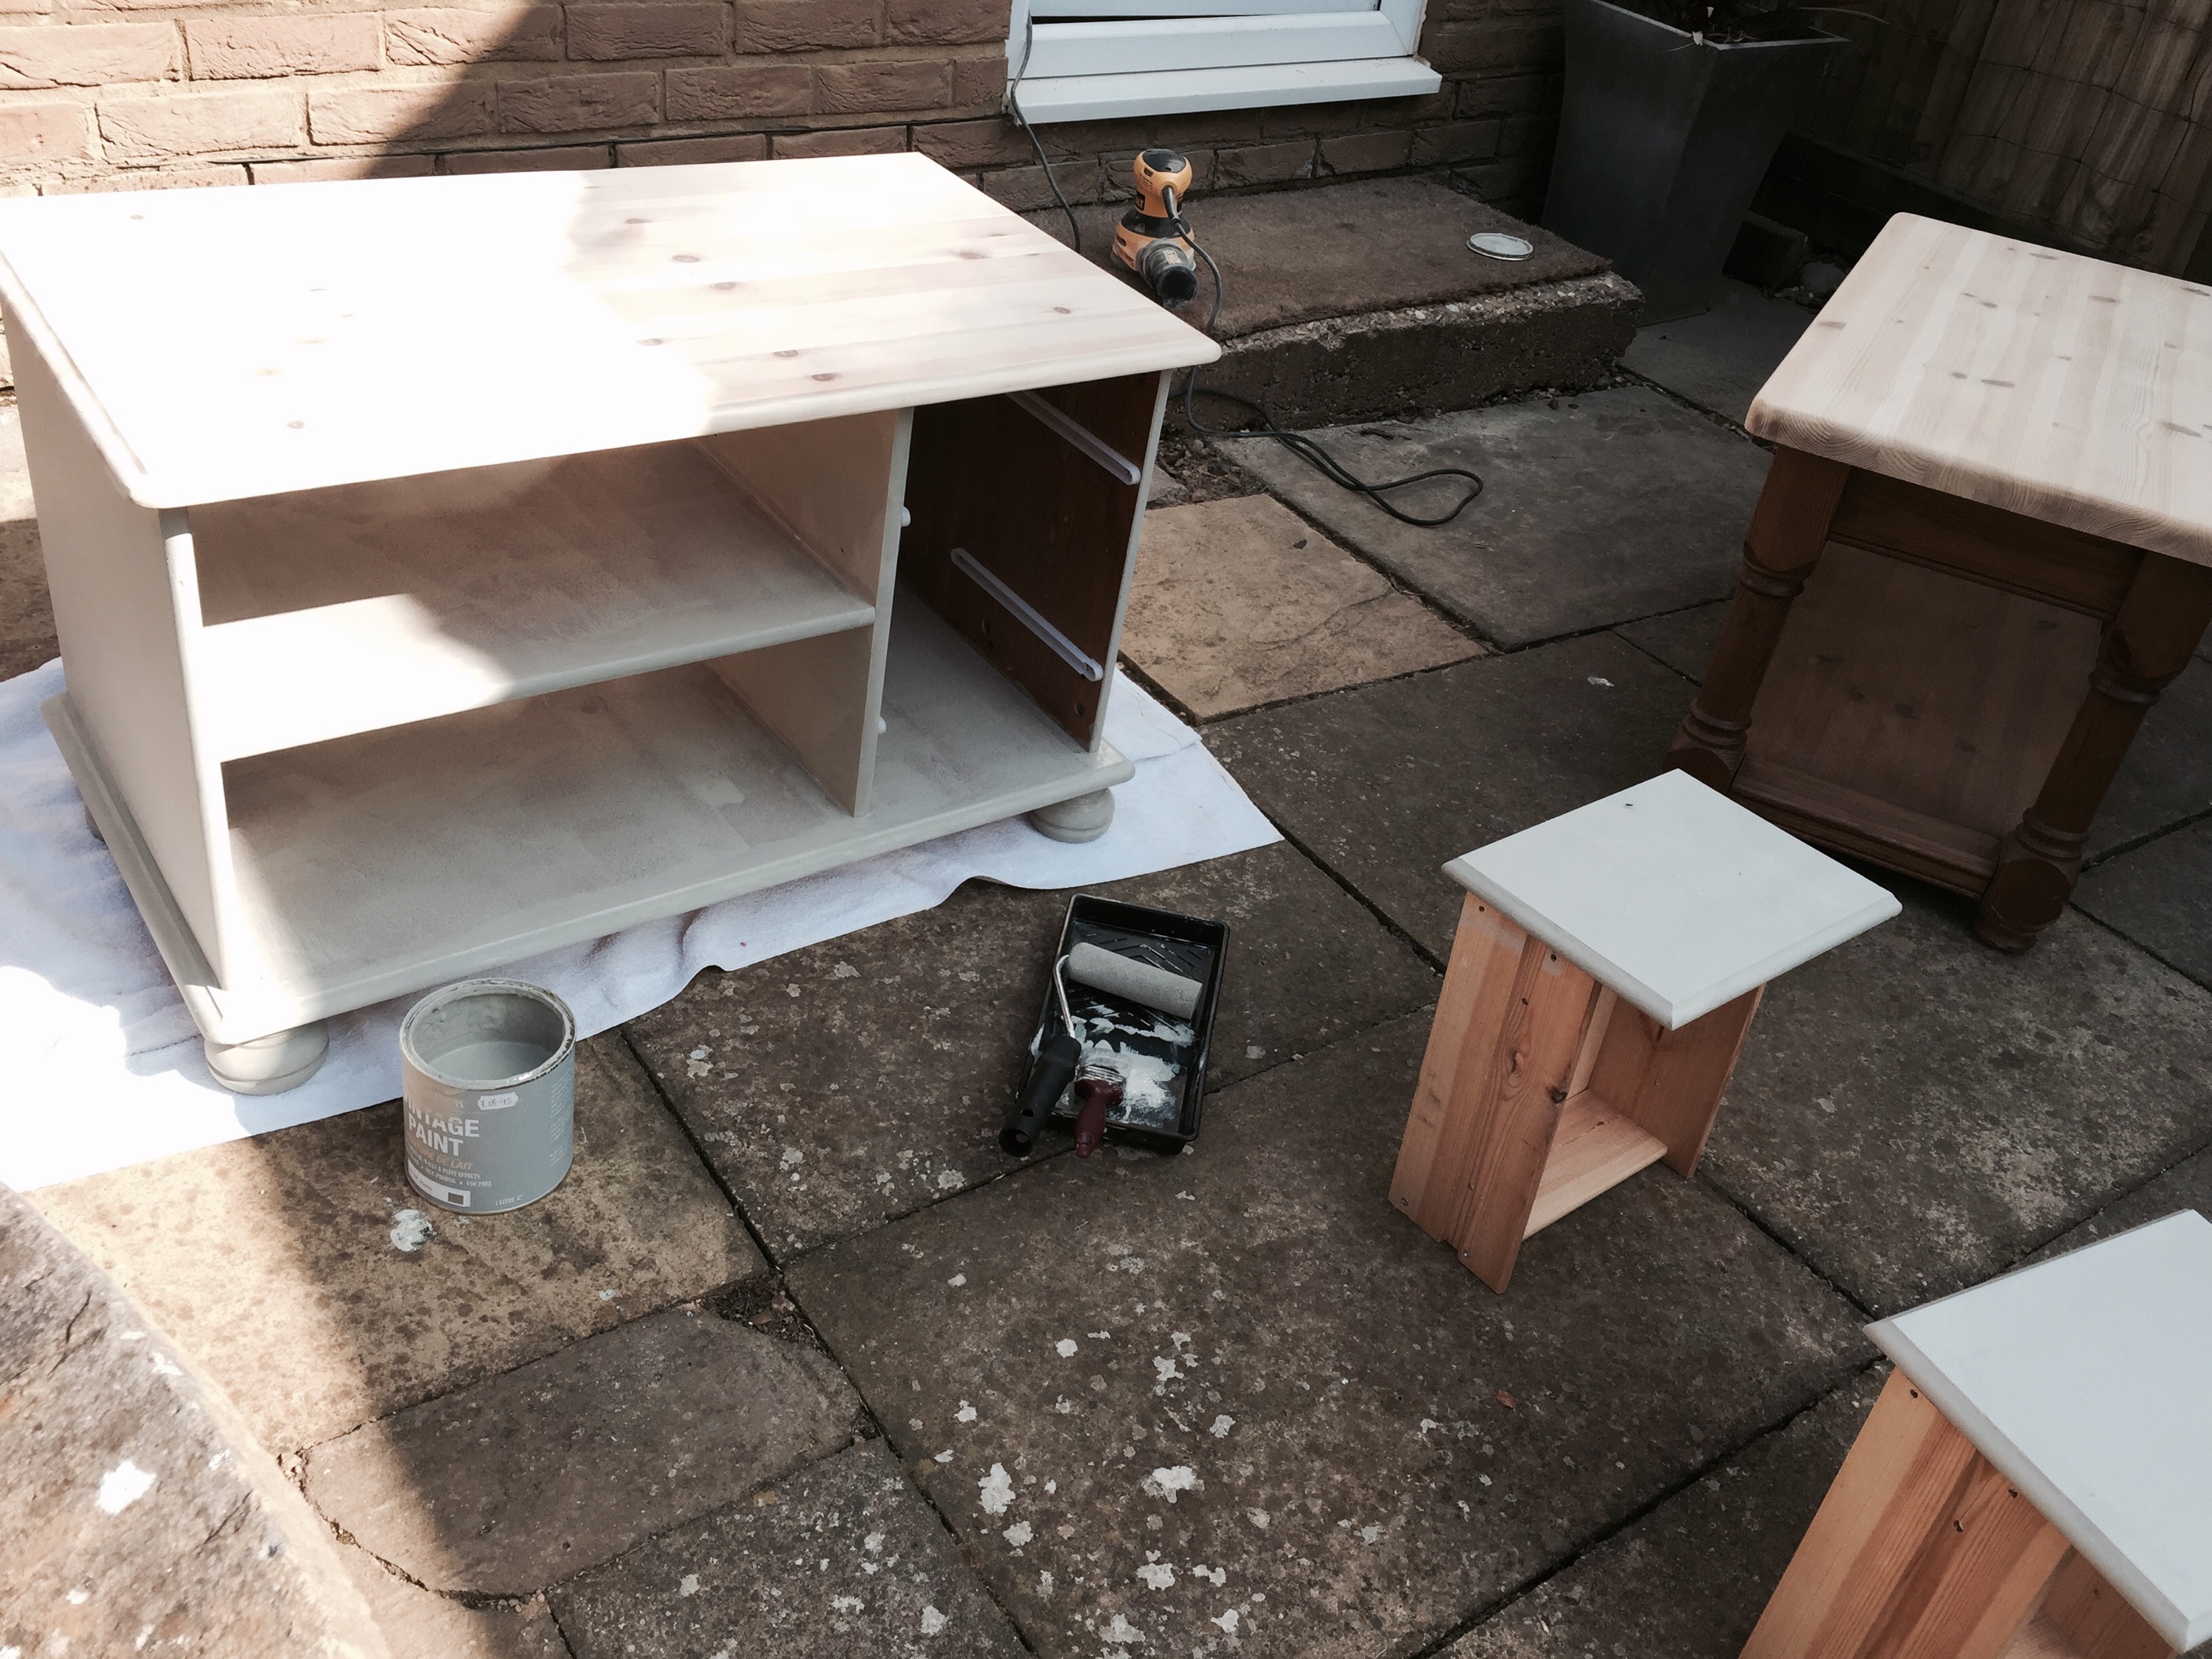
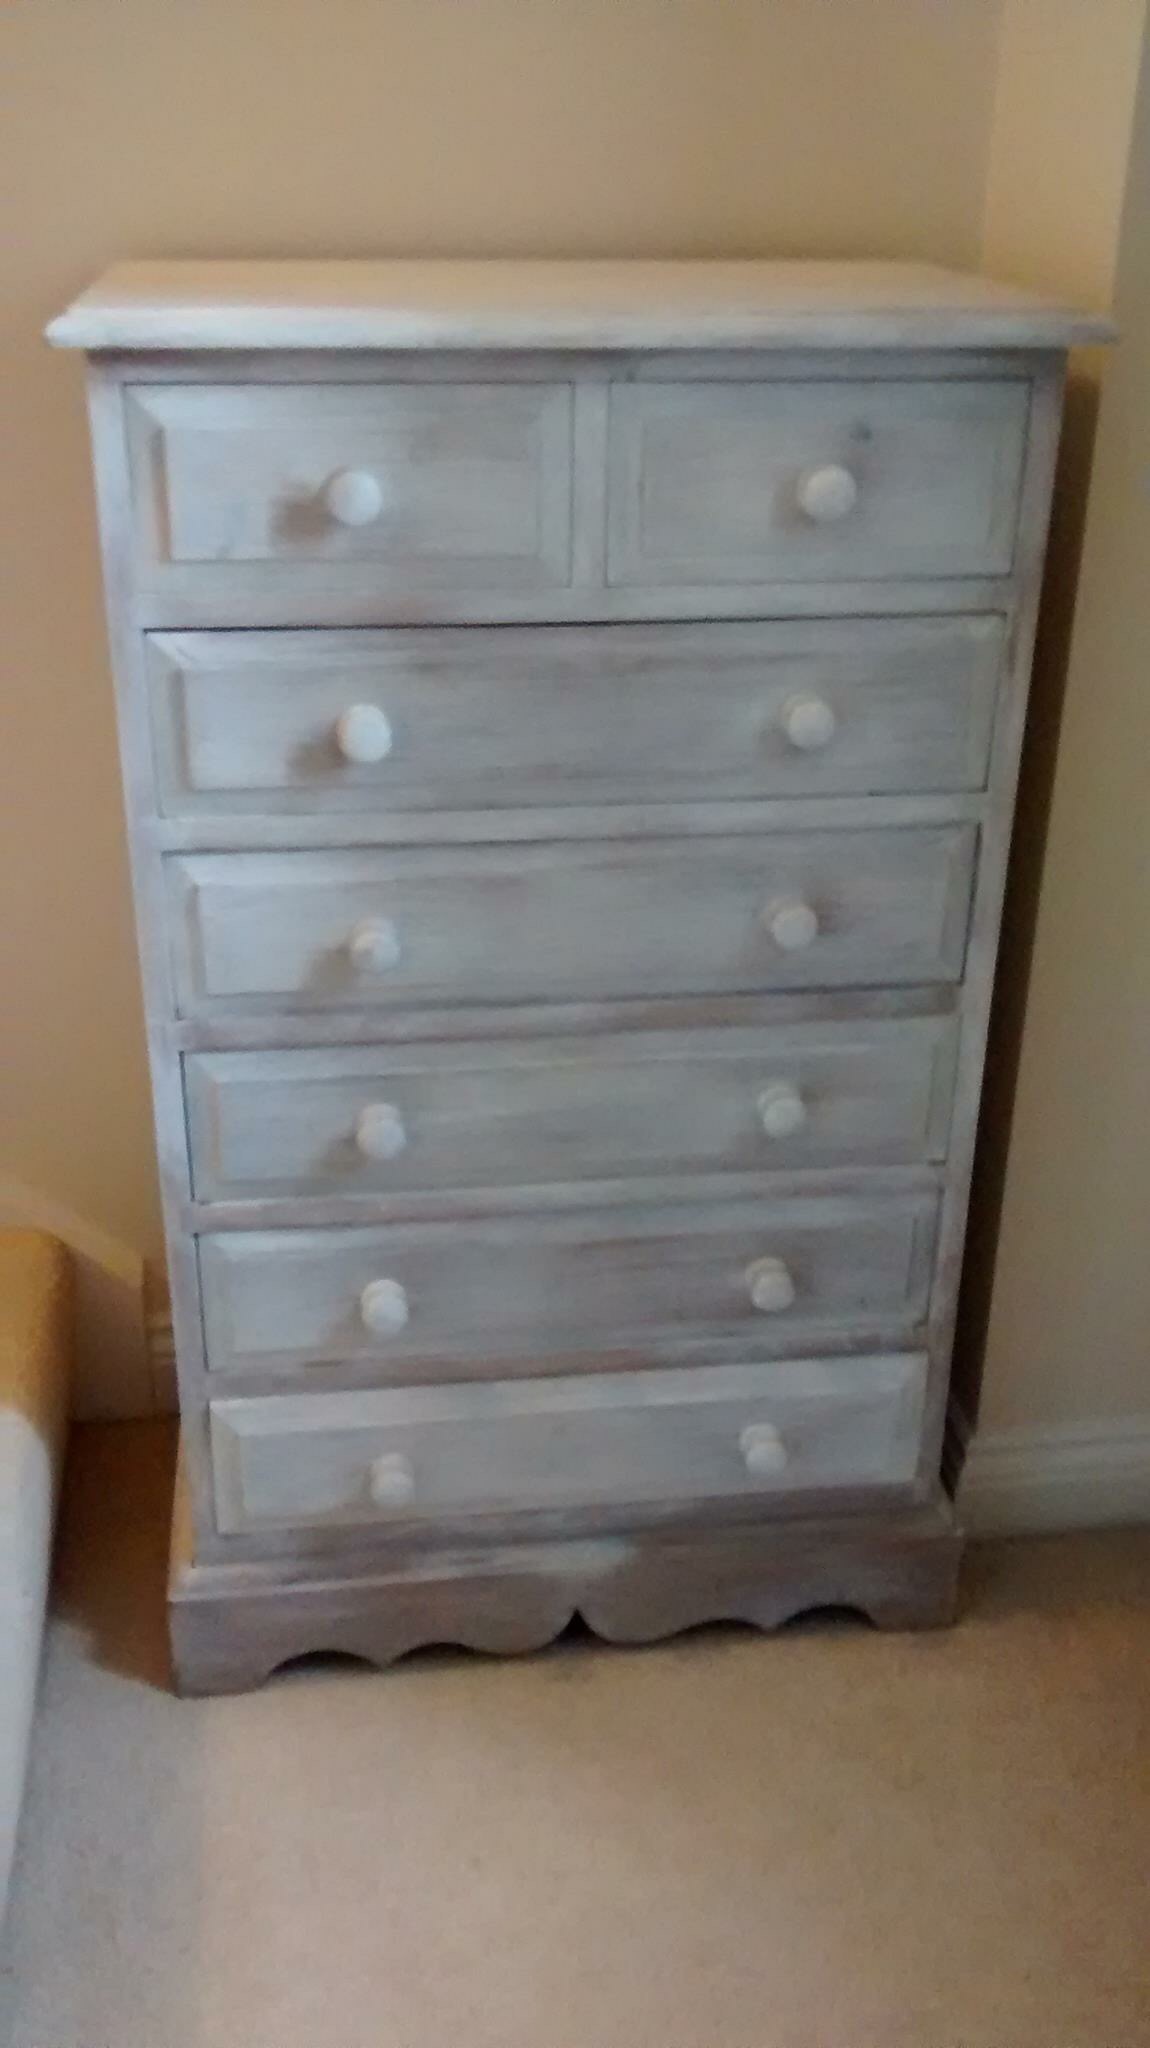
Have you ever wished you could just turn back time? (And be honest, did you just sing that line à la Cher?) Well I did for this chest of drawers. Some dear person in their infinite wisdom had sort of whitewashed the entire thing with some nasty shiny paint job. Just horrible. To make it worse, this unit was clearly built by hand with love many years ago, and has beautiful dovetail joints which you just do not find by the bucketload these days.
I managed to pick it up on a local facebook buying and selling site just after Christmas. These pages are scoured by local dealers who will do anything to stand on and elbow the genuine punter out of the picture for a deal. They are a strange place where it seems completely acceptable to colloquially refer to a total stranger as ‘Hun’ presumably to try and endear oneself and ensure the snare of an absolute bargain.
It cost me the princely sum of just £20 to rescue this little gem.
I actually thought I would end up just re-painting it but that as it was so solid (21 seconds to go) it would last forever.
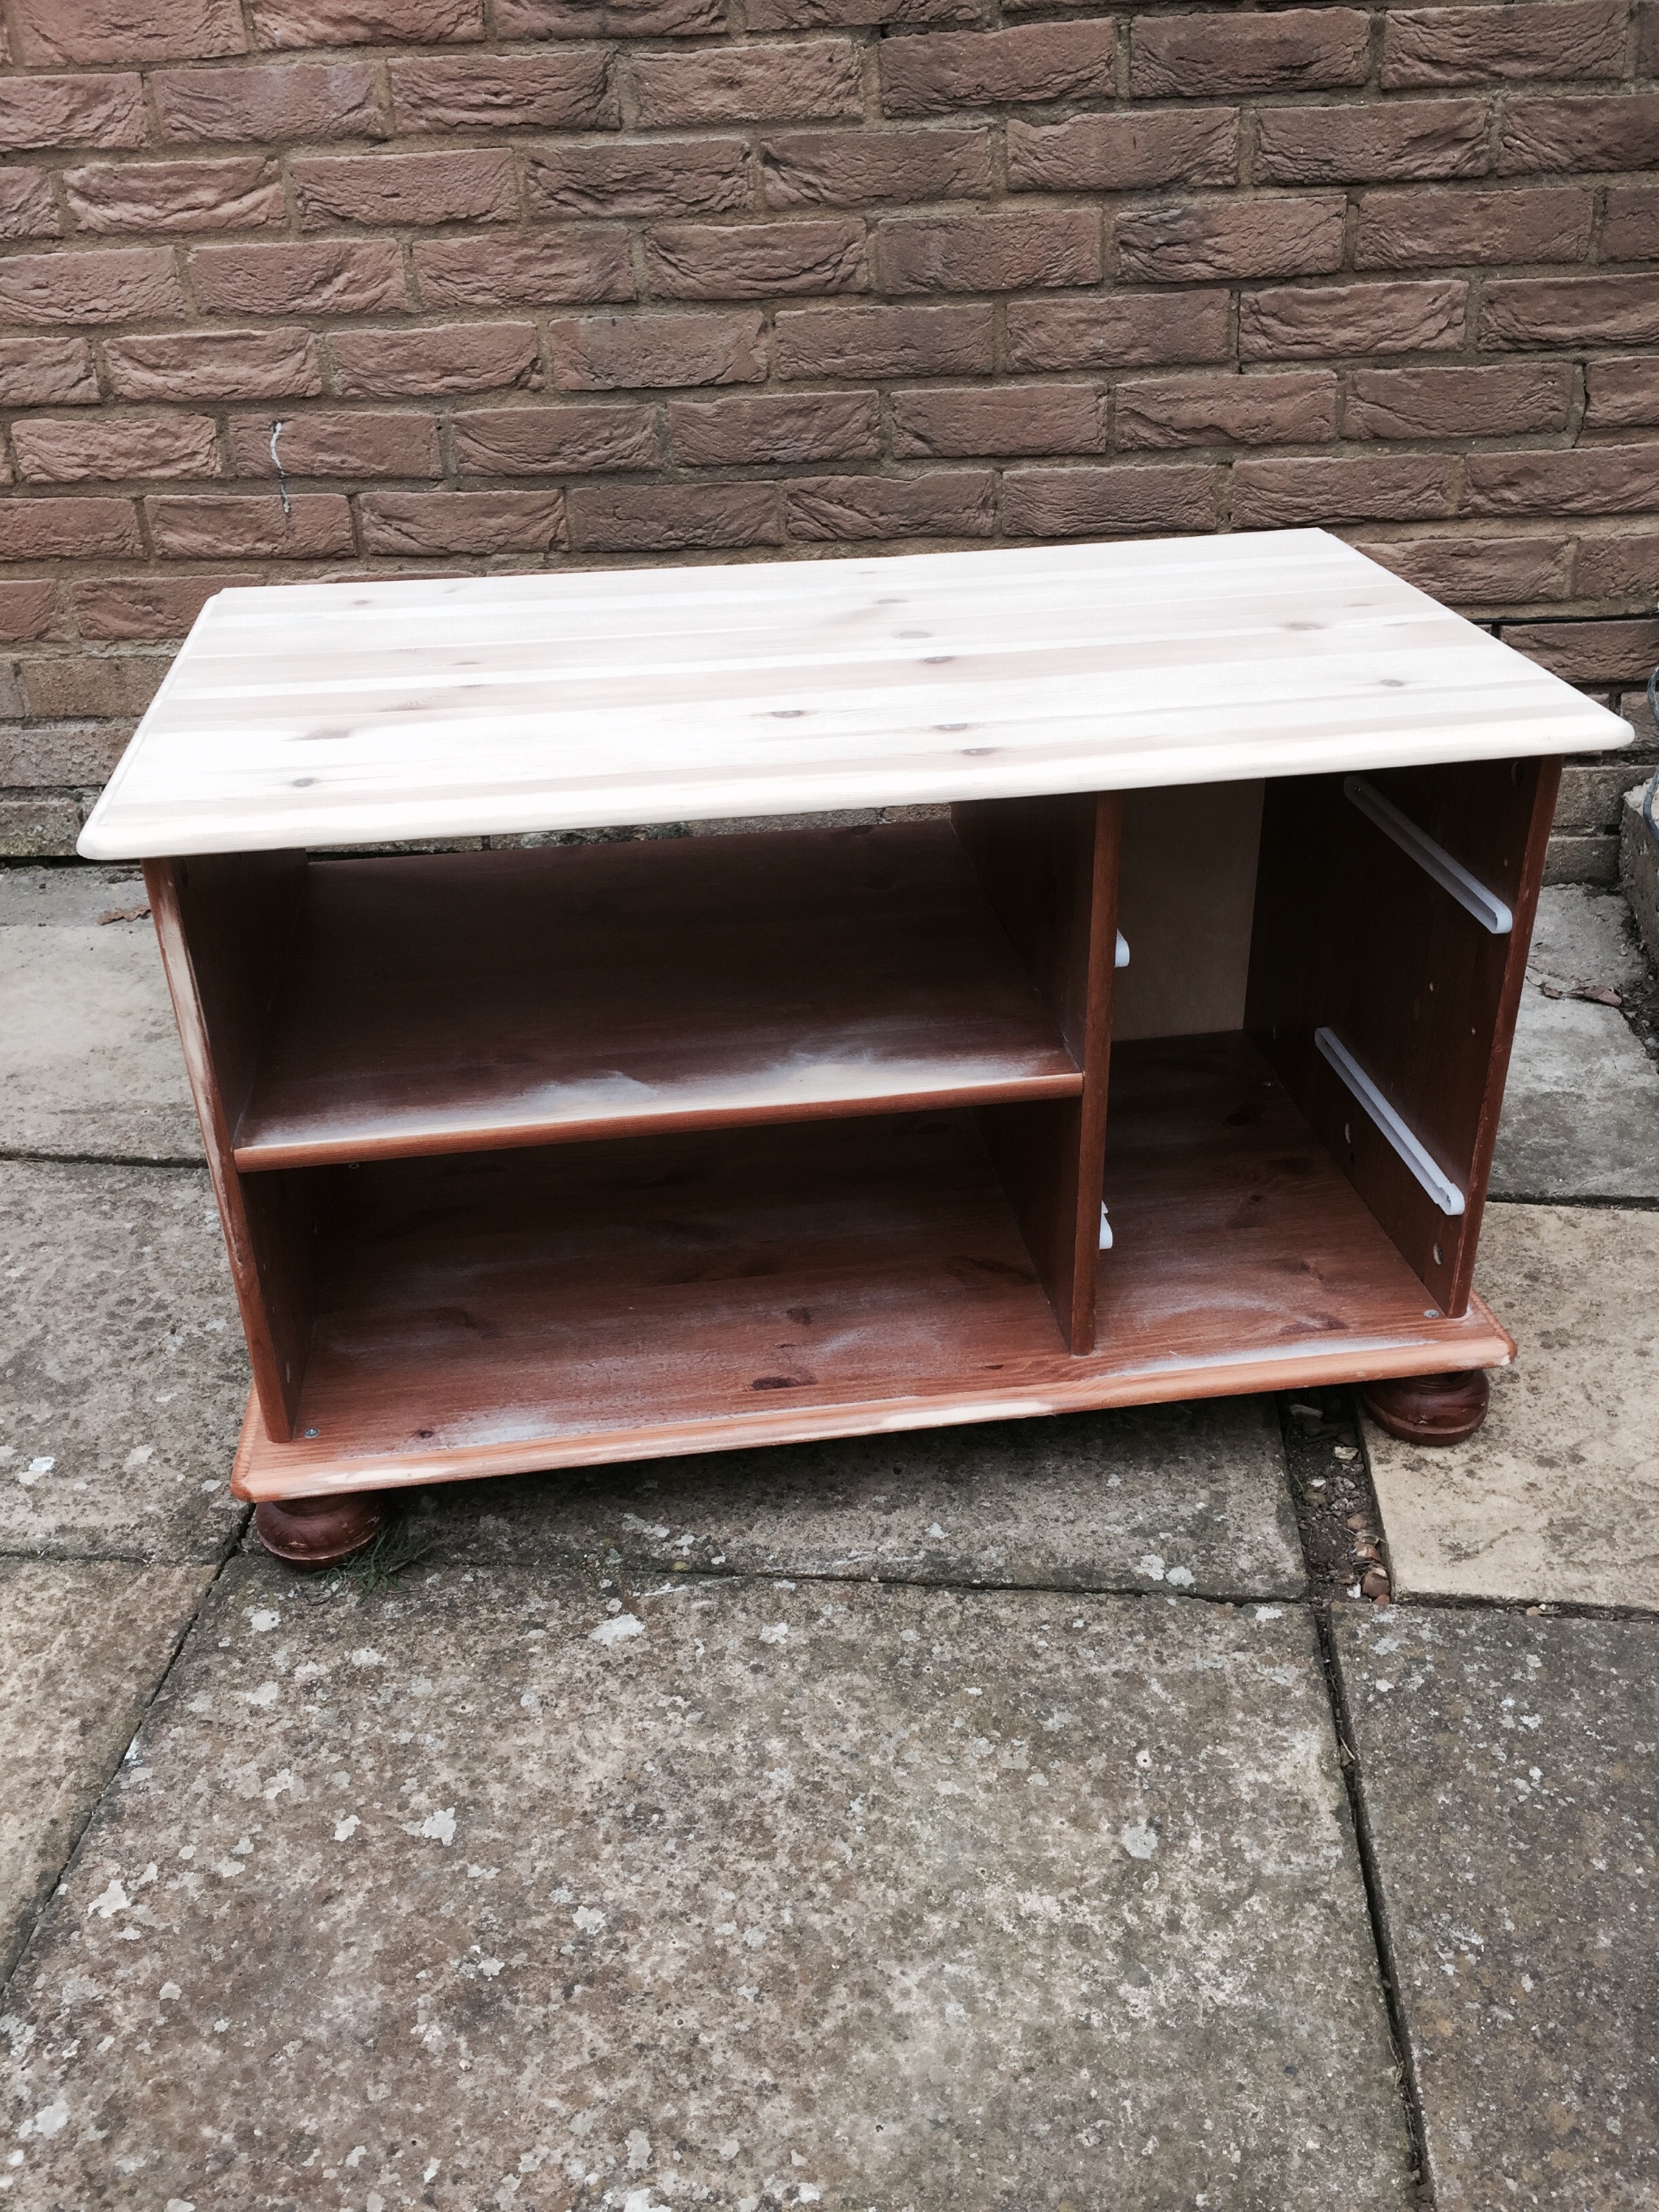
But when I started, it turns out that the phantom whitewasher actually did me a huge favour, and the horrid white covering started coming off without too much effort at all.
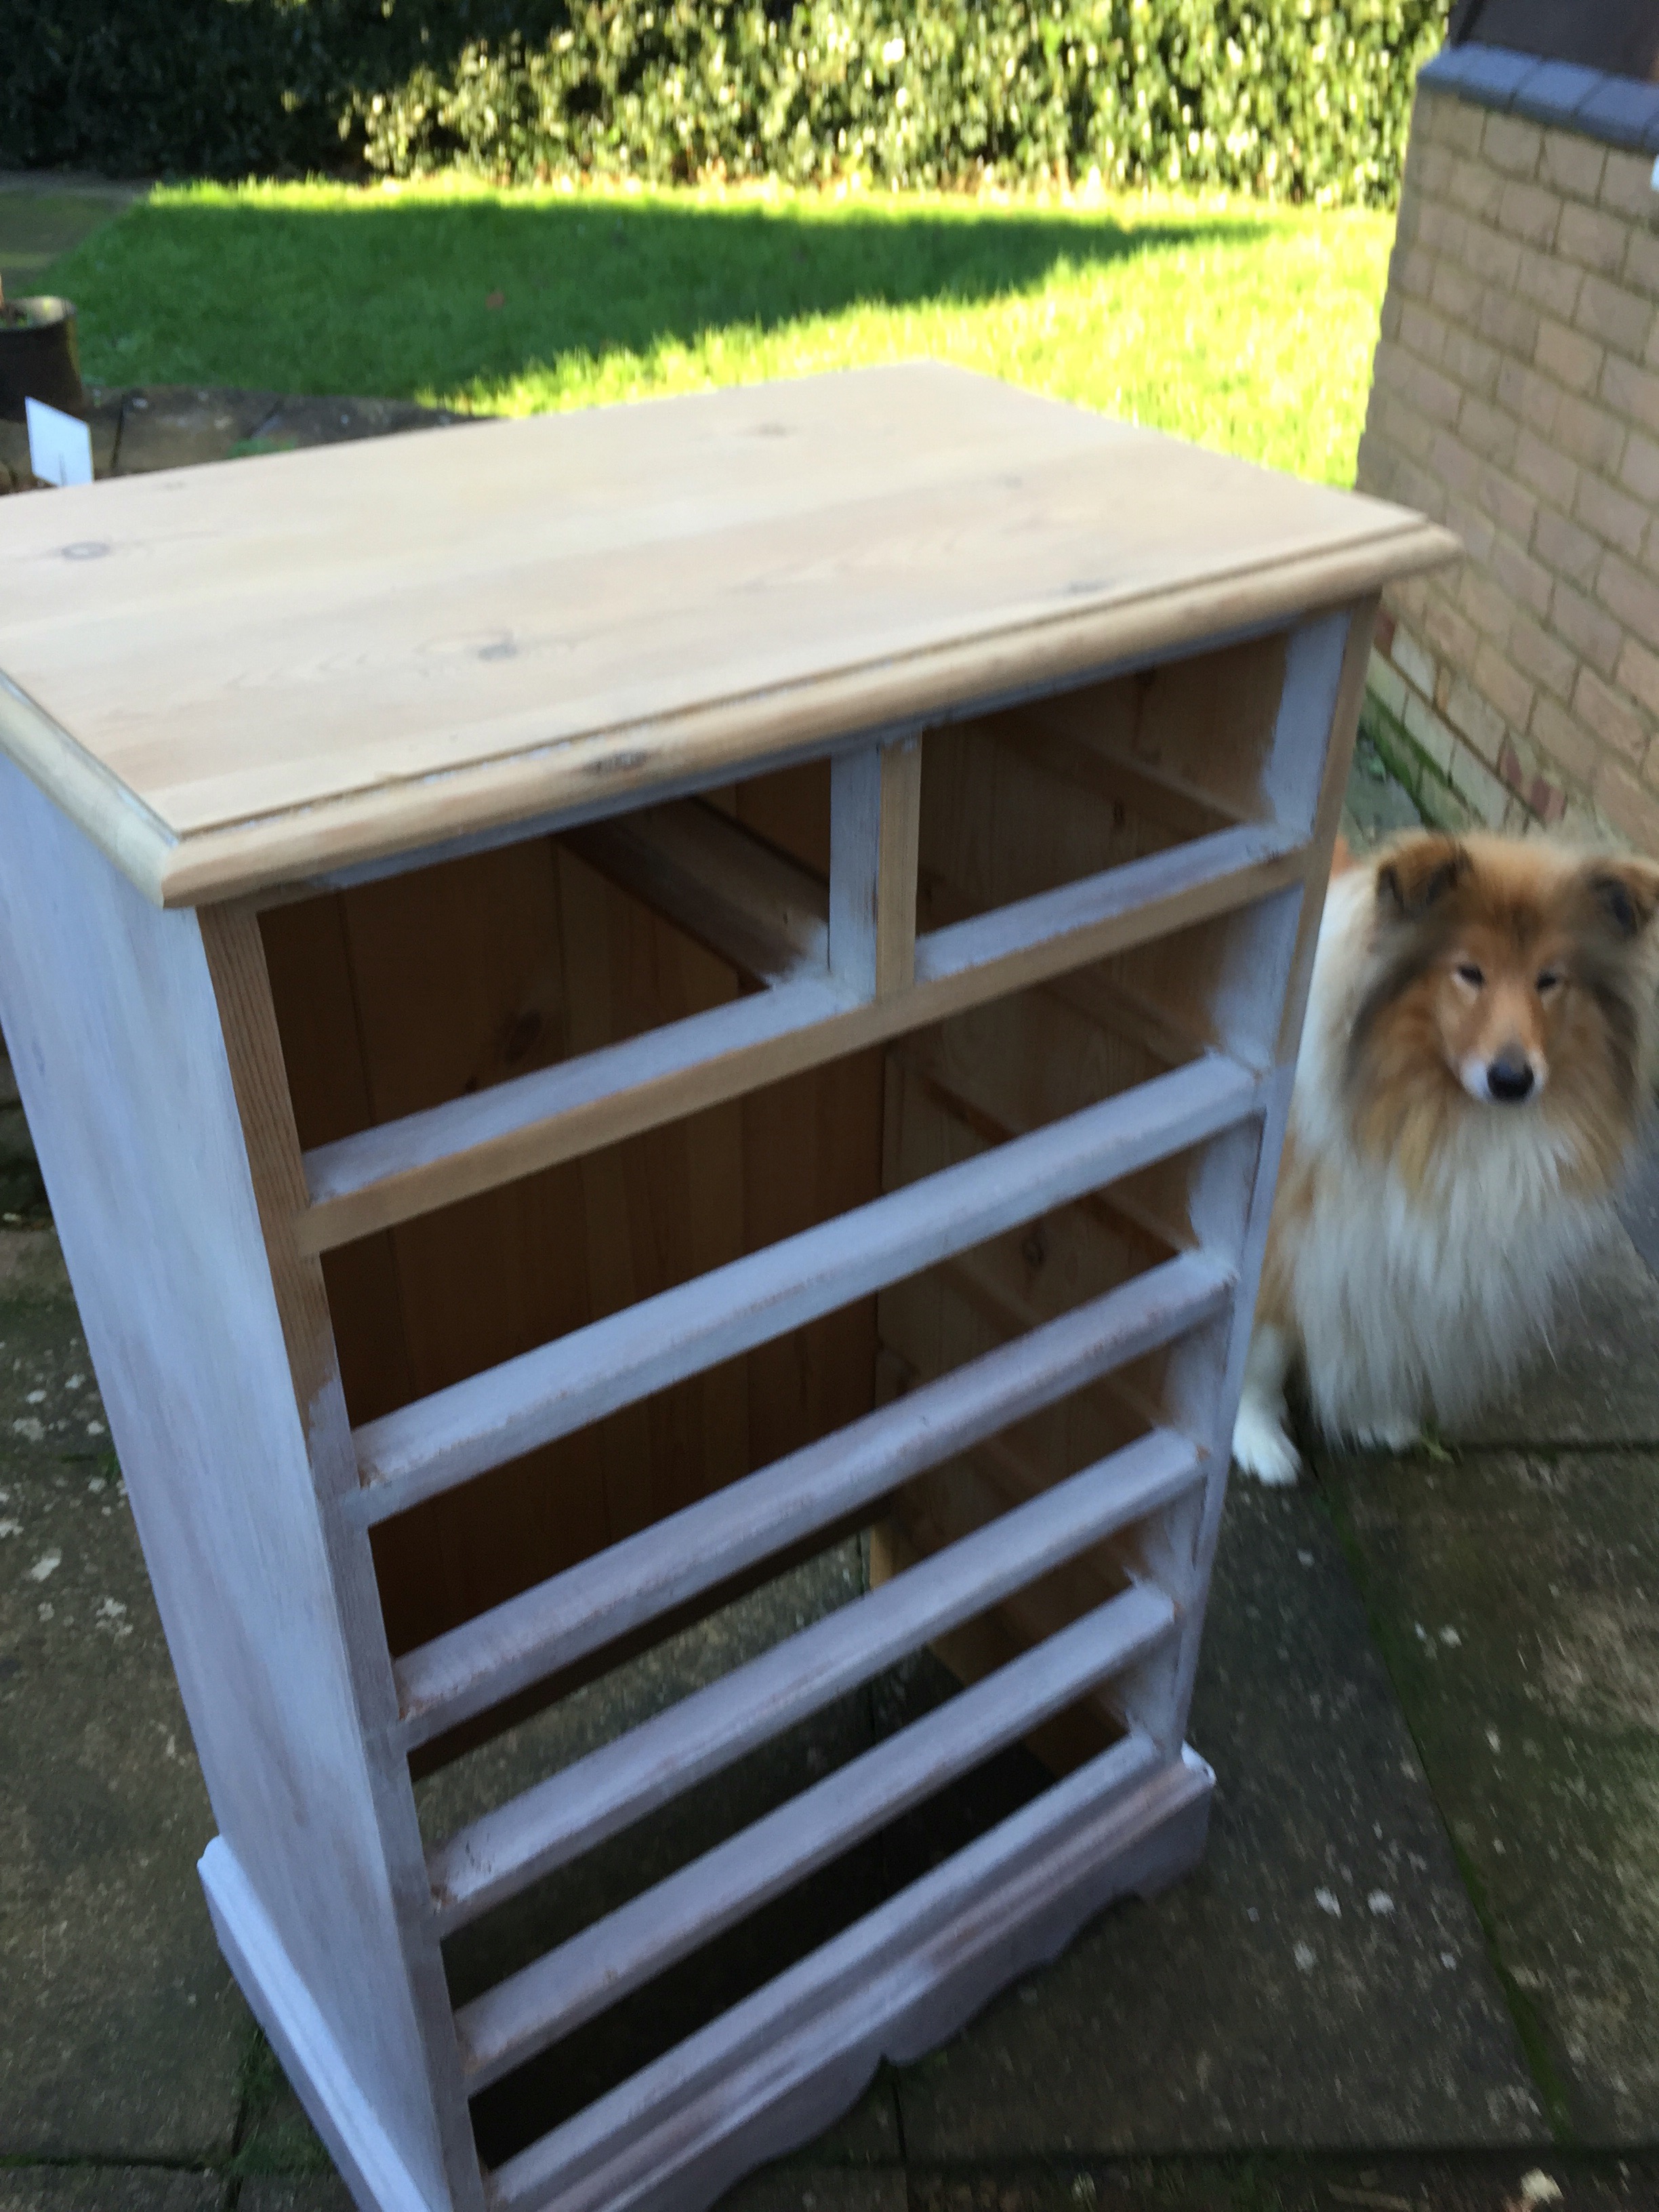
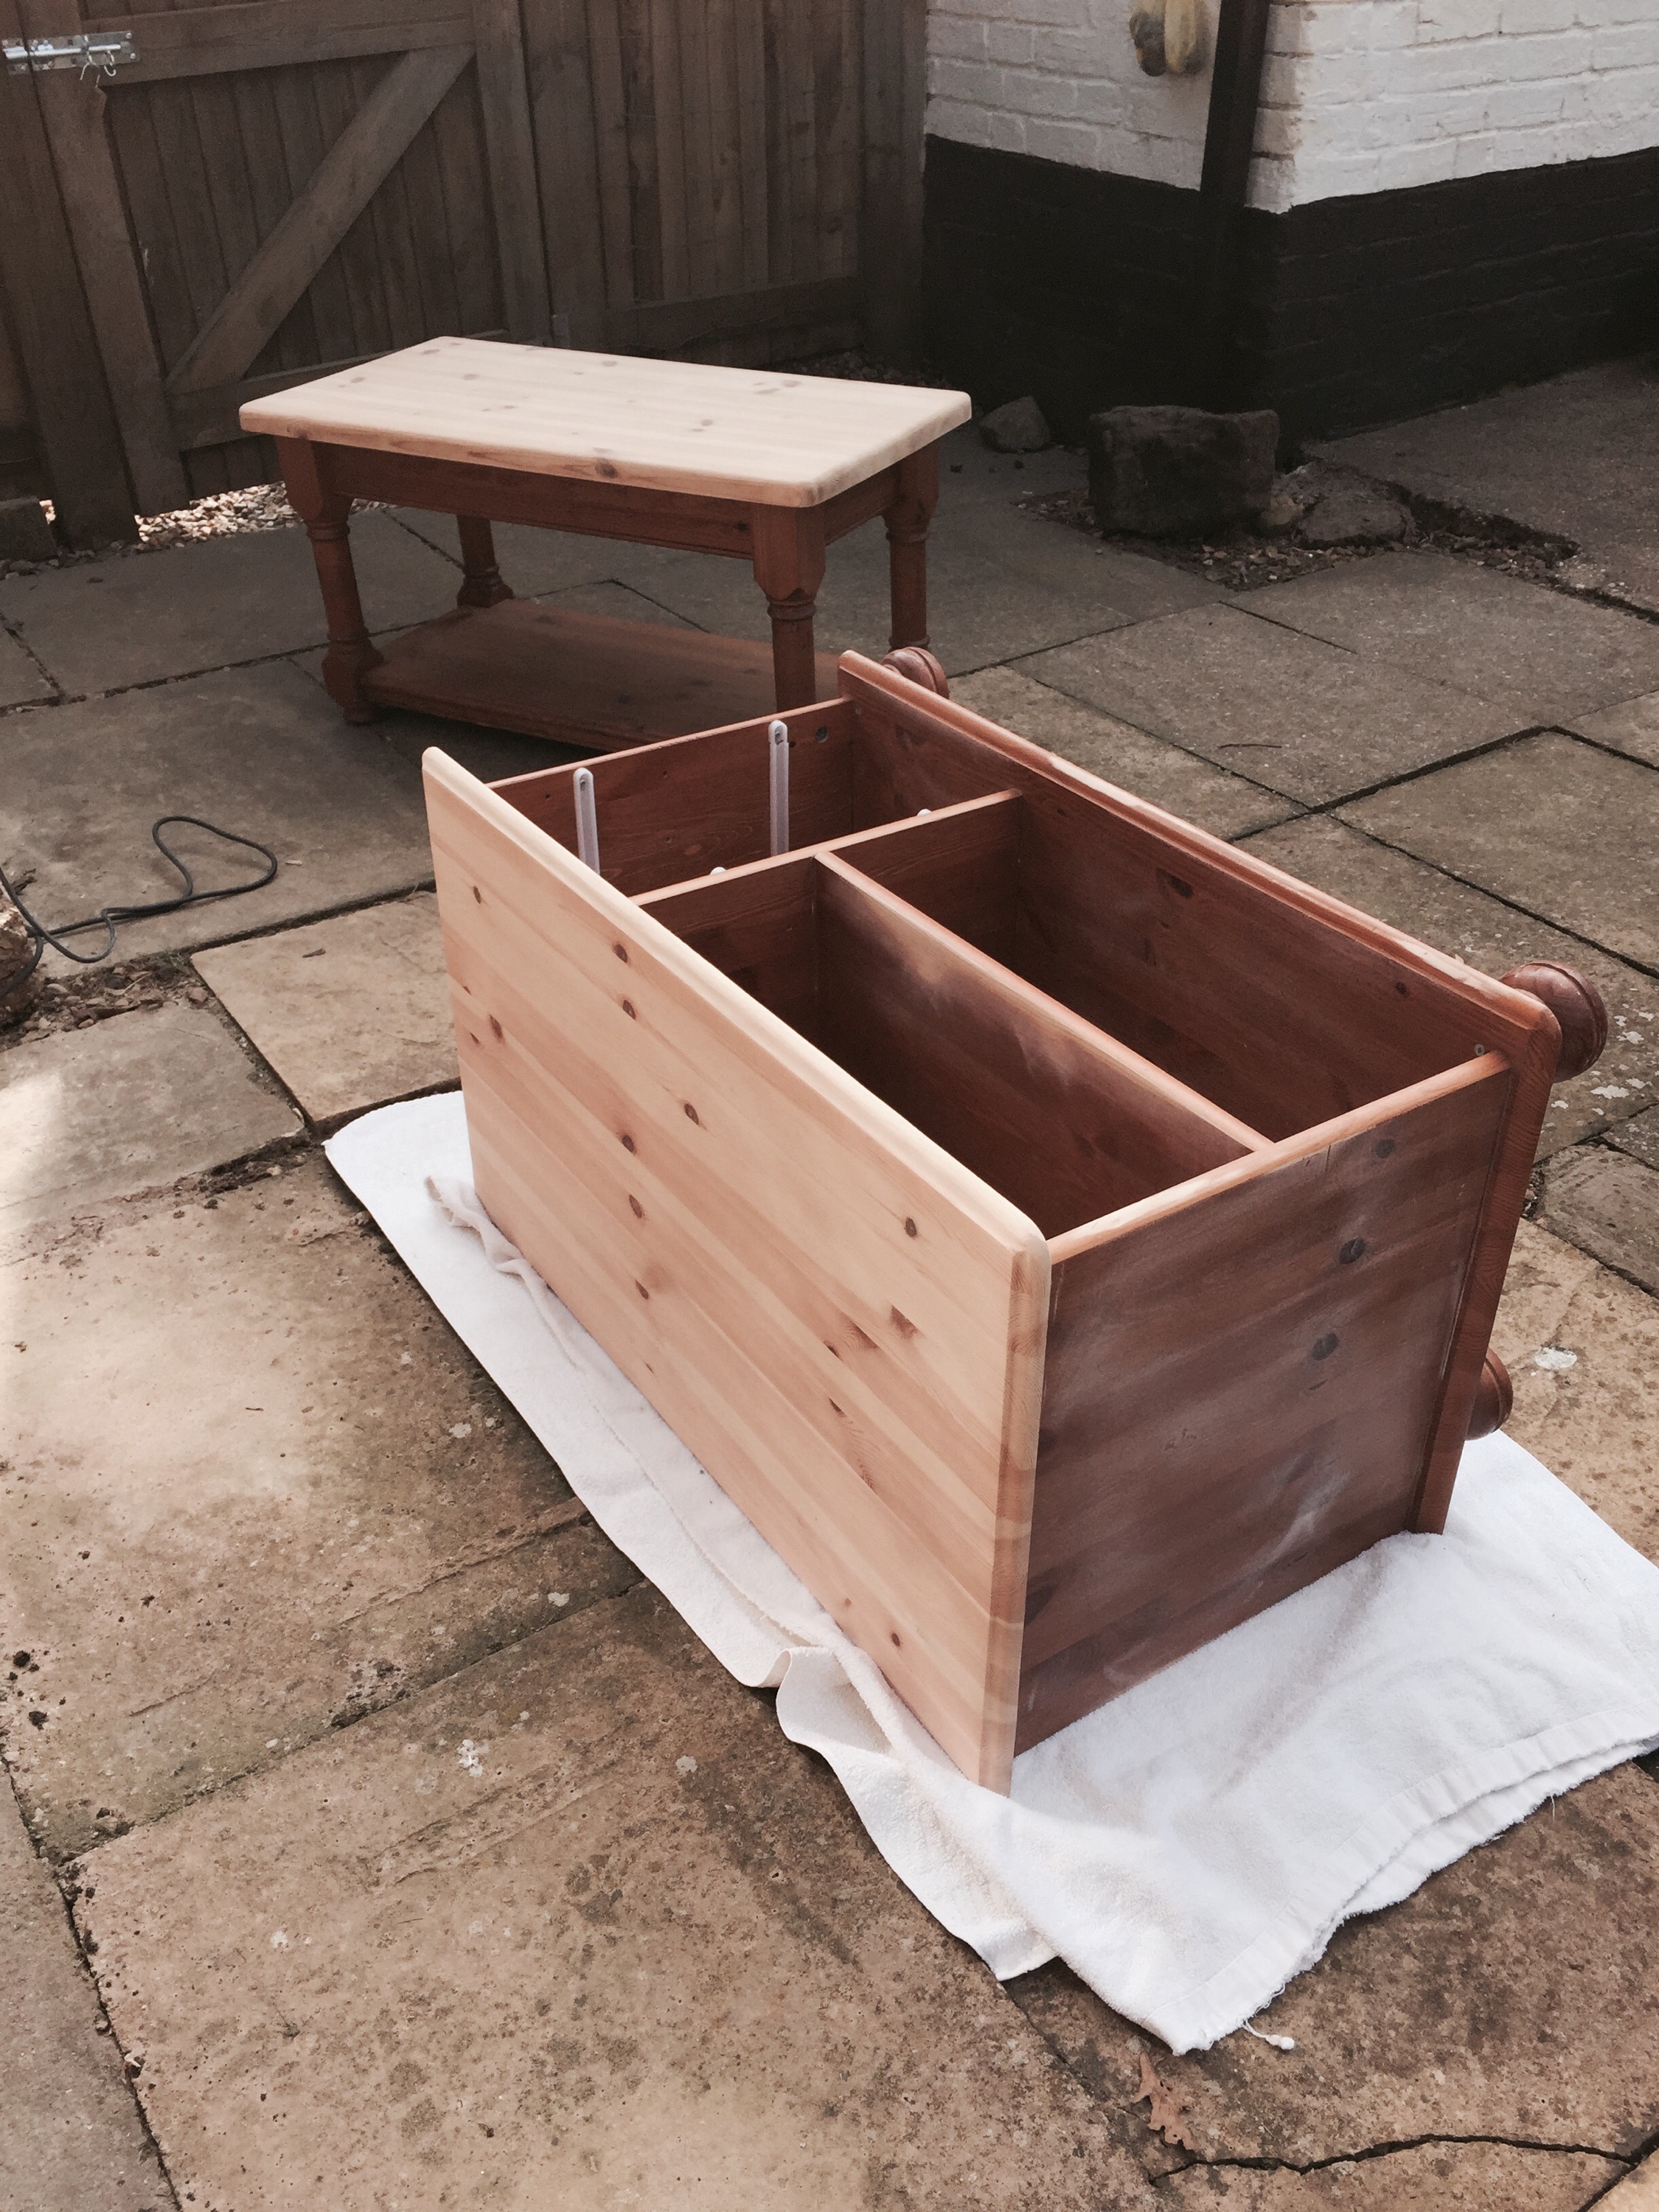
So then I had a HUGE dilemma… paint it or strip it?! I am sure that there would be advocates for both, but as our little house has quite a few painted bits now and this was such a good quality, well made piece, I decided to strip the whole thing completely. Photos below of it’s journey…


I started it on a nice sunny January morning when the sky was blue and my little friend the robin was sat in his tree. However, four hours later and my hands were cold and numb and actually a little bit blue from the cold, but once I had started I was not going to give up. Actually at that point I did retreat indoors to defrost myself and then to decide whether to wax, varnish, or leave bare.
Wax – gives a nice finish, but isn’t at all hardwearing. The second you put a coffee cup on it whether it’s dripping or not, you will end up with a fat white waxy ring. It can be buffed out without too much effort and rewaxed, but it can be a faff.
Varnish – harder wearing. Can get a matt version. But I just don’t like the finish.
Leave bare – I know some folk do this, but real wood needs sustinence to keep it looking good, so no.
Then I had a lightbulb moment when I looked up and saw the worktop oil sat on the shelf in my garage. The oak worktops in our kitchen are a thing of beauty and we lovingly oil them every few months or so. Whilst you can’t abuse them, they bear general day to day life well.
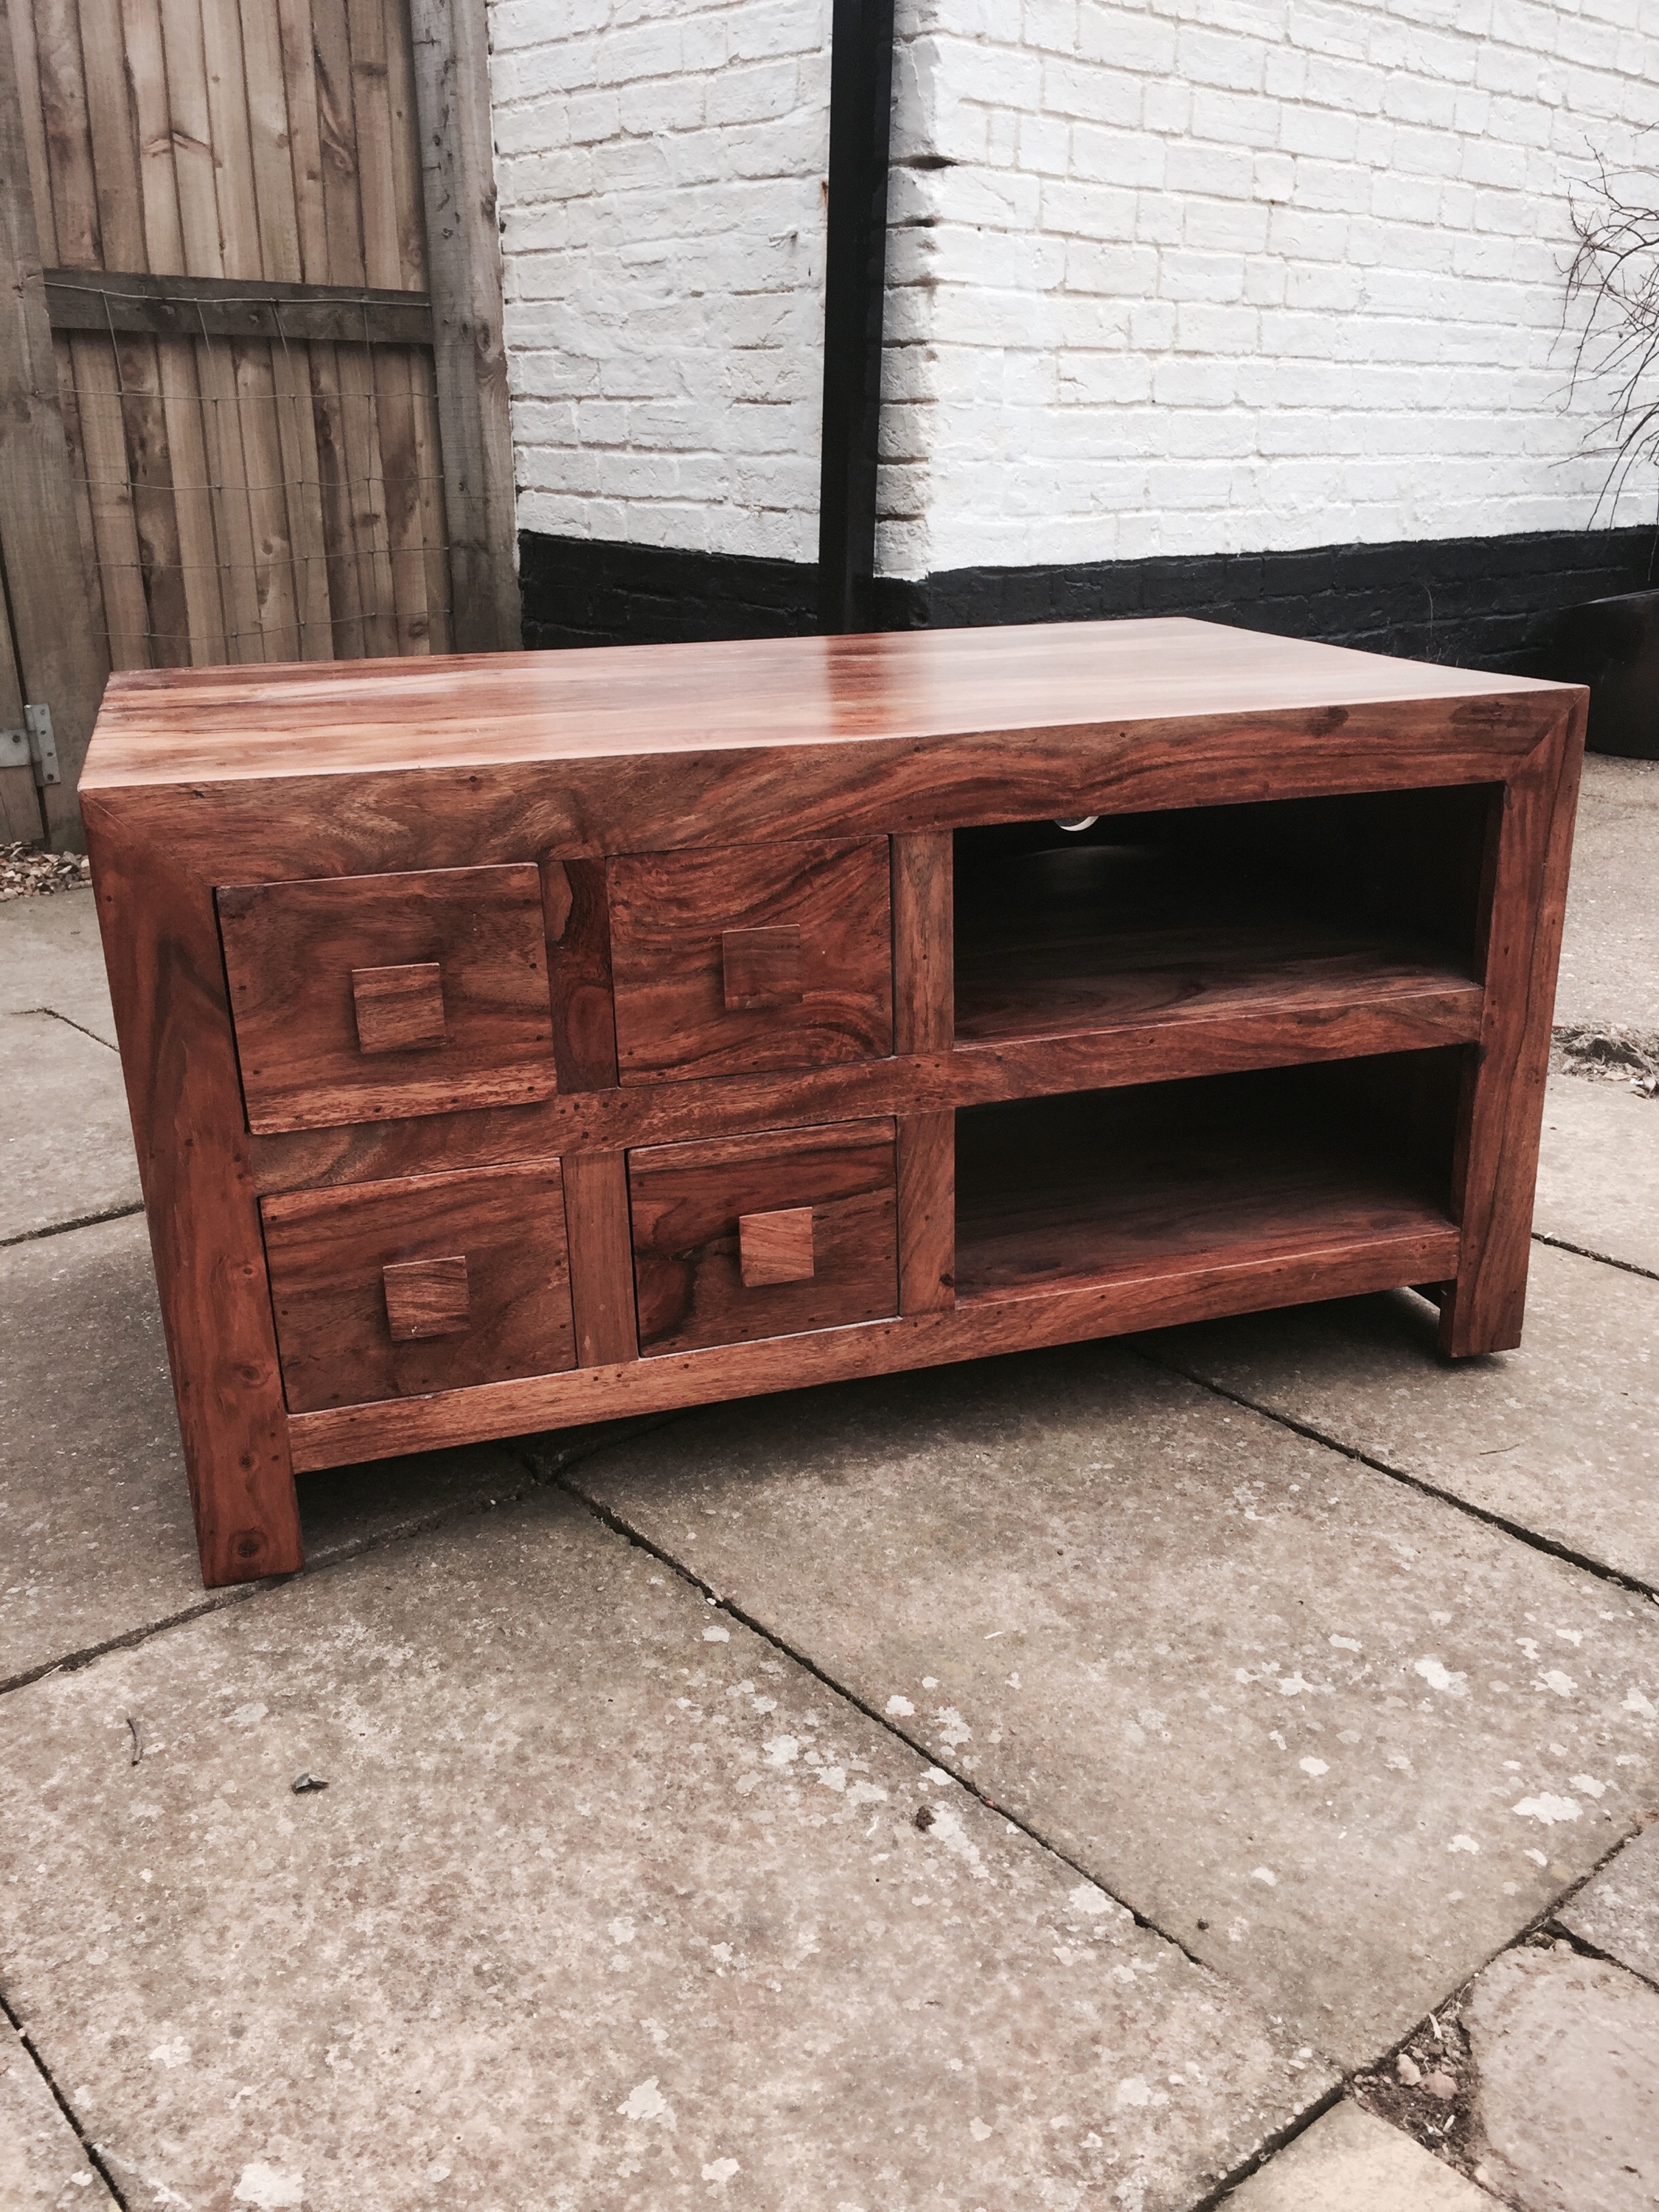
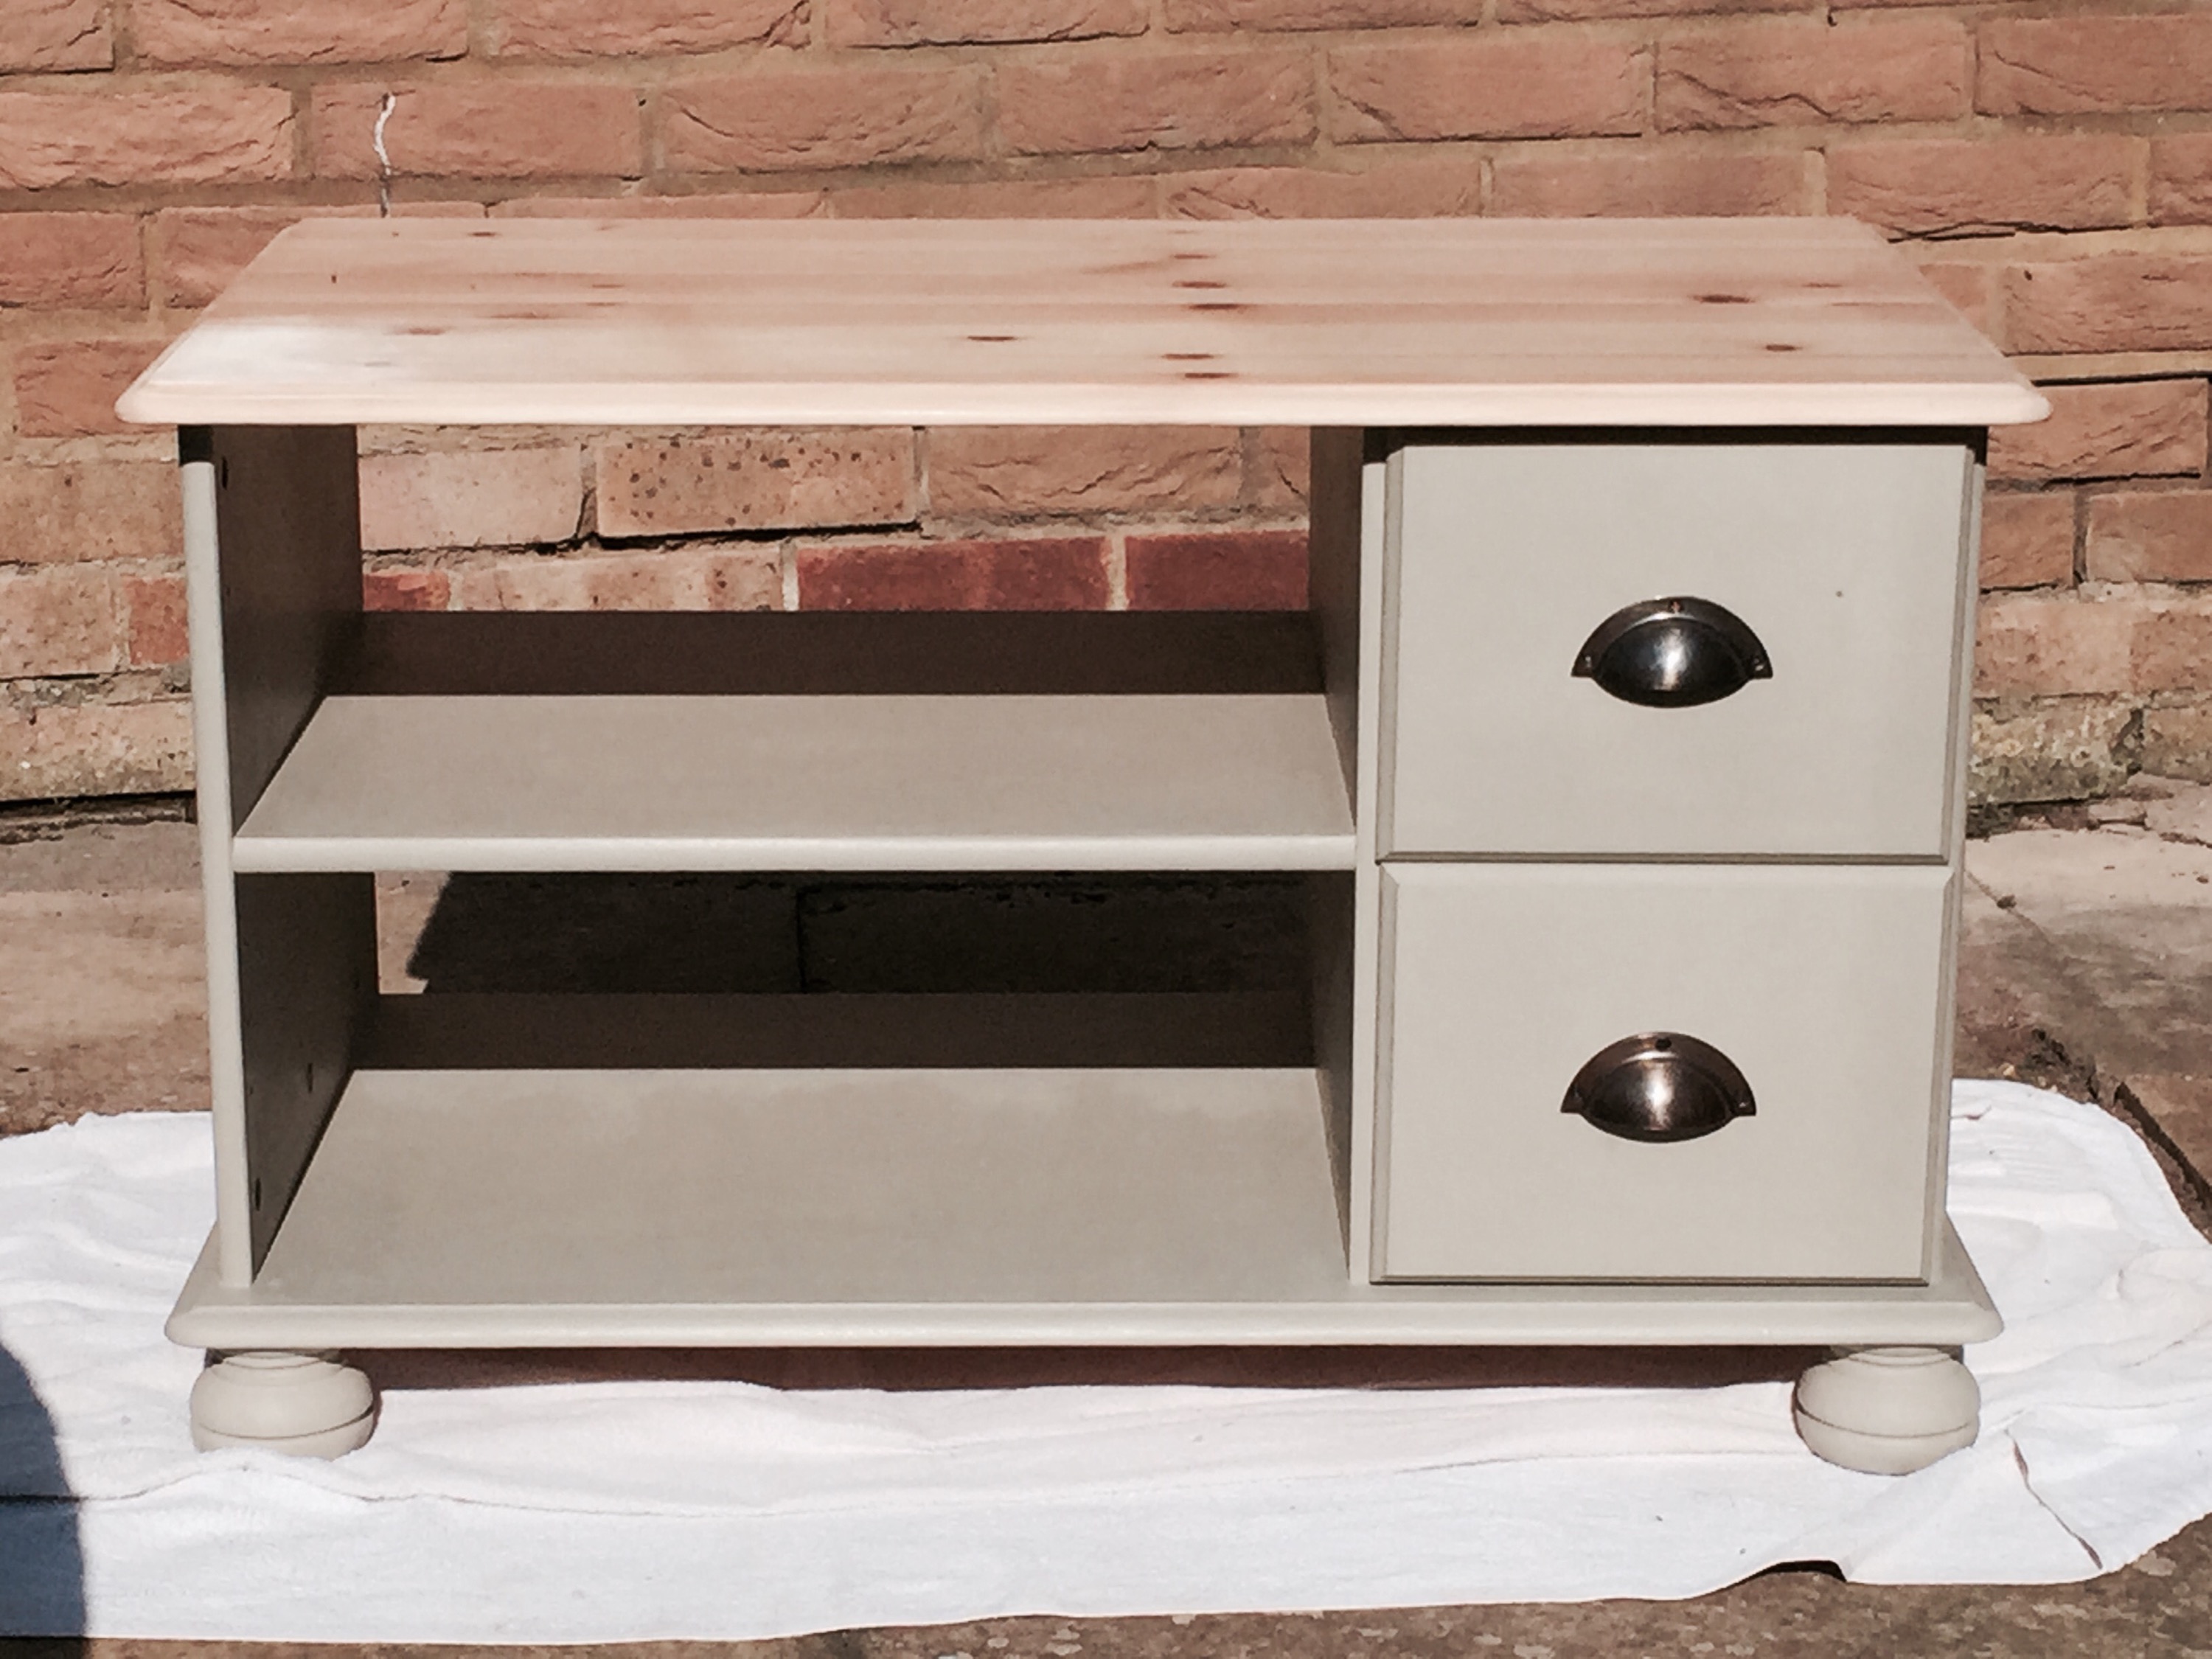
So, I used that, and oiled my drawers (so to speak) and the result (below) was trimphant, I think.

I have ended up with a unit that one could easily pay upward of £250 round here for – but it also has my time (and blood, sweat and tears, albeit frozen ones) in it which makes the reward something far more than just financial.
I could not be more pleased with the way these have turned out.
My hands however, are still numb. But it was totally worth it!
TTFN x