So I am thinking that none of the furniture that we had at our last house seems to really ‘go’ as it were in the old cottage here… There’s only one thing for it.
Out with the new, in with the old!
As lovely as this is, and we’ve had it for 10 years, it stands out like a sore thumb so onto eBay it goes! In the meantime, I managed to pick up a shiny orange pine television unit for £7. Now you’re going to have to bear with me here unless you have ‘the vision’ or you with think I’ve gone utterly nuts. Although you’d be right, but that happened quite a long time ago.

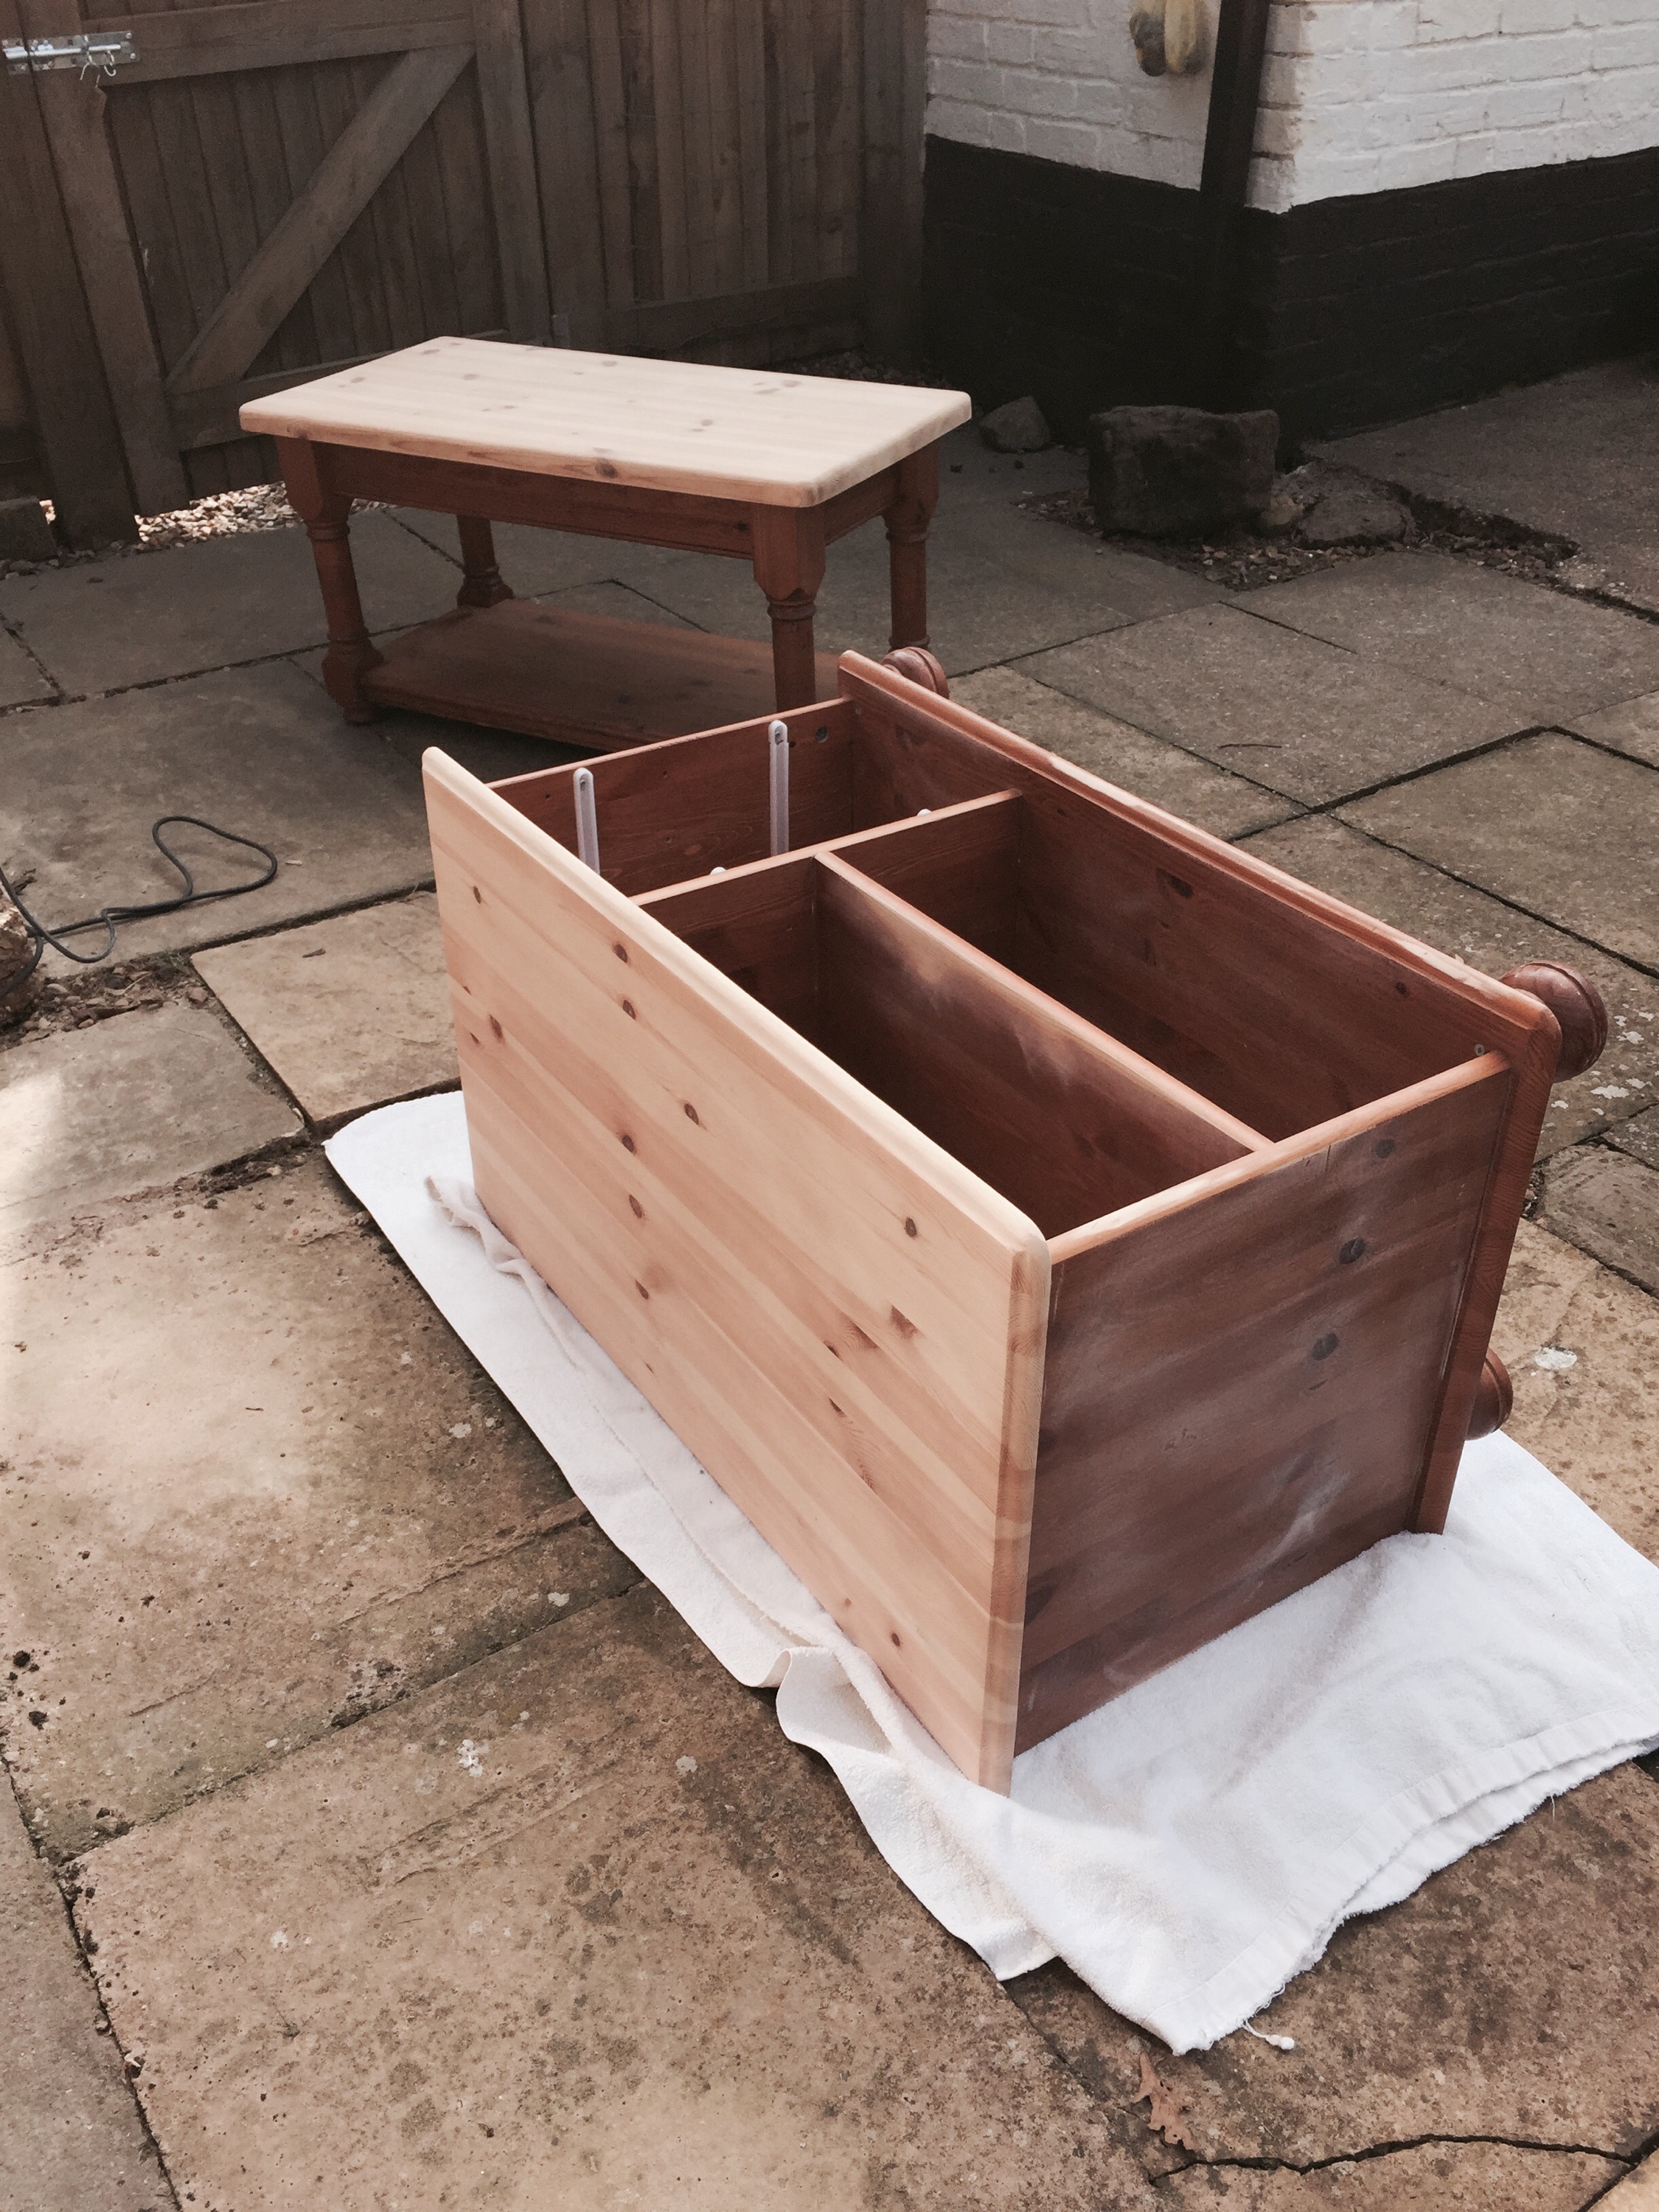
Everyone remembers this stuff. It’s proper wood, solid as you like, just not perhaps to our taste now. But I love a bit of repurposing, and this little chap is definitely in need of a new lease of life. Remember the Valentine’s Day sander I mentioned? Well it’s very much needed as you can see. So away I go…
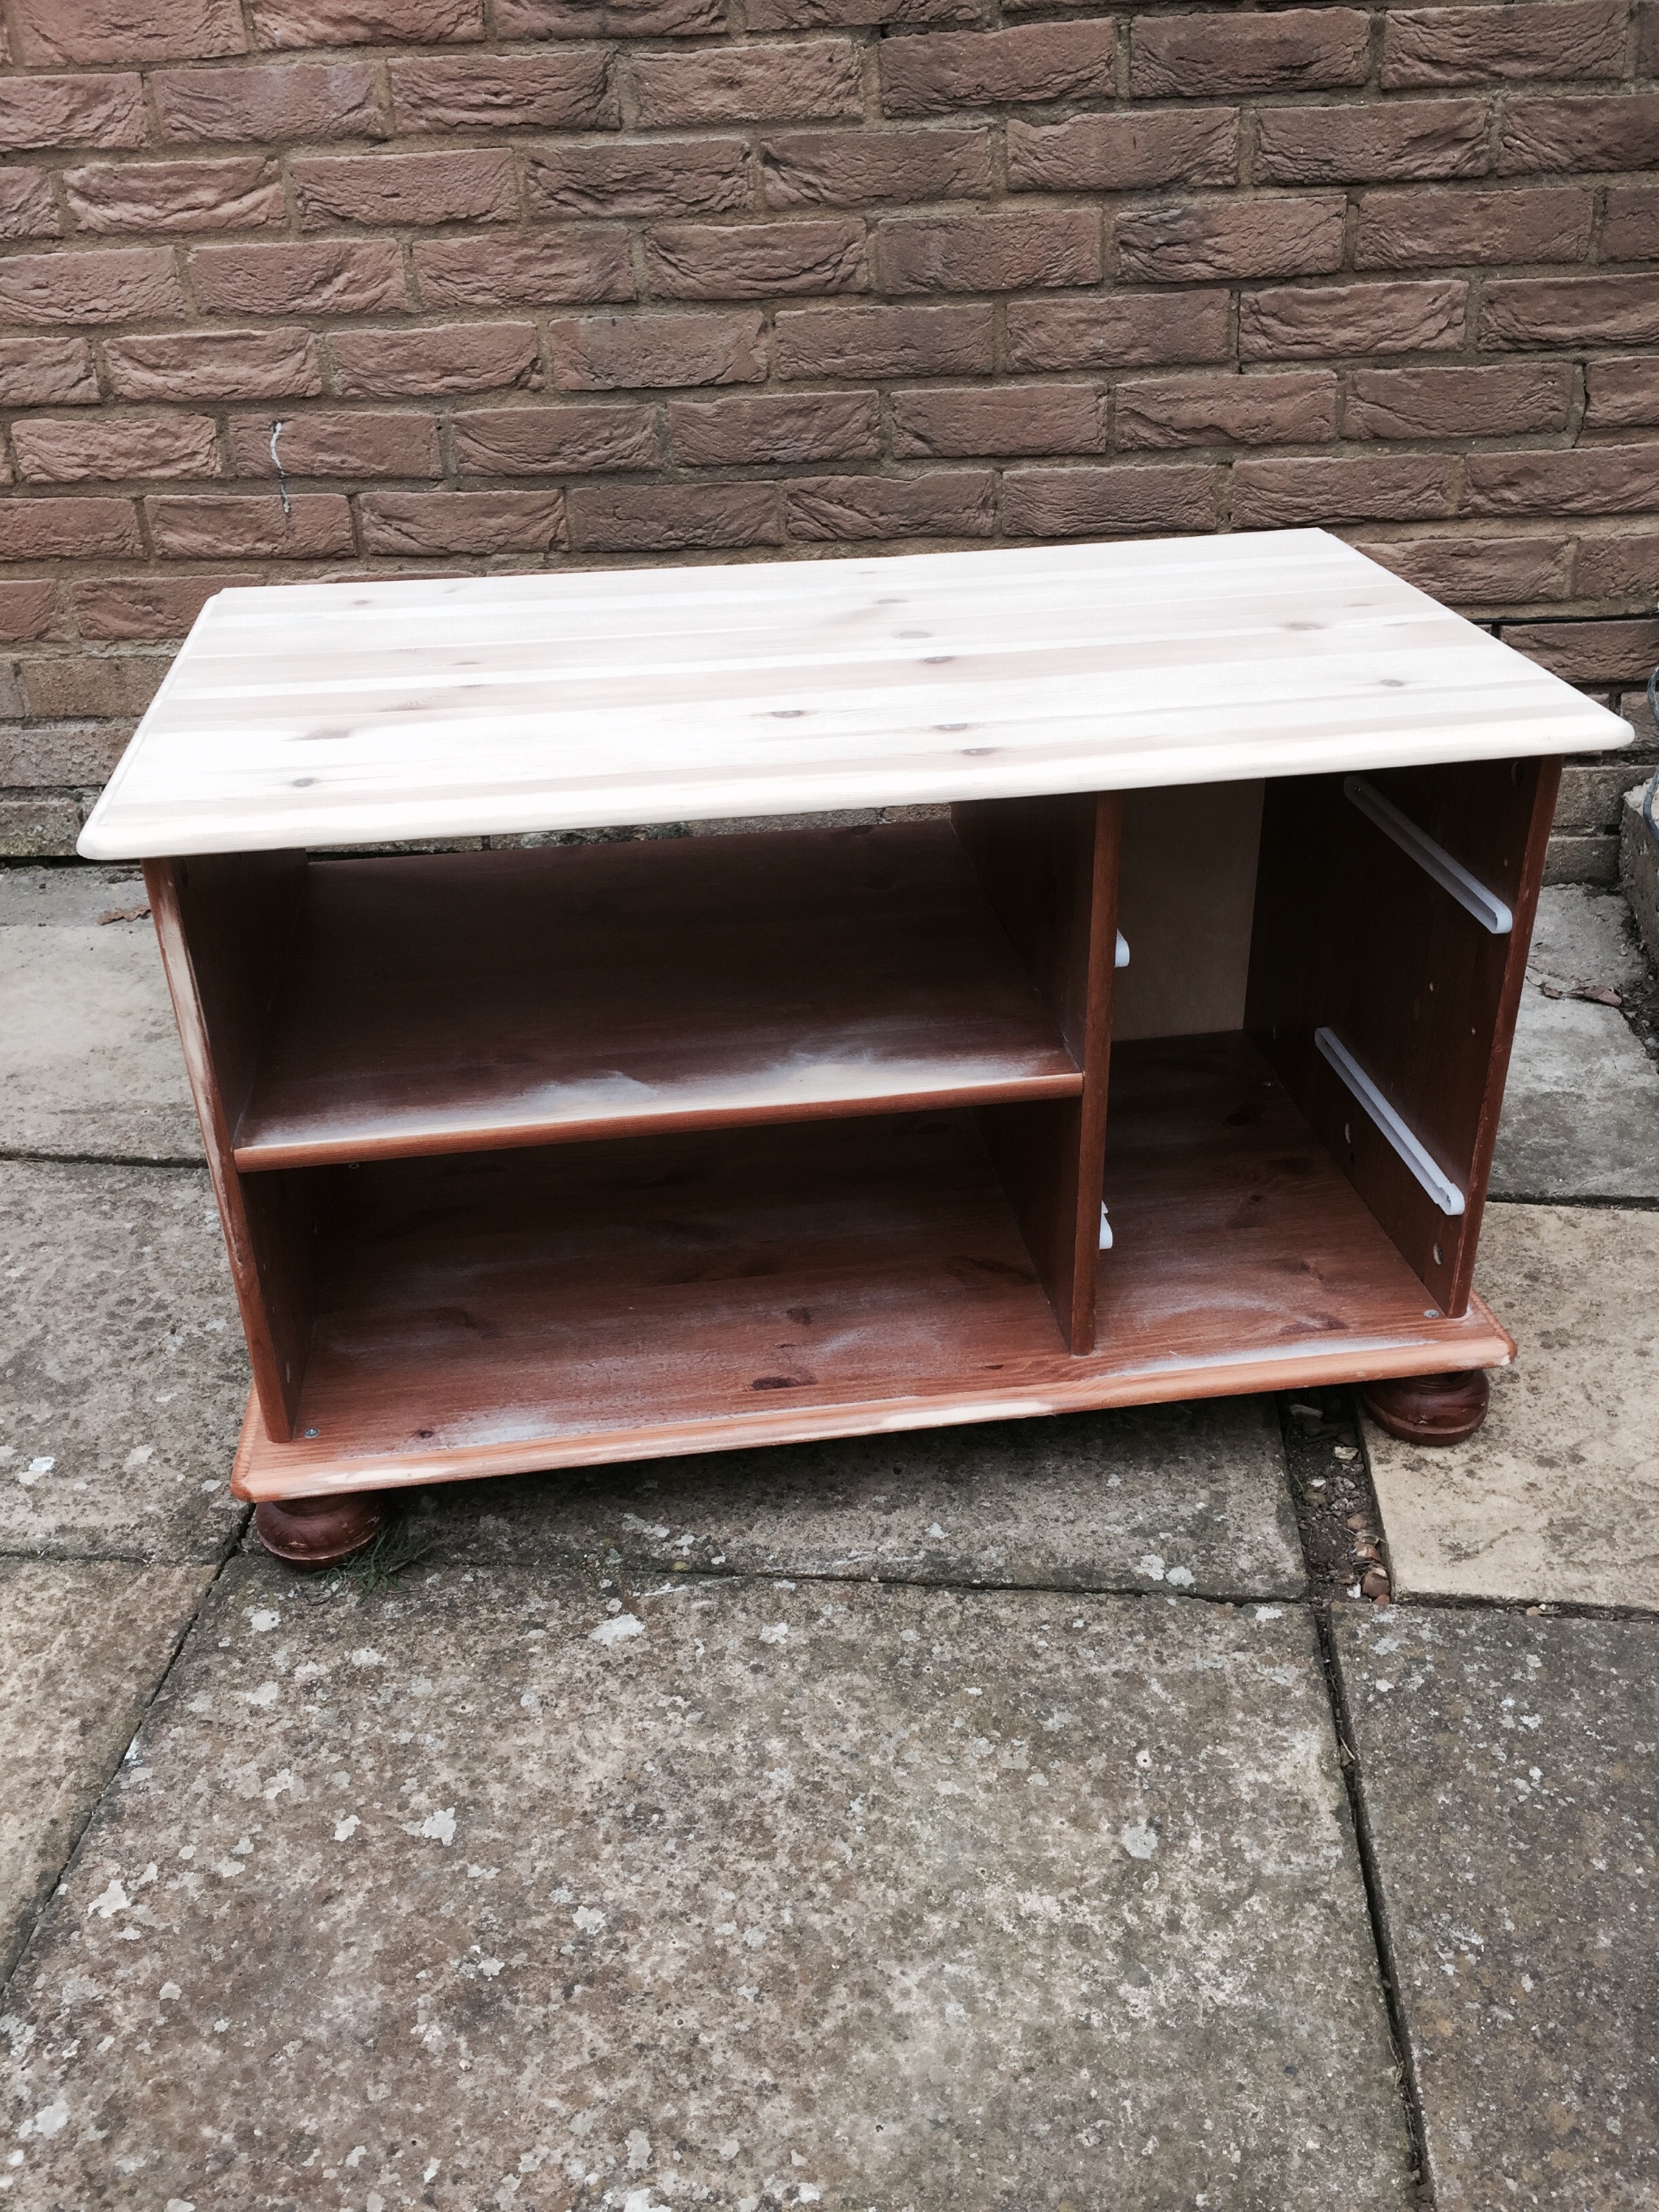
He gets his top well and truly sanded, then it’s a quick buff all over to ‘key’ the surface ready for painting. I’ll be using Grand Illusions vintage chalk paint.
So regarding the painting, people keep asking if it’s easy? Well yes I think it is if you are careful and you spend time on your prep, the same as decorating walls in your house. I prefer a small foam roller for most areas, just using a brush in the internal edges, then roller over so you have no visible brush strokes. If you’ve prepared your surfaces well then you don’t need a primer with this paint, you’re straight in. Three coats should do it.
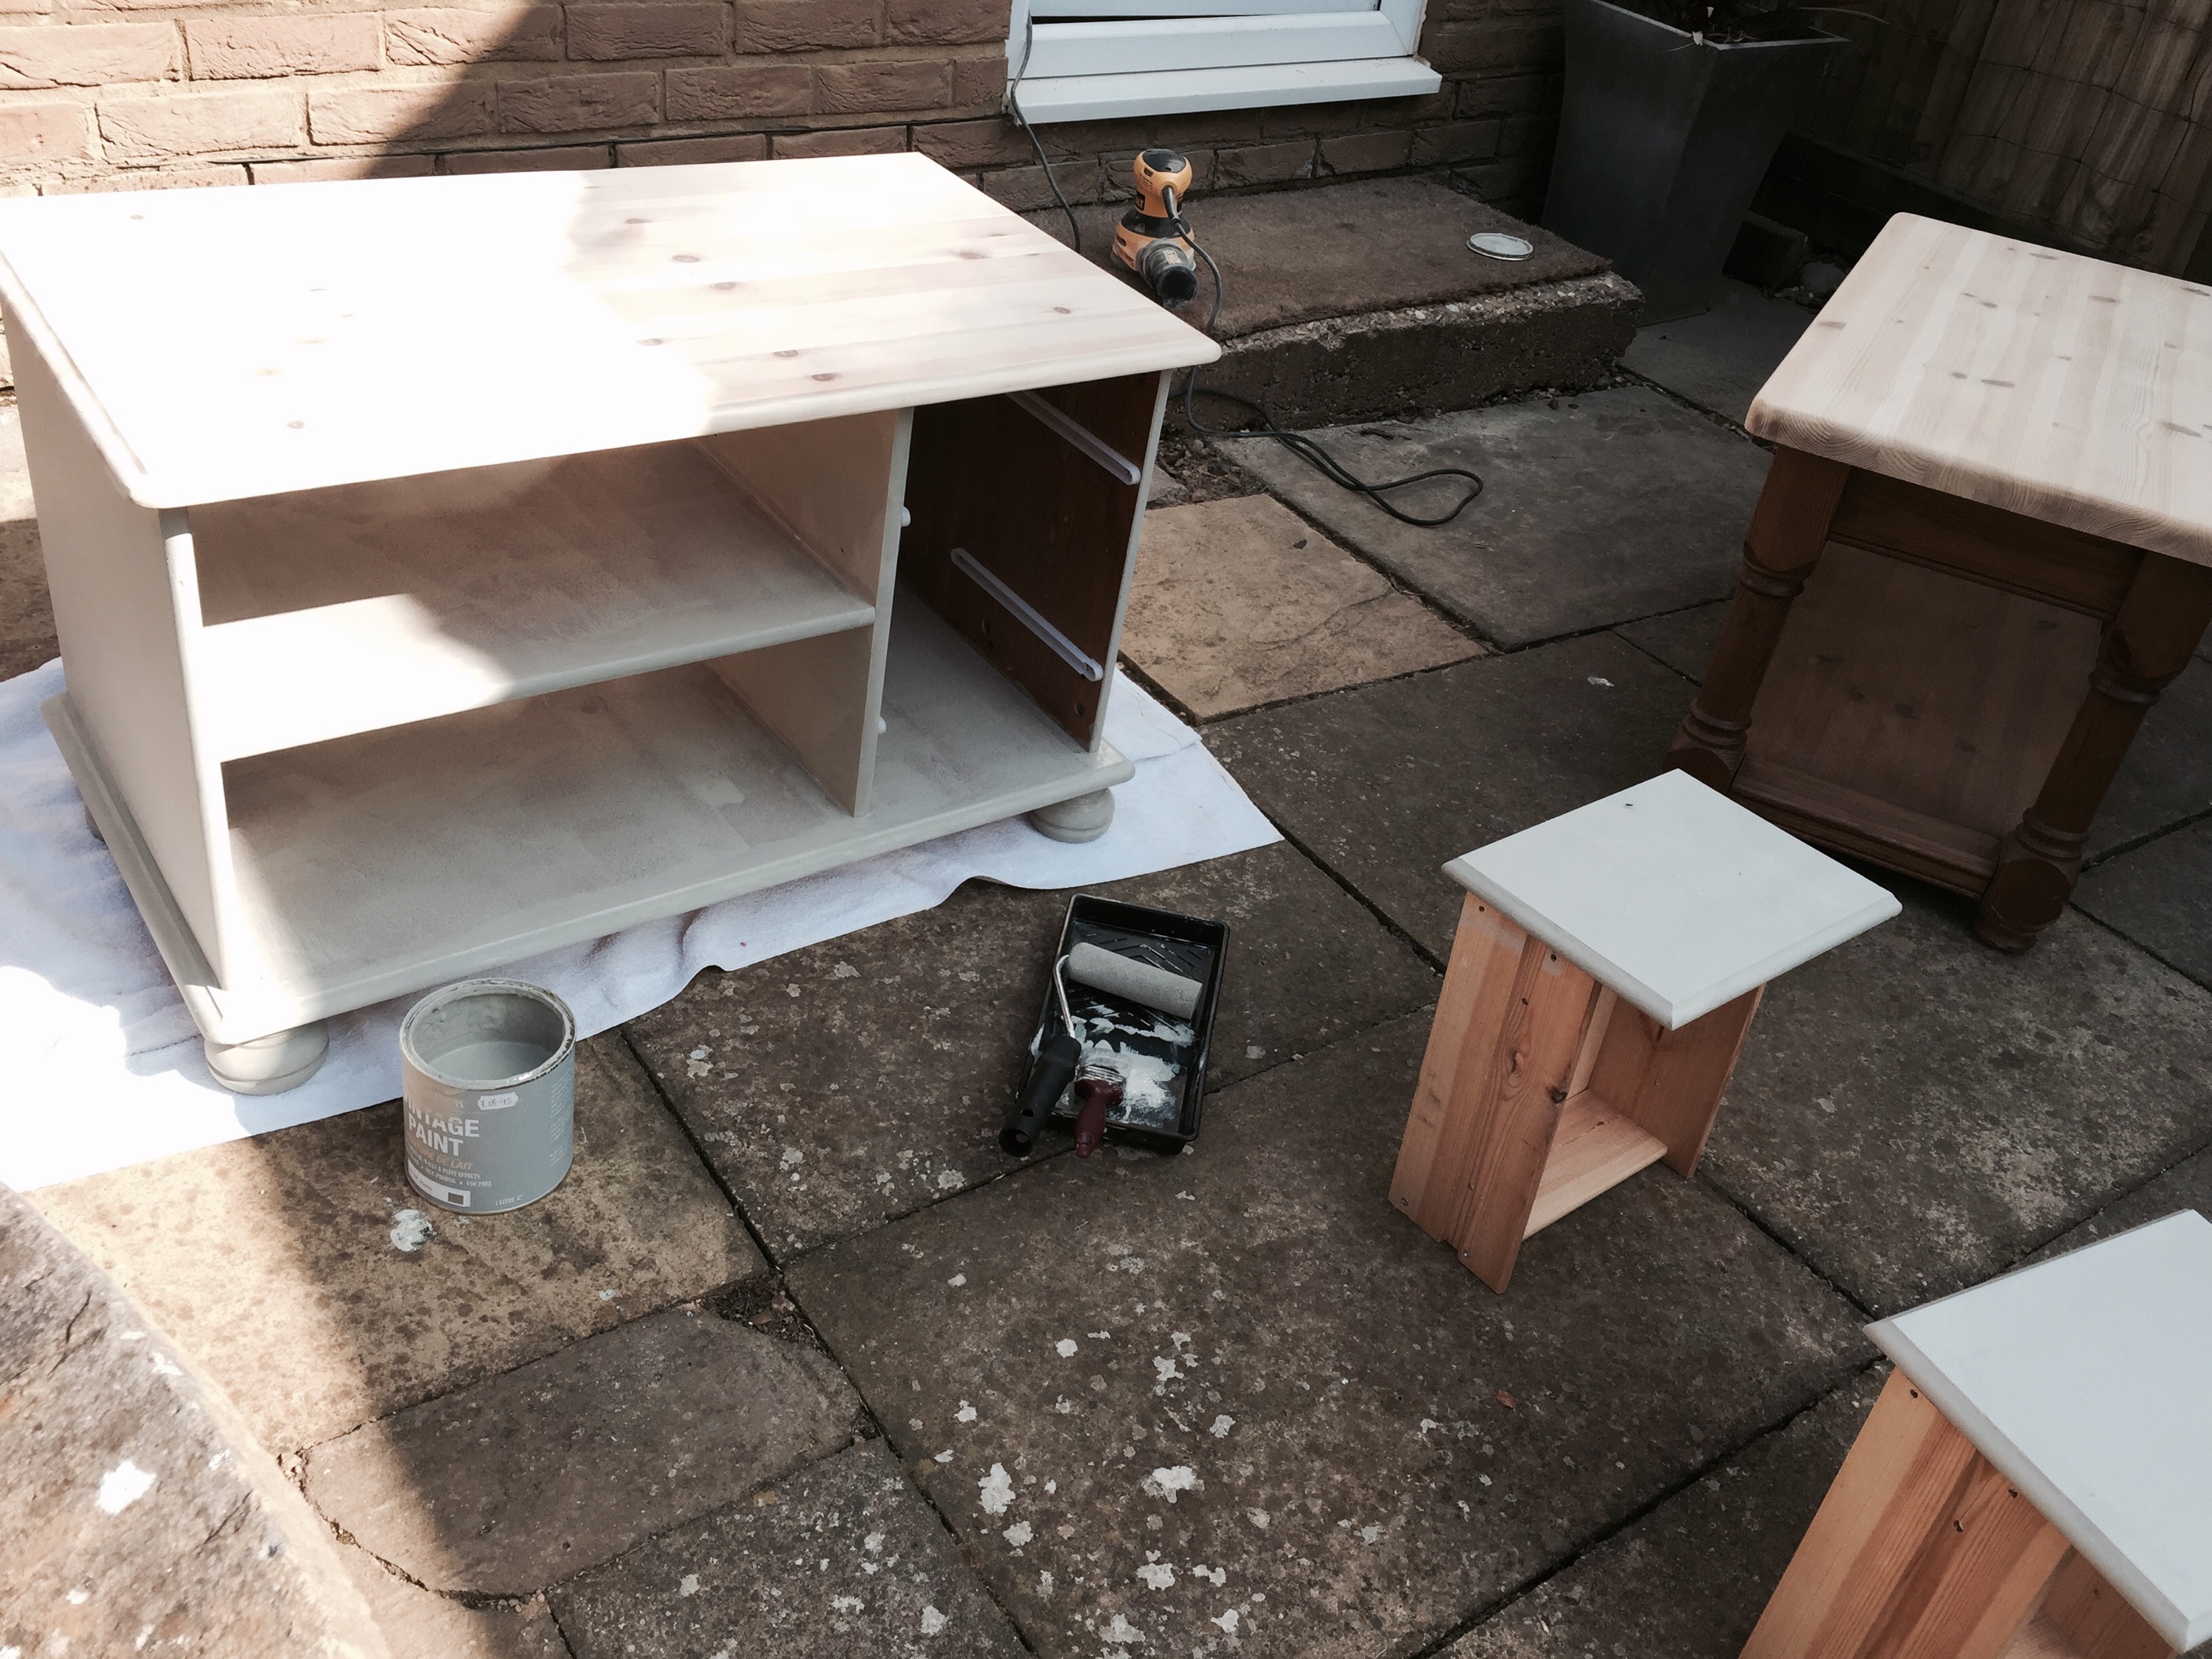
If you’ve got any drawers on a piece, be sure to take those out and remove the handles, and just paint the exposed front surfaces or you’ll end up with a messy finish.
Oh and don’t paint in the sunshine, it will dry far too quickly. If you want to hurry it along, you can use a hairdryer.
A couple of new handles (purchased from my favourite place Screwfix) and we are almost there. Speaking of which, when did I fall out of love with Top Shop and in love with Screwfix? No seriously, when exactly did that happen?
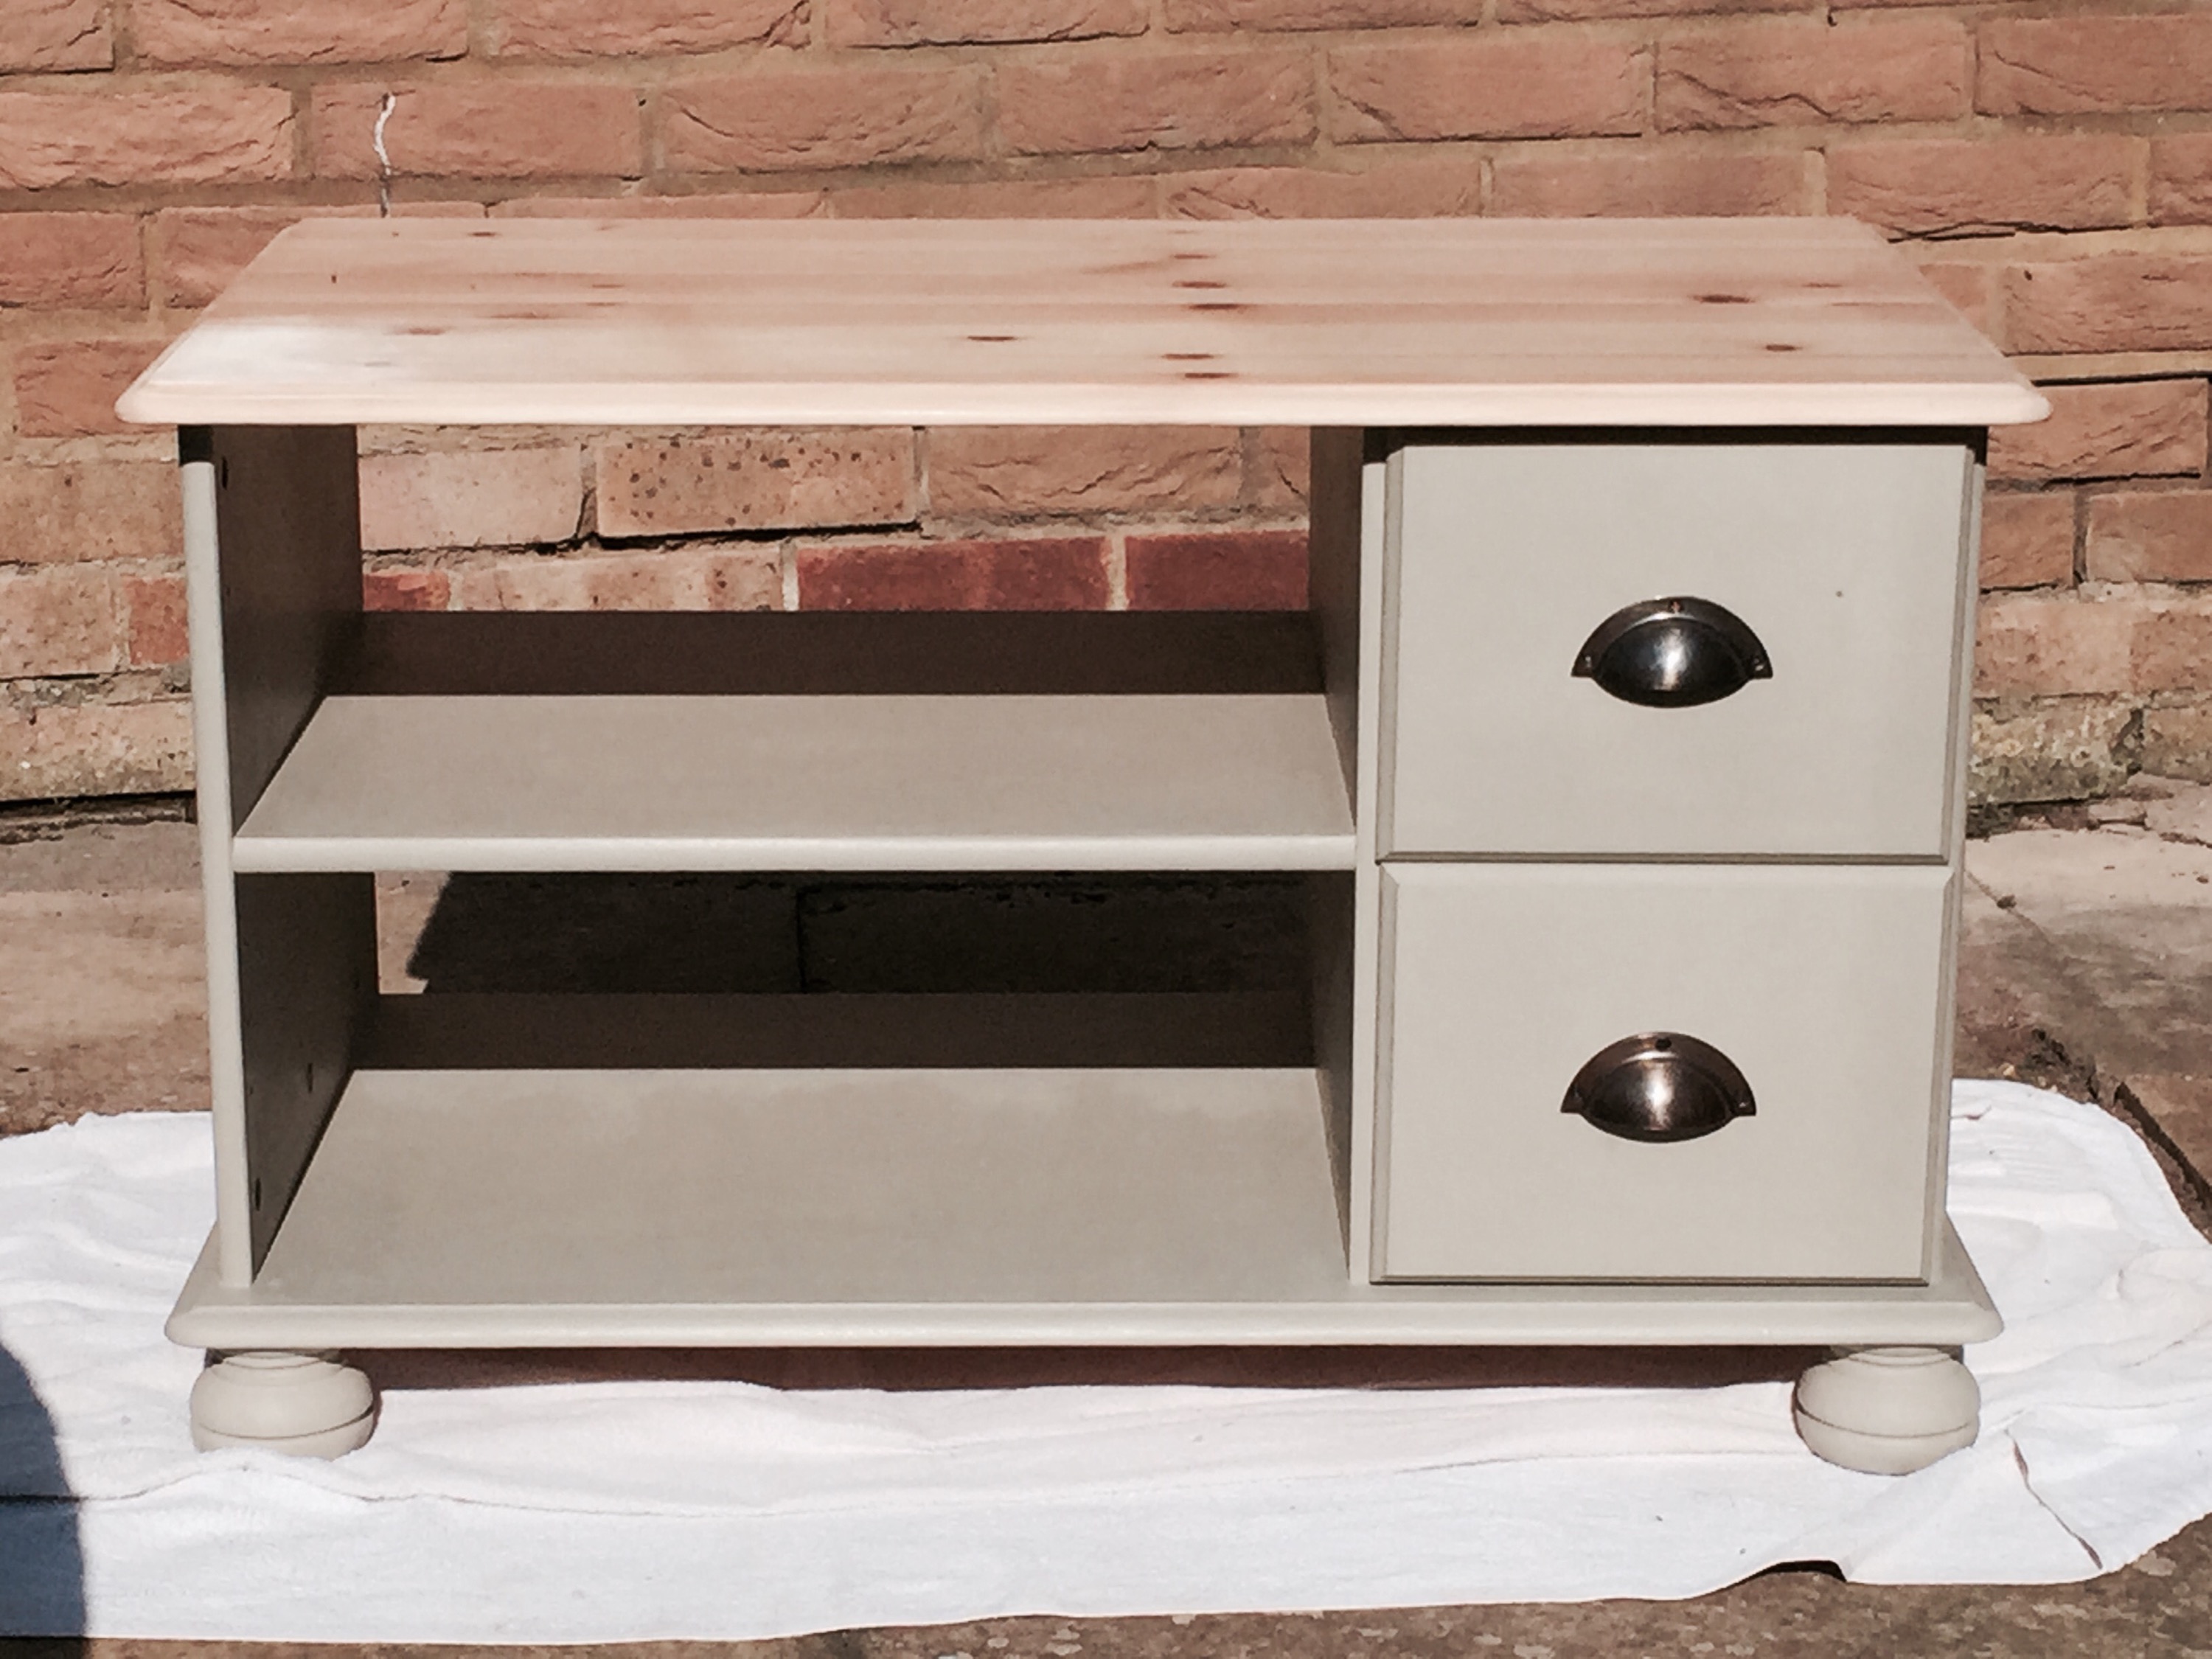
A couple of coats of clear wax are needed to protect your hard work, three on the top (an extra one for good luck!) applied in a circular motion with a polishing cloth and then buffed. The surface is still pretty fragile to start with but after a month or so it hardens off. Over time, expect to get the odd chip from day to day living, but I honestly think that this only adds to the beauty of a repurposed piece.
Job done. I think around four hours start to finish with coffee breaks. You need to let the paint dry well between coats or it will pull off the previous layer which is infuriating. I know, I’ve done it. Patience is a virtue, but it is not something that I am blessed with in abundance I will confess.
Can I have a drumroll please for the final photo? Taaaaa-daaaaaahhhhh!!!!!! And all for the princely sum of £7 plus a bit of paint and wax and good old fashioned elbow grease.
I’ve seen similar things to this in shops for literally hundreds of pounds. Not mentioning any names… Sparks & Mensa. But seriously, as well as the cost saving (actually I’m up a fair bit on this project as I sold the old one for almost £80) the sense of satisfaction is enormous creating something yourself for your own home rather than going out and buying something that Joe Bloggs down the road has too. Go on, have a go. You can do it.